Creating a Custom Menu in WordPress
Not sure how to best use menus in your WordPress site?
In this short video, we share some tips and tricks to get your site navigation up and running in almost no time!
Four Steps in Creating a WordPress Menu
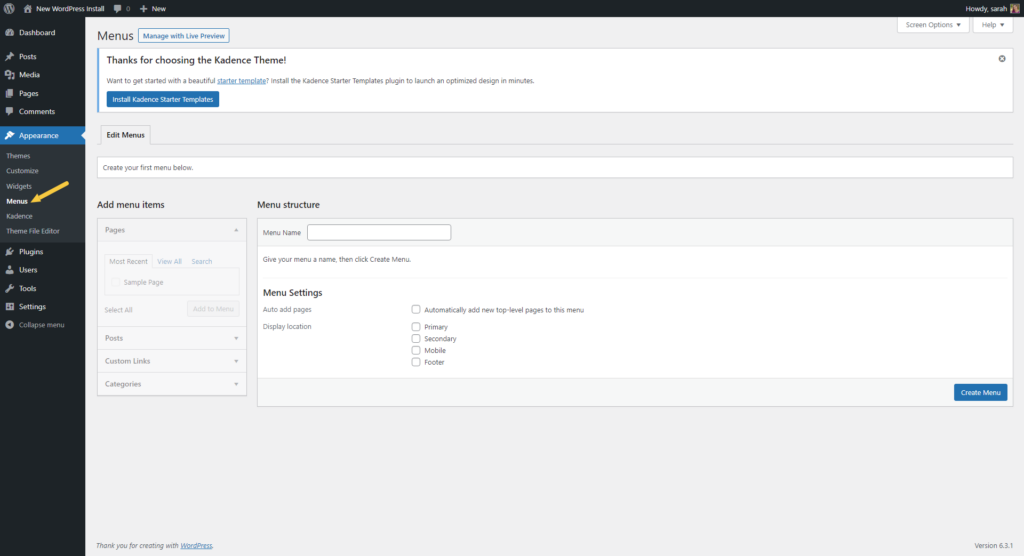
- 1. Go to Dashboard > Appearance
- 2. Click “Menus”
- 3. Name Your Menu
- 4. Click “Create Menu”
Setting Menu Location and Adding Items
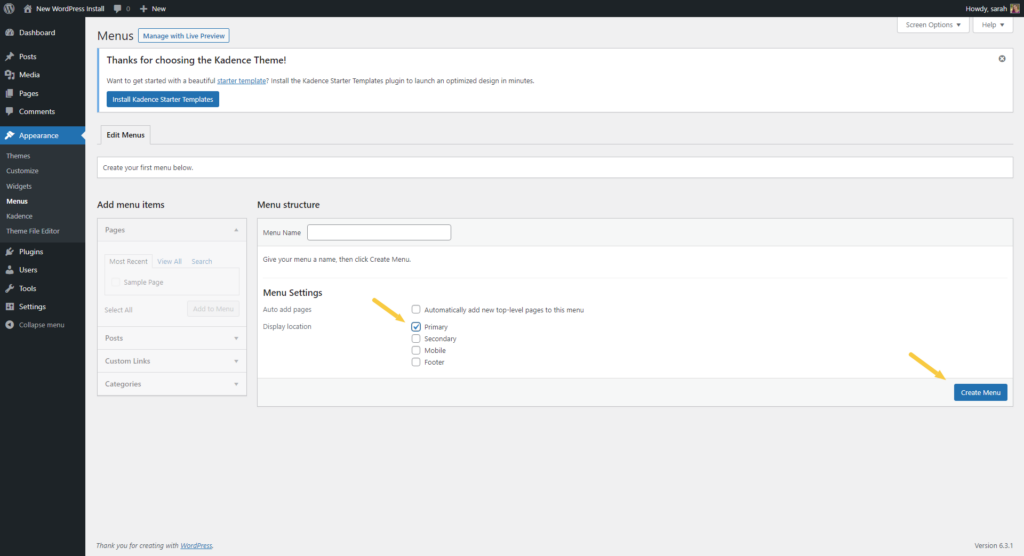
Next, you’ll want to set a Display Location – your theme will automatically show any areas where a menu can be assigned out of the box.
Once you’ve decided where the menu should display, click on items you want to add to your menu and click the “Add to Menu” button.
Arranging Menu Items
WordPress makes it easy to arrange your menu items – just drag and drop! You can use this to nest items, and if you make a mistake, just drag them back out again.
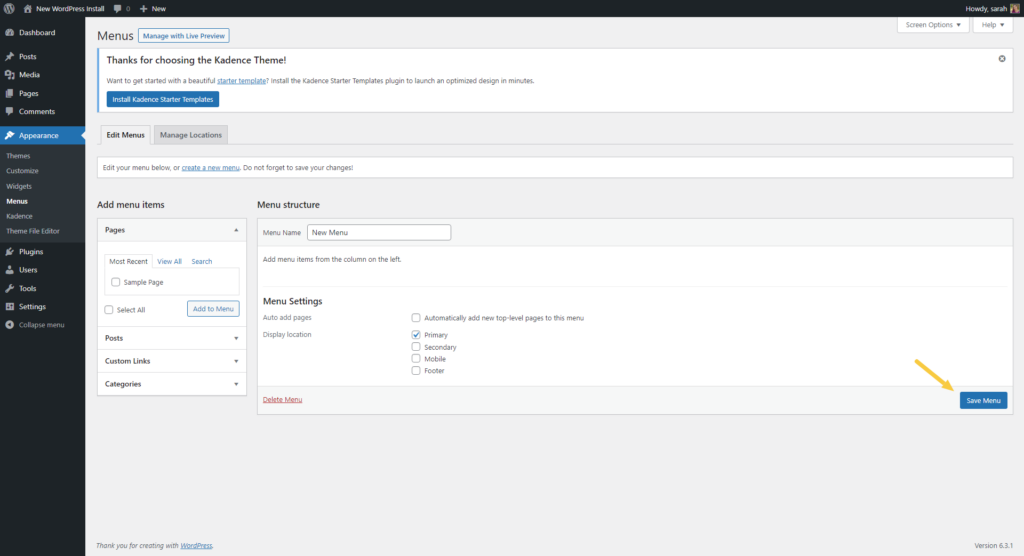
Click “Save Menu” and you’re done!
Tips and Tricks
Sometimes, you’ll want to have a top-level menu item that can’t be clicked so that you can create a dropdown menu beneath it.
To do that, use the pound sign in the URL field, and enter your custom link text – then click “Add to Menu.”
Want to force a menu link to open in a new tab? You’ll find that, and more, under the Screen Options button.
- 1. Click “Screen Options”
- 2. Click to select “Link Target”
- 3. Click beneath any menu item to force the link to open in a new tab
