How to Move a WordPress Site Easily
There are many reasons you may want to move a WordPress site. You may want to change the domain name of your site or move your site to a new host. In this post, we'll cover a few different methods of moving your WordPress site to a new domain or host. Manually Moving Your WordPress Site to a New Domain Just a word of caution: if you are planning to move your WordPress site to a new domain on your own, things can get tricky.

Manually Moving Your WordPress Site to a New Domain
Just a word of caution: if you are planning to move your WordPress site to a new domain on your own, things can get tricky. We’re covering this method so you can see how the process works but proceed with caution.When your domain name or URLs change there are additional concerns. The files and database can be moved, however references to the old domain name or location will remain in the database, and that can cause issues with links or theme display. – Moving WordPress, WordPress CodexThe WordPress codex outlines how to move a WordPress site manually in more detail. Even when moving a WordPress site manually, though, the WordPress codex still recommends using a WordPress backup plugin to backup your files and database before you get started.
1. To begin, download a copy of all your site files and run an export of your site’s database. Find a safe location to store these files in case something goes wrong with your move.
2. Next, navigate to your WordPress dashboard and to Settings > General. From here, you will change the URL from your current one to the new one.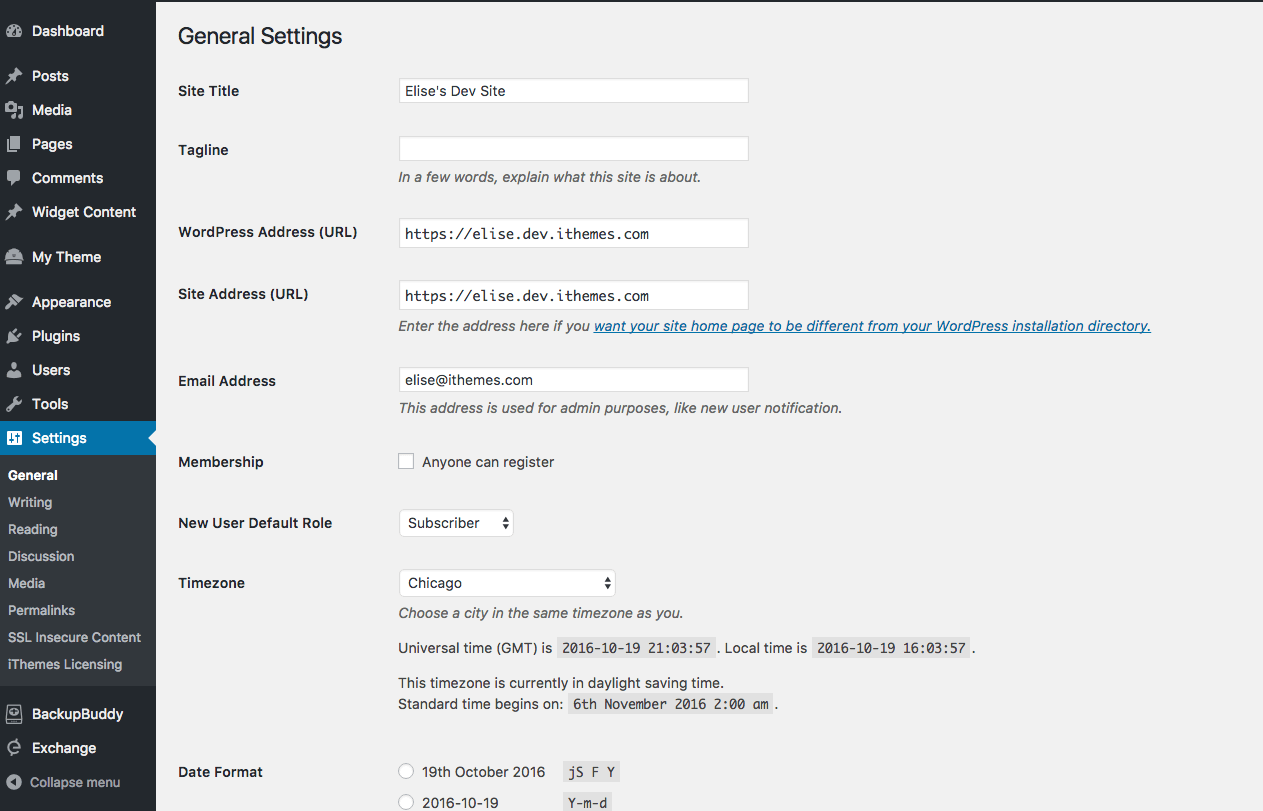
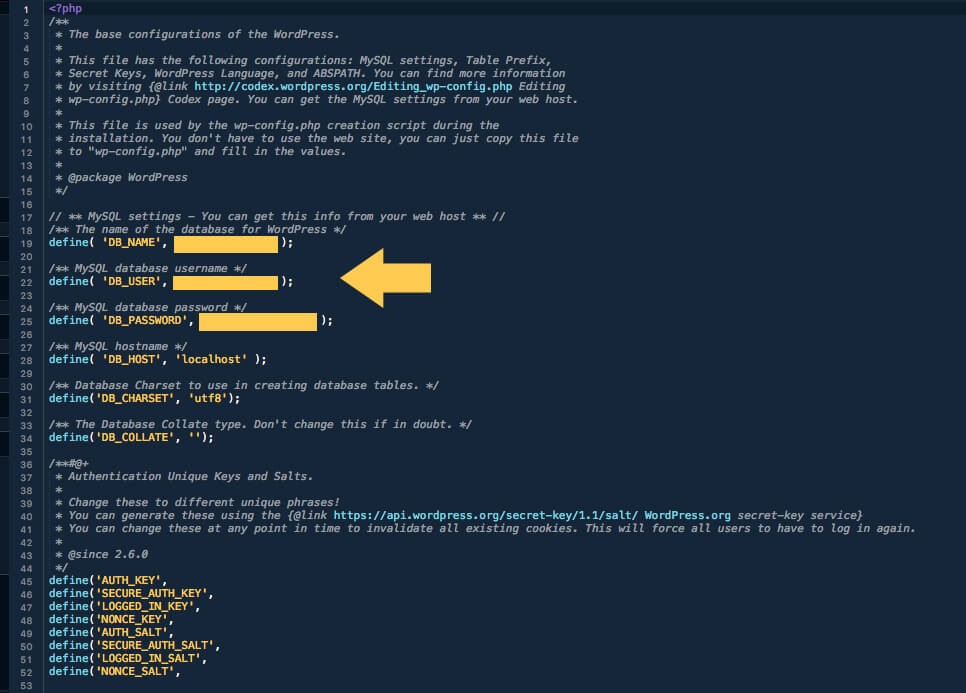 4. Once you’ve edited your wp-config.php file, you can upload your site’s files and import the database to your new location.
Save Time & Move a WordPress Site to a New Domain with BackupBuddy
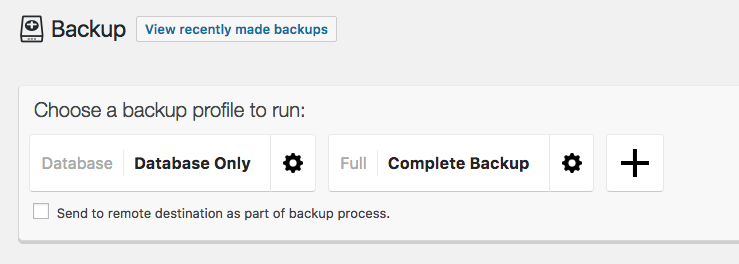
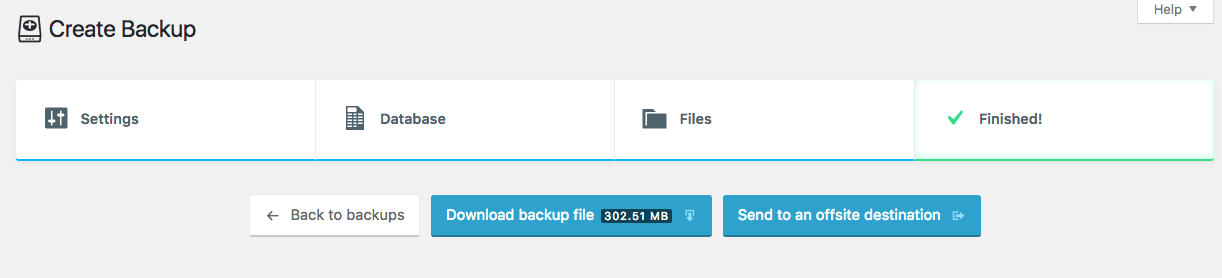
While you can move a WordPress site to a new domain name manually, there are a lot of opportunities for error when doing so. The easiest way to move a WordPress site to a new domain would be to use a WordPress backup plugin like BackupBuddy. BackupBuddy not only backs up your entire WordPress site for you (including all your files and your database), it also has different options that help you move a WordPress site from one location to another. You can use BackupBuddy to backup your files and database prior to moving the site yourself or you can use BackupBuddy to do all the work for you.1. To get started moving your WordPress site with BackupBuddy, you’ll first need to create a full backup of your site.
 2. Once your site backup is complete, you can either download the zip file to your computer from your recent downloads page or directly from the backup creation page.

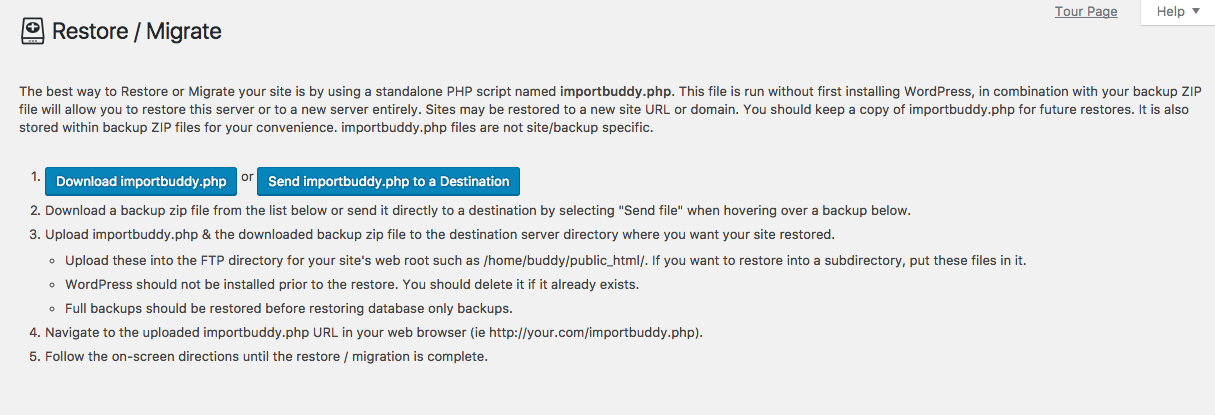
 3. You’ll then need to go to BackupBuddy > Restore/Migrate page where you can download the ImportBuddy file (the script file BackupBuddy uses to move your site).
http://mysite.com/importbuddy.phpBefore you start the actual site migration process, you will need to enter your ImportBuddy password that you created previously in settings.
 6. ImportBuddy will then walk you through all the steps needed to complete your site migration.
The first step is to select the backup file for your WordPress site.
6. ImportBuddy will then walk you through all the steps needed to complete your site migration.
The first step is to select the backup file for your WordPress site.
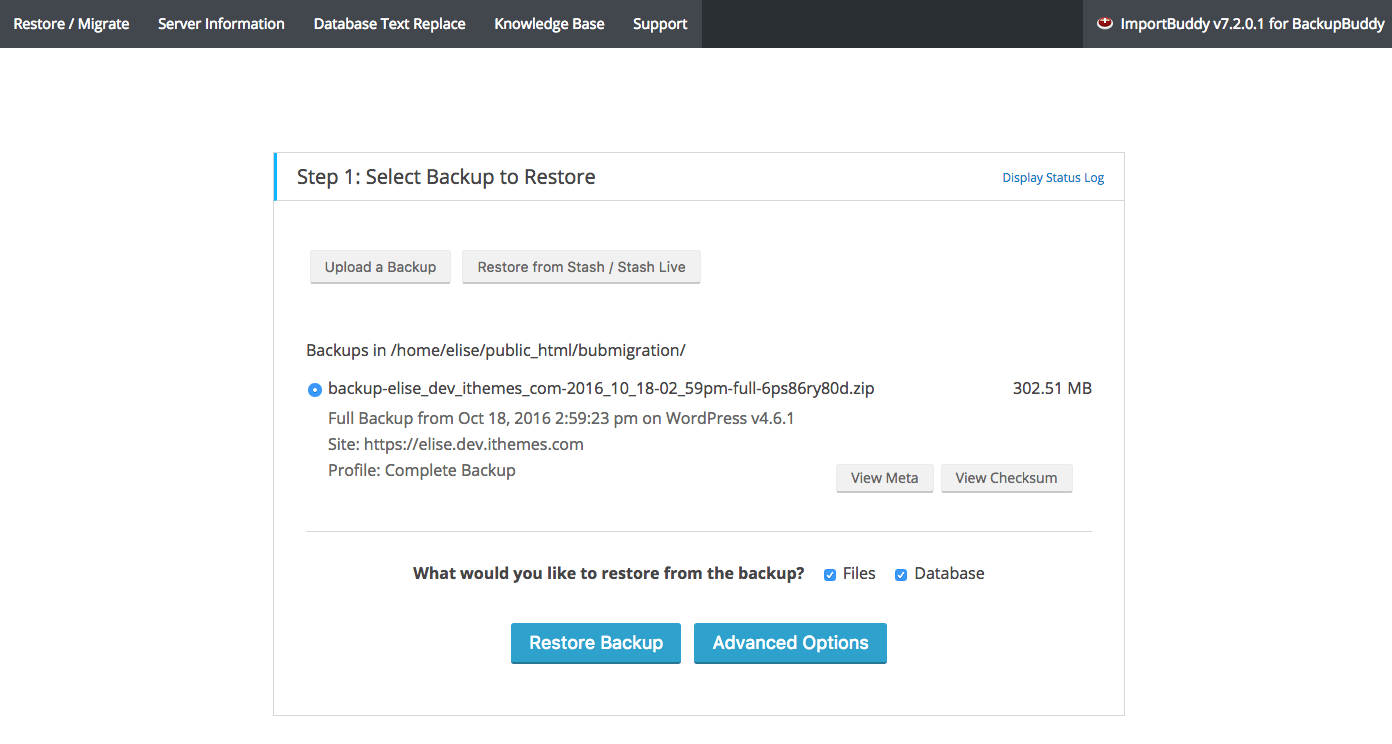 You can import multiple backup files to your server or you might have multiple backups stored in your BackupBuddy Stash location, so this step allows you to make sure you are moving the right site.
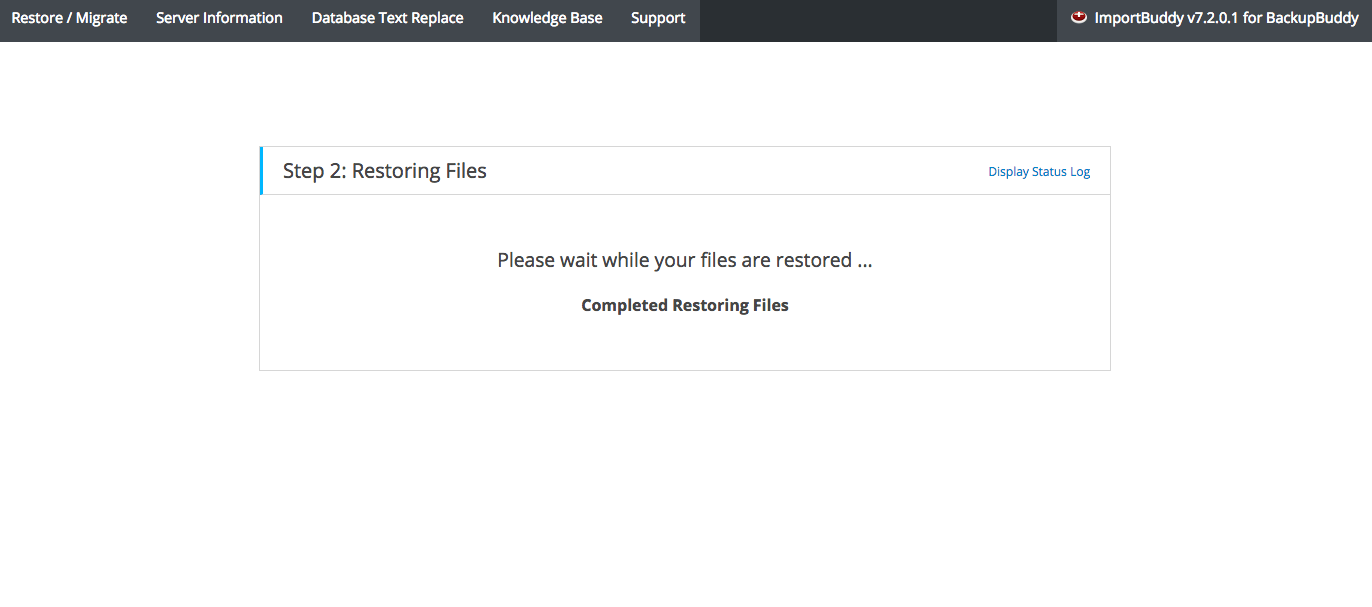
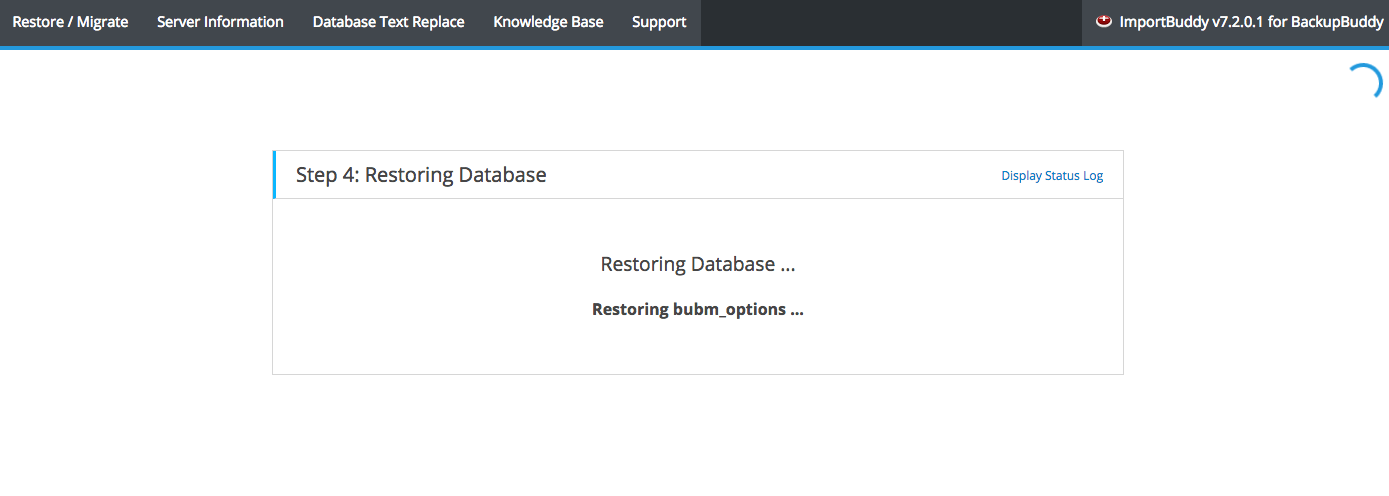
The second step doesn’t require you to do anything. BackupBuddy is simply restoring the files from your original site to the new location.
You can import multiple backup files to your server or you might have multiple backups stored in your BackupBuddy Stash location, so this step allows you to make sure you are moving the right site.
The second step doesn’t require you to do anything. BackupBuddy is simply restoring the files from your original site to the new location.
 For the third step, you’ll need to enter the database information for your new site.
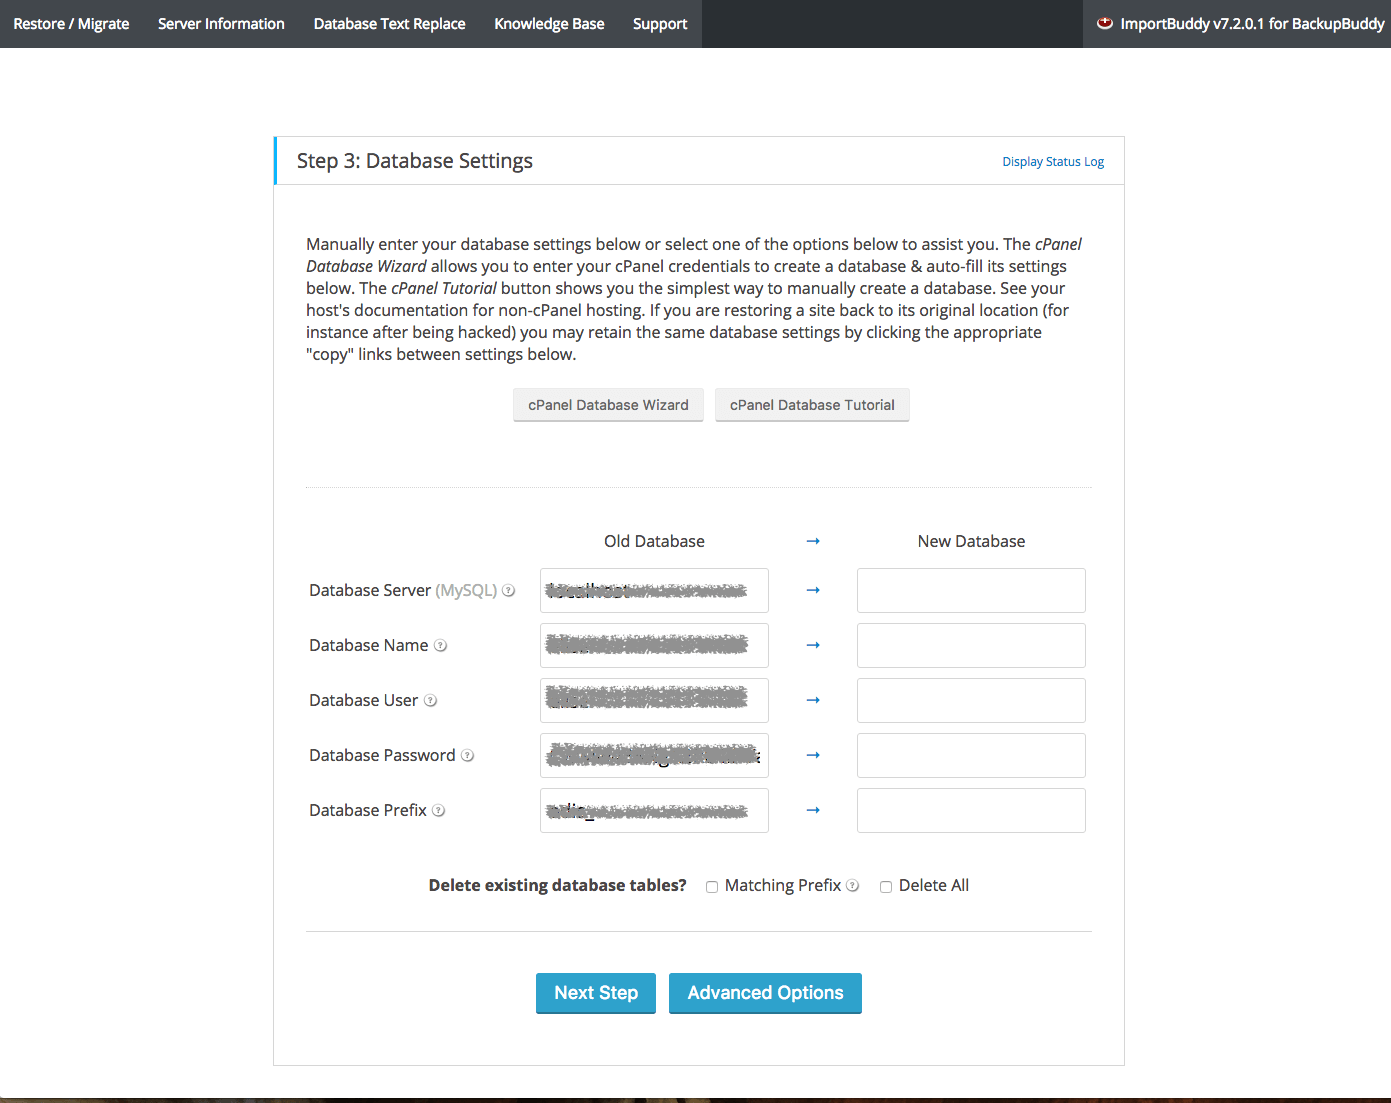 The information from your original WordPress site will show there in case you are just moving to a different location on the same server and wanting to create a new database.
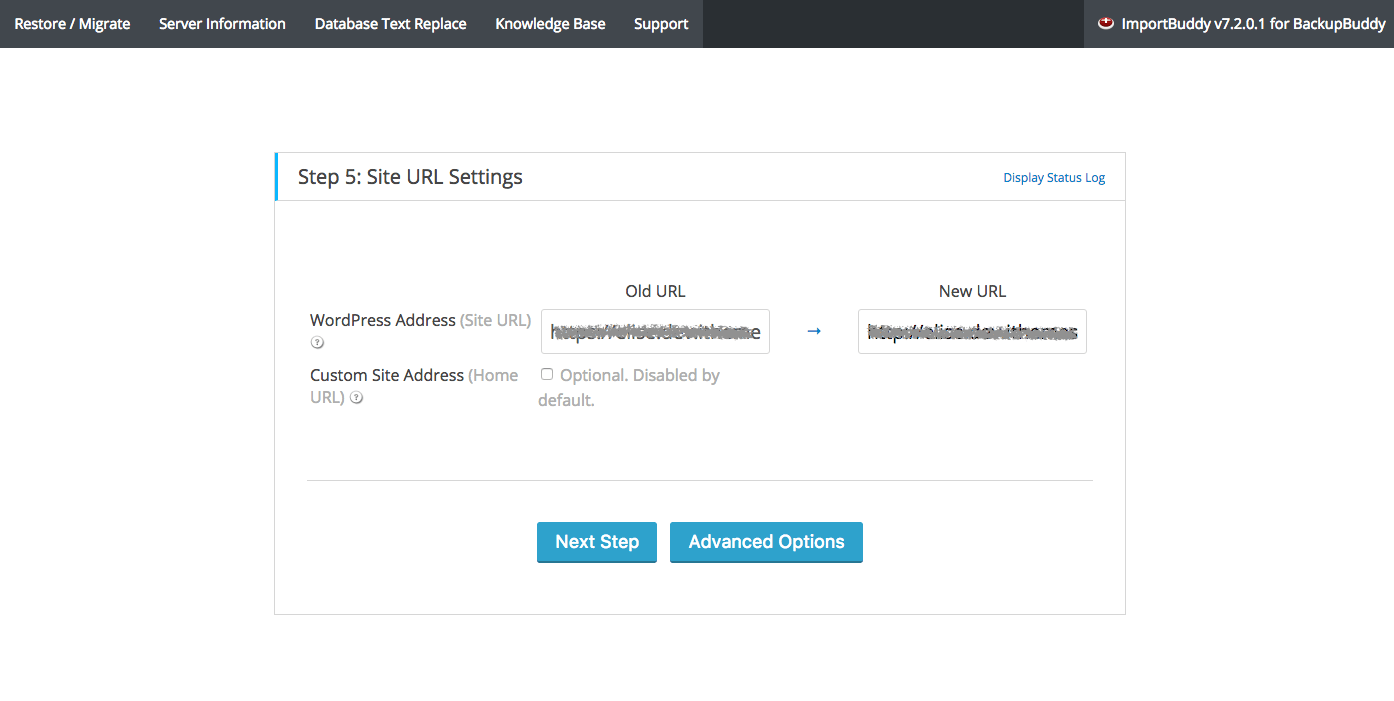
 In step 5, BackupBuddy will change the URLs for your site from your old one to the new one. BackupBuddy creates these URLs, new and old, but you can double check them here.
 The sixth and final step is for you to verify and clean up your site.
 When you get to this step, you will want to go to your new domain to verify that your WordPress site has moved and changed correctly.
You can then click the Finish Cleanup button to remove any files that were used for the move but are no longer necessary.
When you get to this step, you will want to go to your new domain to verify that your WordPress site has moved and changed correctly.
You can then click the Finish Cleanup button to remove any files that were used for the move but are no longer necessary.
Moving Your WordPress Site to a New Host with BackupBuddy
If you need to move a WordPress site to a new host, you can accomplish this easily with BackupBuddy, too. Some hosts may offer to move your site or offer a service if you switch hosting companies if you prefer a more “manual” method.1. Make a complete backup with BackupBuddy and download your backup file, as listed in steps 1 – 2 above.
2. Go ahead and download the ImportBuddy file from the BackupBuddy > Restore/Migrate page (and set your ImportBuddy password if you haven’t already). 3. Important: You’ll need to change the DNS or name servers for your domain to point to your new hosting. Depending on where you purchased your domain name, you should have access to “Manage DNS” and find your current name server information.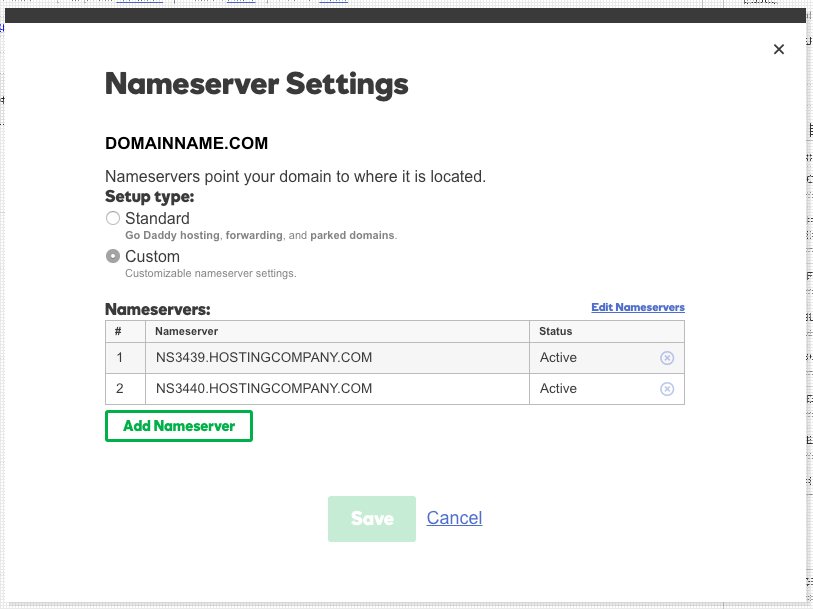
Ready to move a WordPress site? Get BackupBuddy today.
BackupBuddy is the 3-in-1 WordPress backup plugin that also covers WordPress migration and restoration.
Join us for the next Solid Academy Webinar!
Free weekly webinars that will help you master WordPress and increase your business's bottom line.
What is a WordPress Phishing Attack?
Learn how to identify and prevent phishing attacks on WordPress websites.
Kiki SheldonWebsite Protection: 5 Ways to Keep Your Website Safe
Robust website protection is the shield that stands between your business and relentless cyber attacks. Prioritizing website protection enables businesses to fortify defenses to safeguard their online presence and preserve the trust of their customers in the face of ever-evolving cybersecurity threats.
Kiki Sheldon23 Ideas To Grow Your WordPress Business in 2023
WordPress is the most popular website-building platform worldwide, trusted by numerous brands. WordPress enables you to build a user-friendly and highly reliable site, together with tools and plugins to enhance your marketing and work like a lead magnet. All these features make WordPress the platform chosen by more than 43% of businesses globally.
SolidWP Editorial TeamSign up now — Get SolidWP updates and valuable content straight to your inbox
Sign up
Get started with confidence — risk free, guaranteed
