
In the Feature Spotlight posts, we will highlight a feature in the Solid Security Pro plugin and share a bit about why we developed the feature, who the feature is for, and how to use the feature. Today, we will cover Solid Security Pro Onboarding, the easiest way to secure and protect your website.
How Solid Security Pro Onboarding Helps You Secure Your Site
Securing your WordPress site can be both intimidating and time-consuming. This is why some people never even dip their toes into the pools of WordPress security. They don’t know where to start, so they don’t. Unfortunately, that lack of action is partly to blame for the over 30,000 new websites hacked daily.
You shouldn’t need to be a cyber-security expert to keep your site safe from attack. And with the new Solid Security Pro Onboarding, you don’t have to be an expert. Anyone can secure their WordPress website in minutes without a computer science degree.
Solid Security Pro Onboarding Walkthrough
Let’s look at how to secure your site in seven easy steps.

Step 1 – Pick a Security Site Template
The first step to secure your site is to pick a Security Site Template.
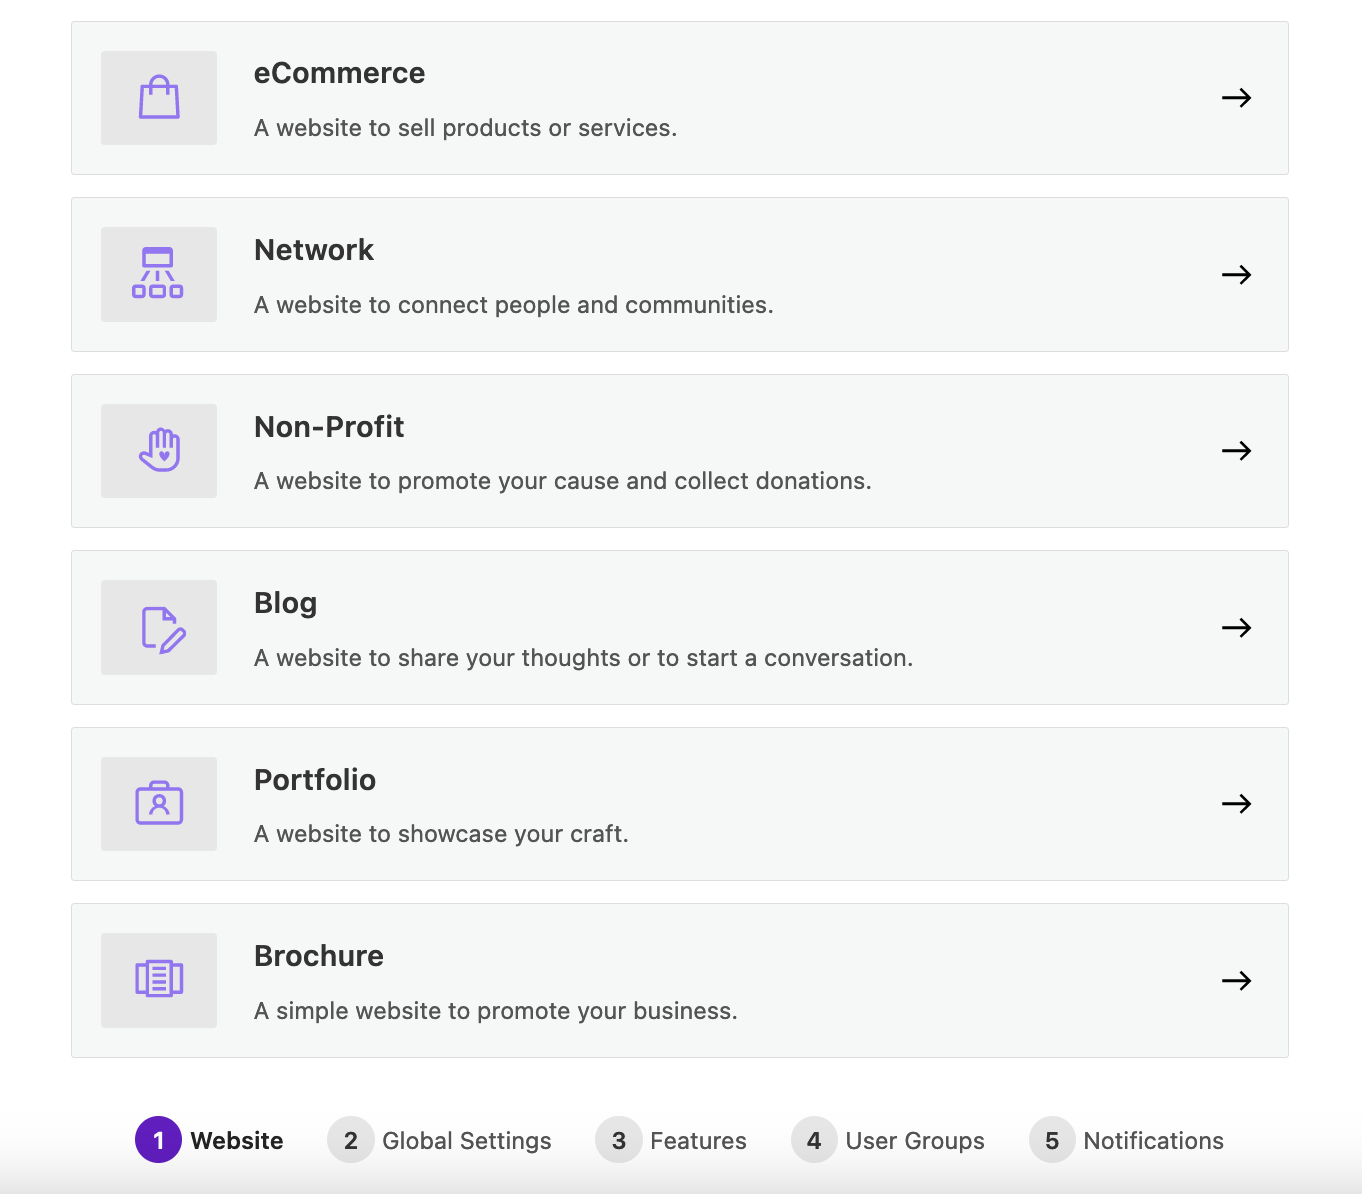
An eCommerce site requires a different level of security than your average blog. That is why we created security site templates to auto-configure the best security settings for your website. You can choose from six different site templates.
- eCommerce – A website to sell products or services.
- Network – A website to connect people and communities.
- Non-Profit – A website to promote your cause or collect donations.
- Blog – A website to share your thoughts or to start a conversation.
- Portfolio – A website to showcase your craft.
- Brochure – A simple website to promote your business.
Step 2 – Identify Important Users
Before we go any further, let’s take a moment to talk about User Groups. To make it easier to manage the user security on your site, Solid Security Pro sorts all your users into different groups. Sorting users into different security groups allows you to manage the security settings that affect user experience.
In step 2, you will identify users who are clients as well as those who will manage Solid Security Pro. You’ll also identify the user role type(s) your customers use.
Like site types, different types of users require different levels of security. After you identify the site’s key stakeholders, Solid Security Pro will sort them into security groups. Then, the Solid Security onboarding wizard will ask you questions to ensure it applies the right level of security to each group.
Configuring Security For a Client
On the second onboarding screen, the onboarding wizard will ask if you are configuring Solid Security for a client.
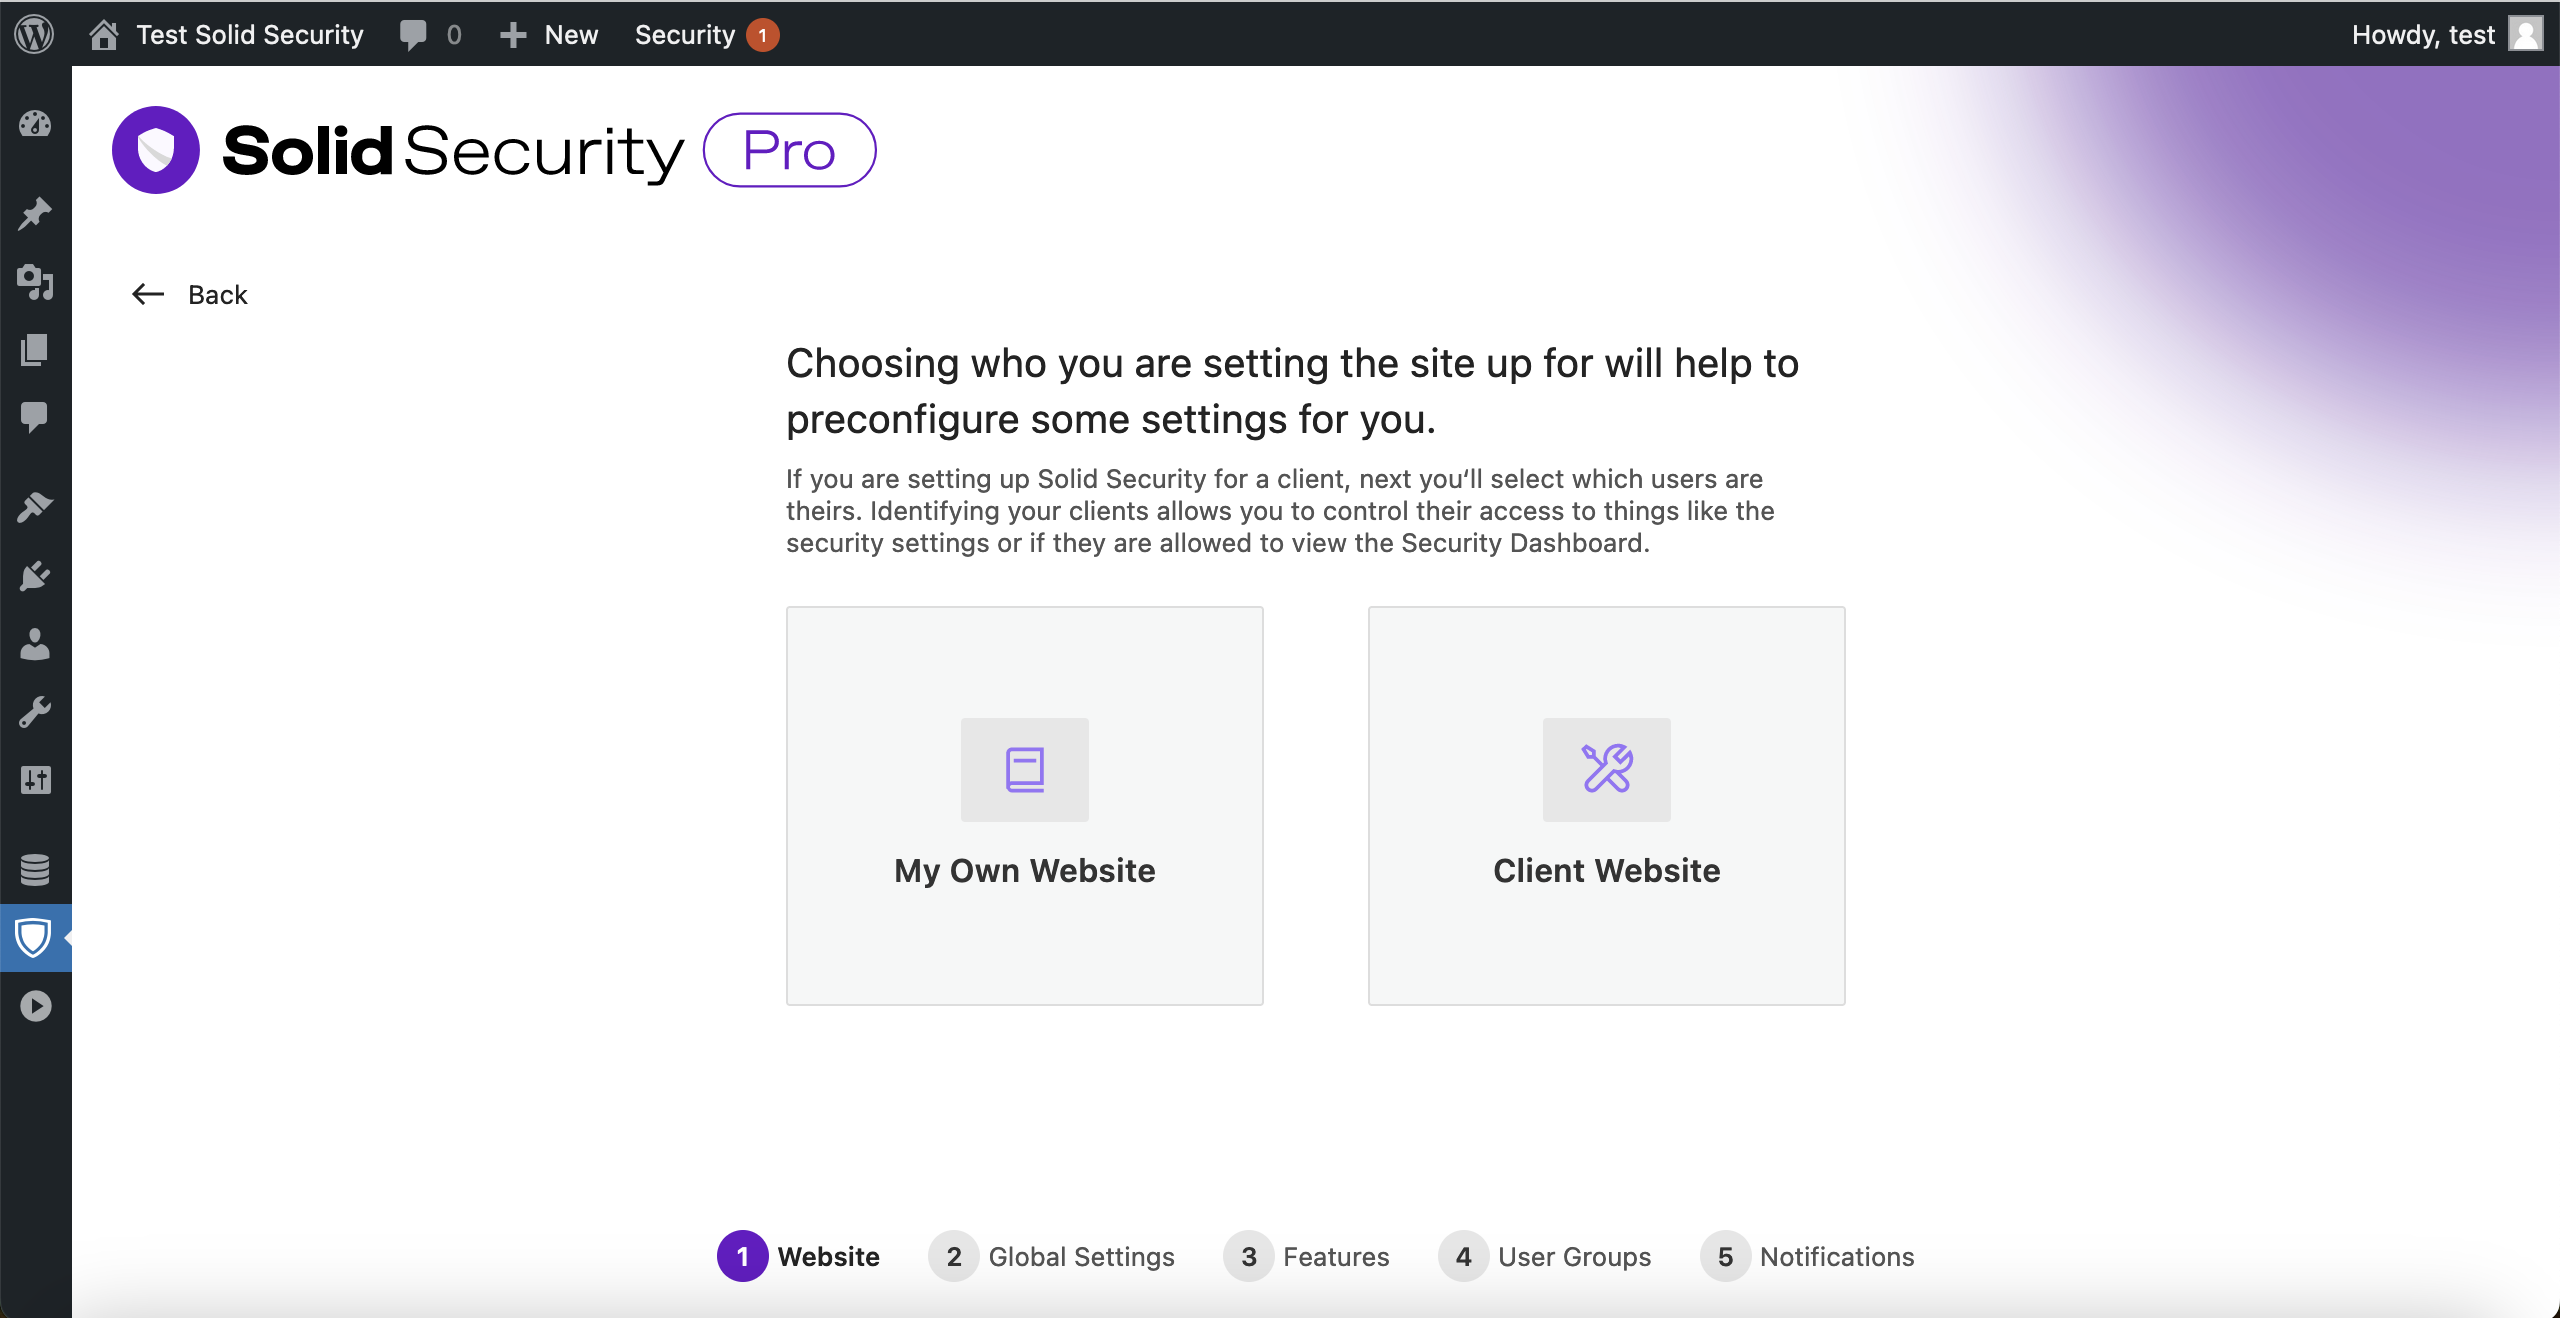
We designed the onboarding process to simplify your work when configuring Solid Security Pro for a client’s site. After you select Client Website in step two, the onboarding wizard will ask you to identify your client’s WordPress user accounts.
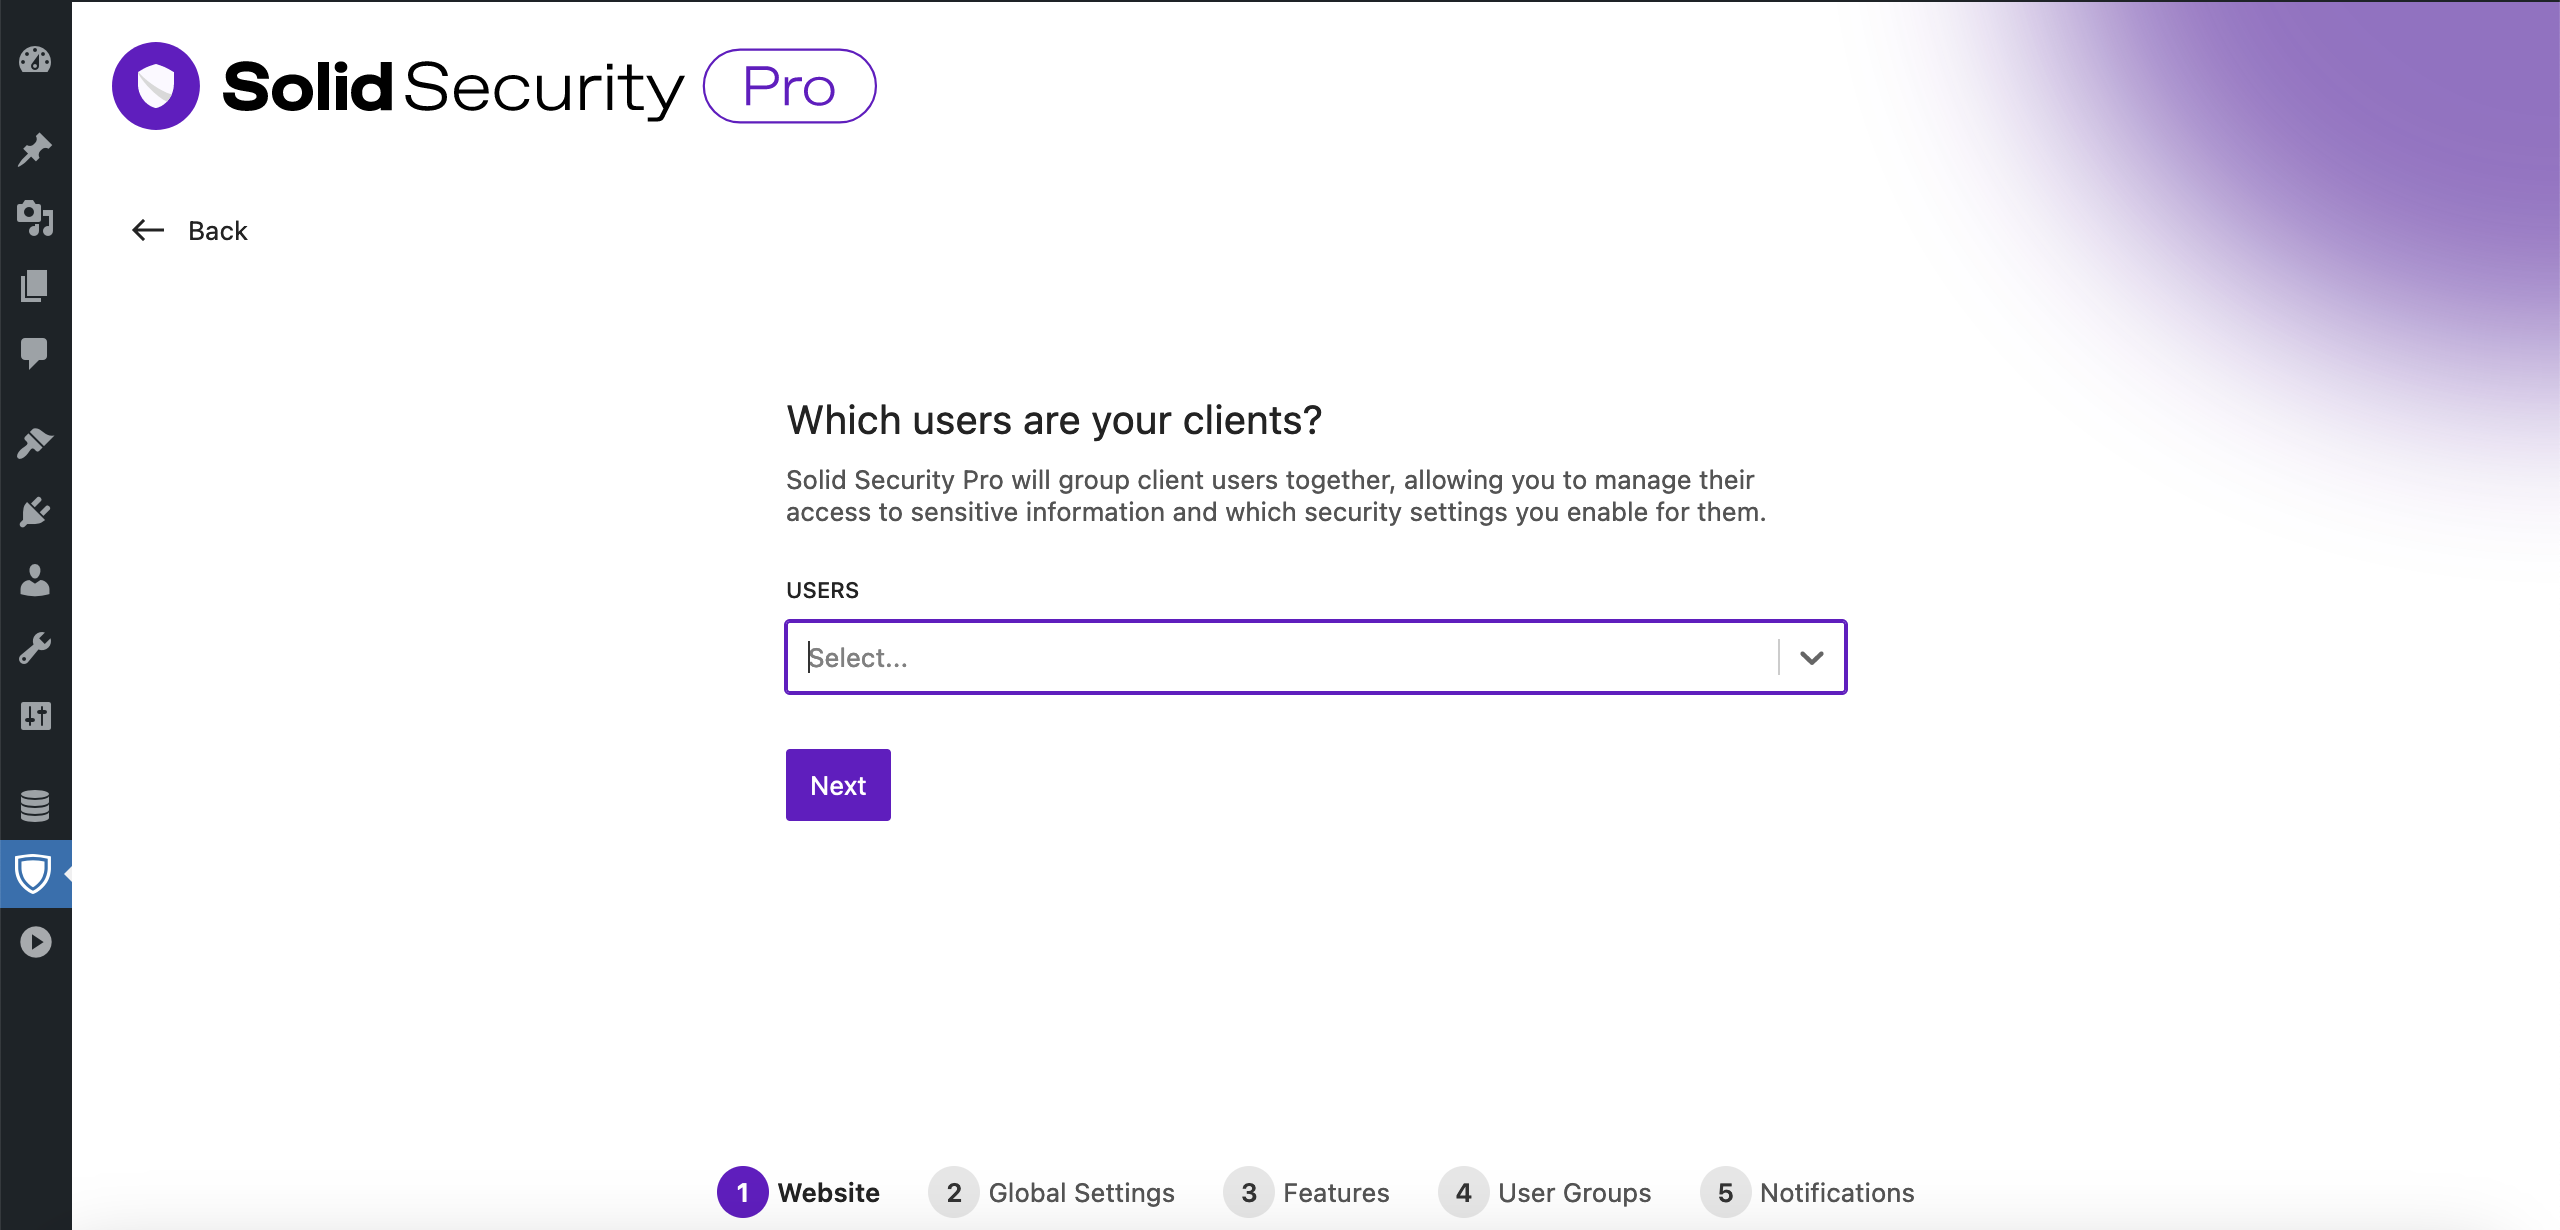
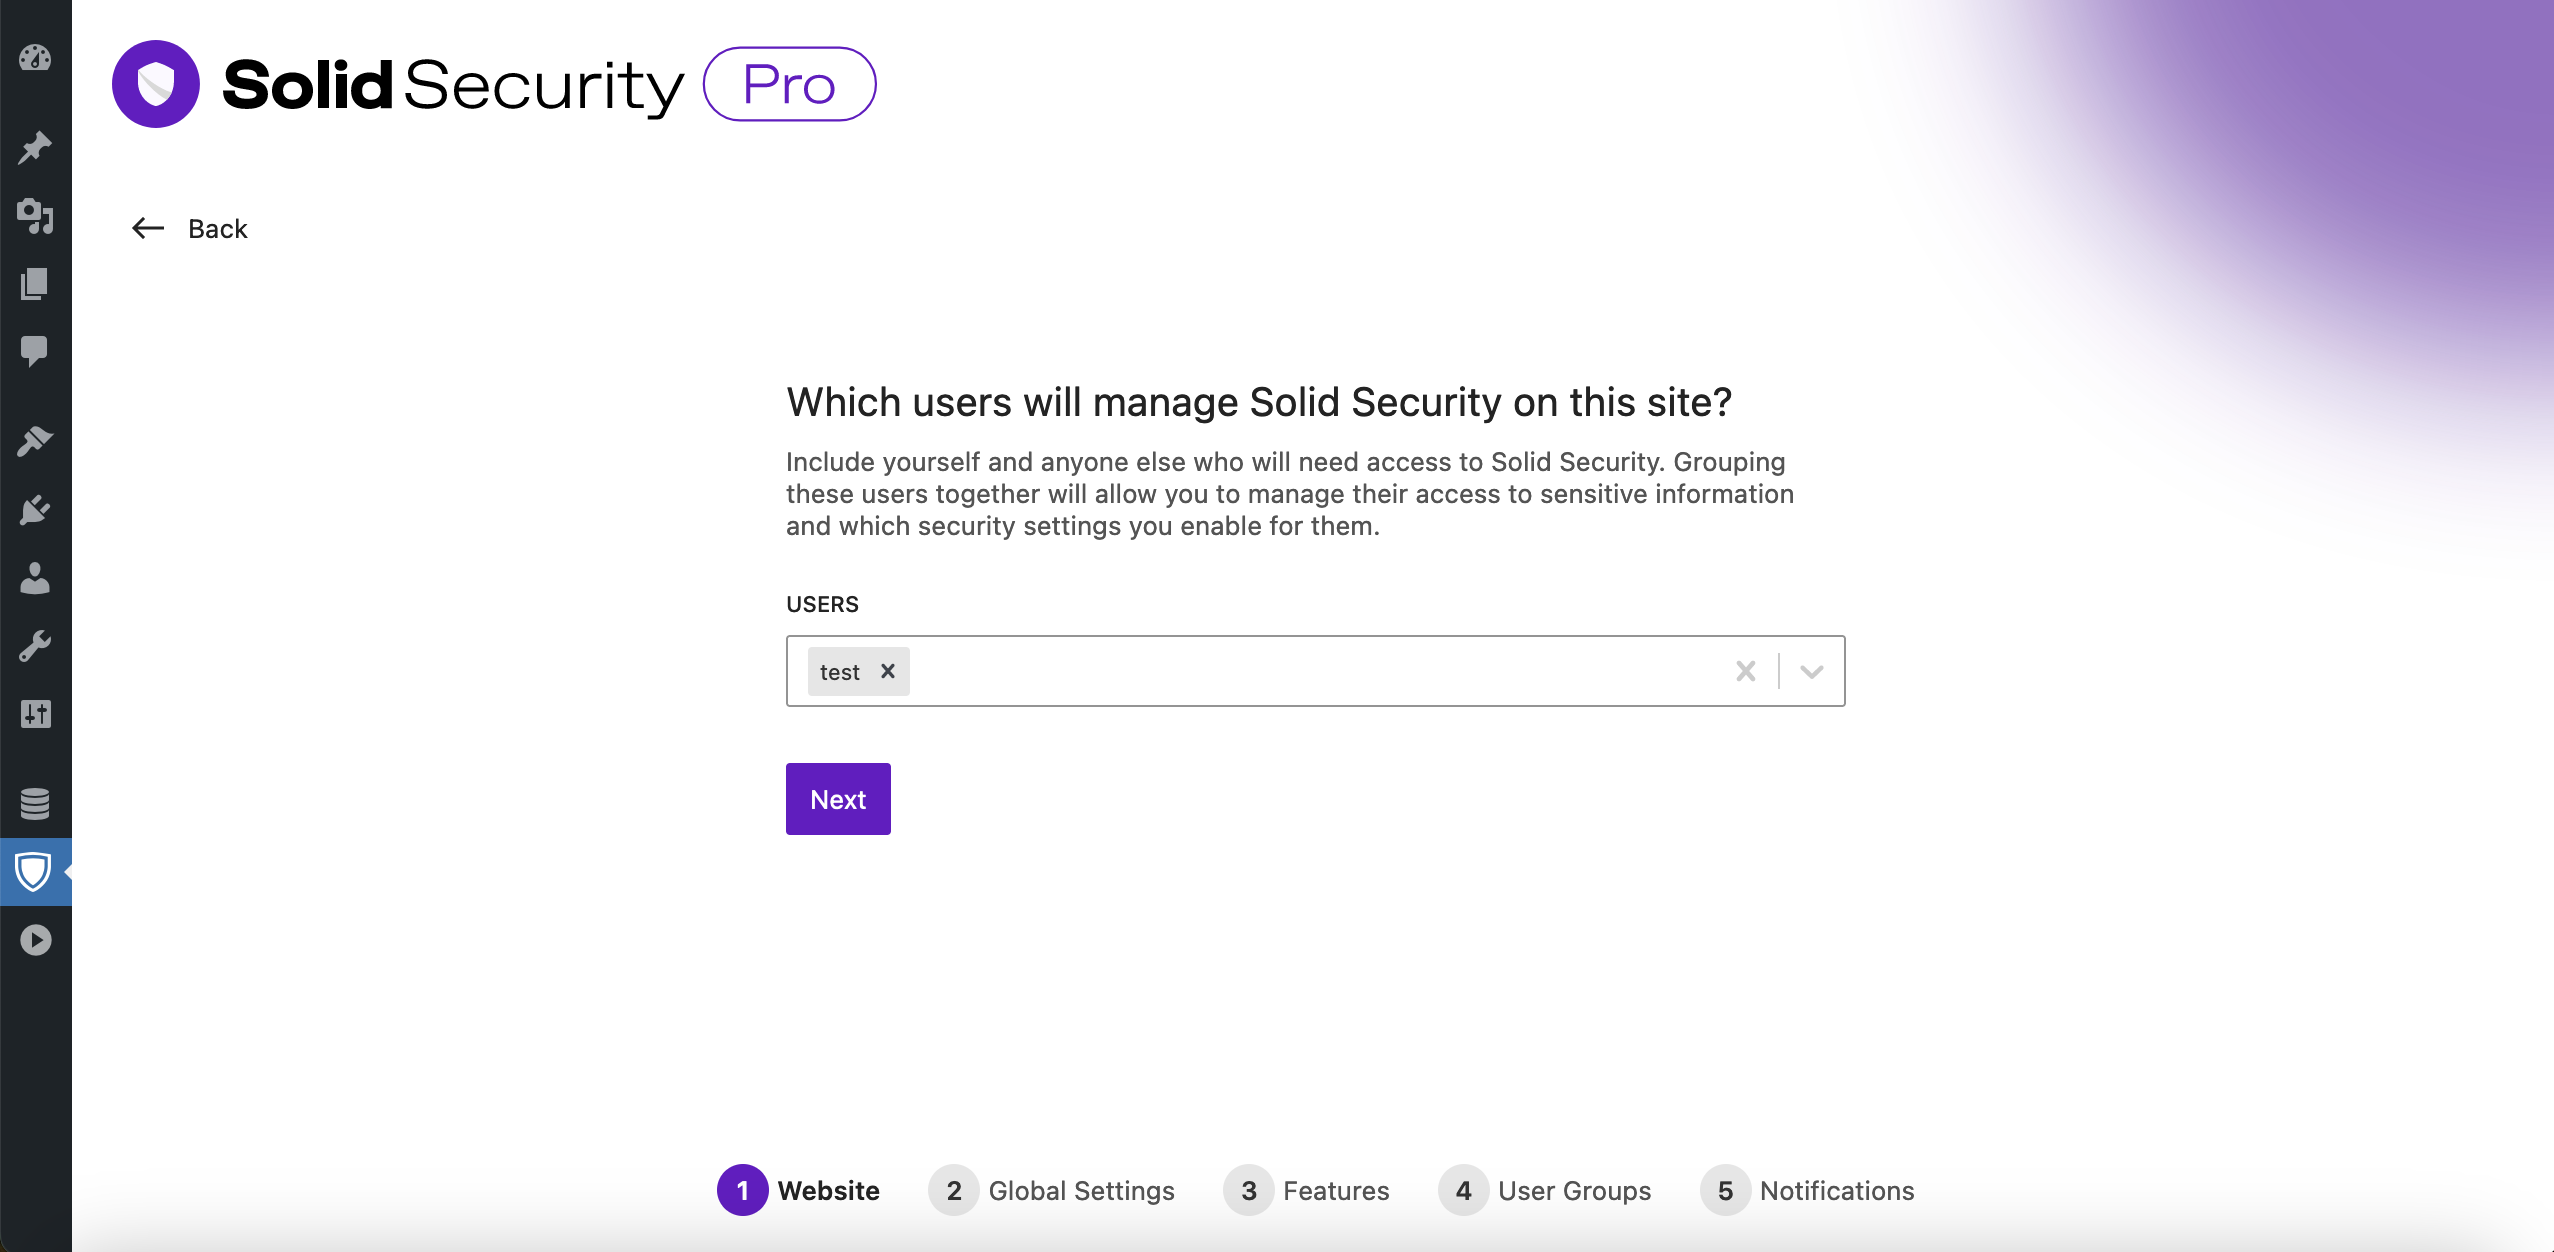
Next, the onboarding wizard will ask you to identify the users responsible for managing Solid Security. After you do that, the wizard adds them to a security group named “Clients.”
Selecting Who Will Manage Solid Security Pro
Identifying the people responsible for managing Solid Security Pro will allow you to control who has access to the security settings and notifications.
Next, the onboarding wizard will ask, “Should your clients be able to view and change the Solid Security Pro settings?”
Now, you must decide whether your clients should have access to the Solid Security Pro settings. (Your client’s user accounts were added to the security group named “Clients” in the previous step.)
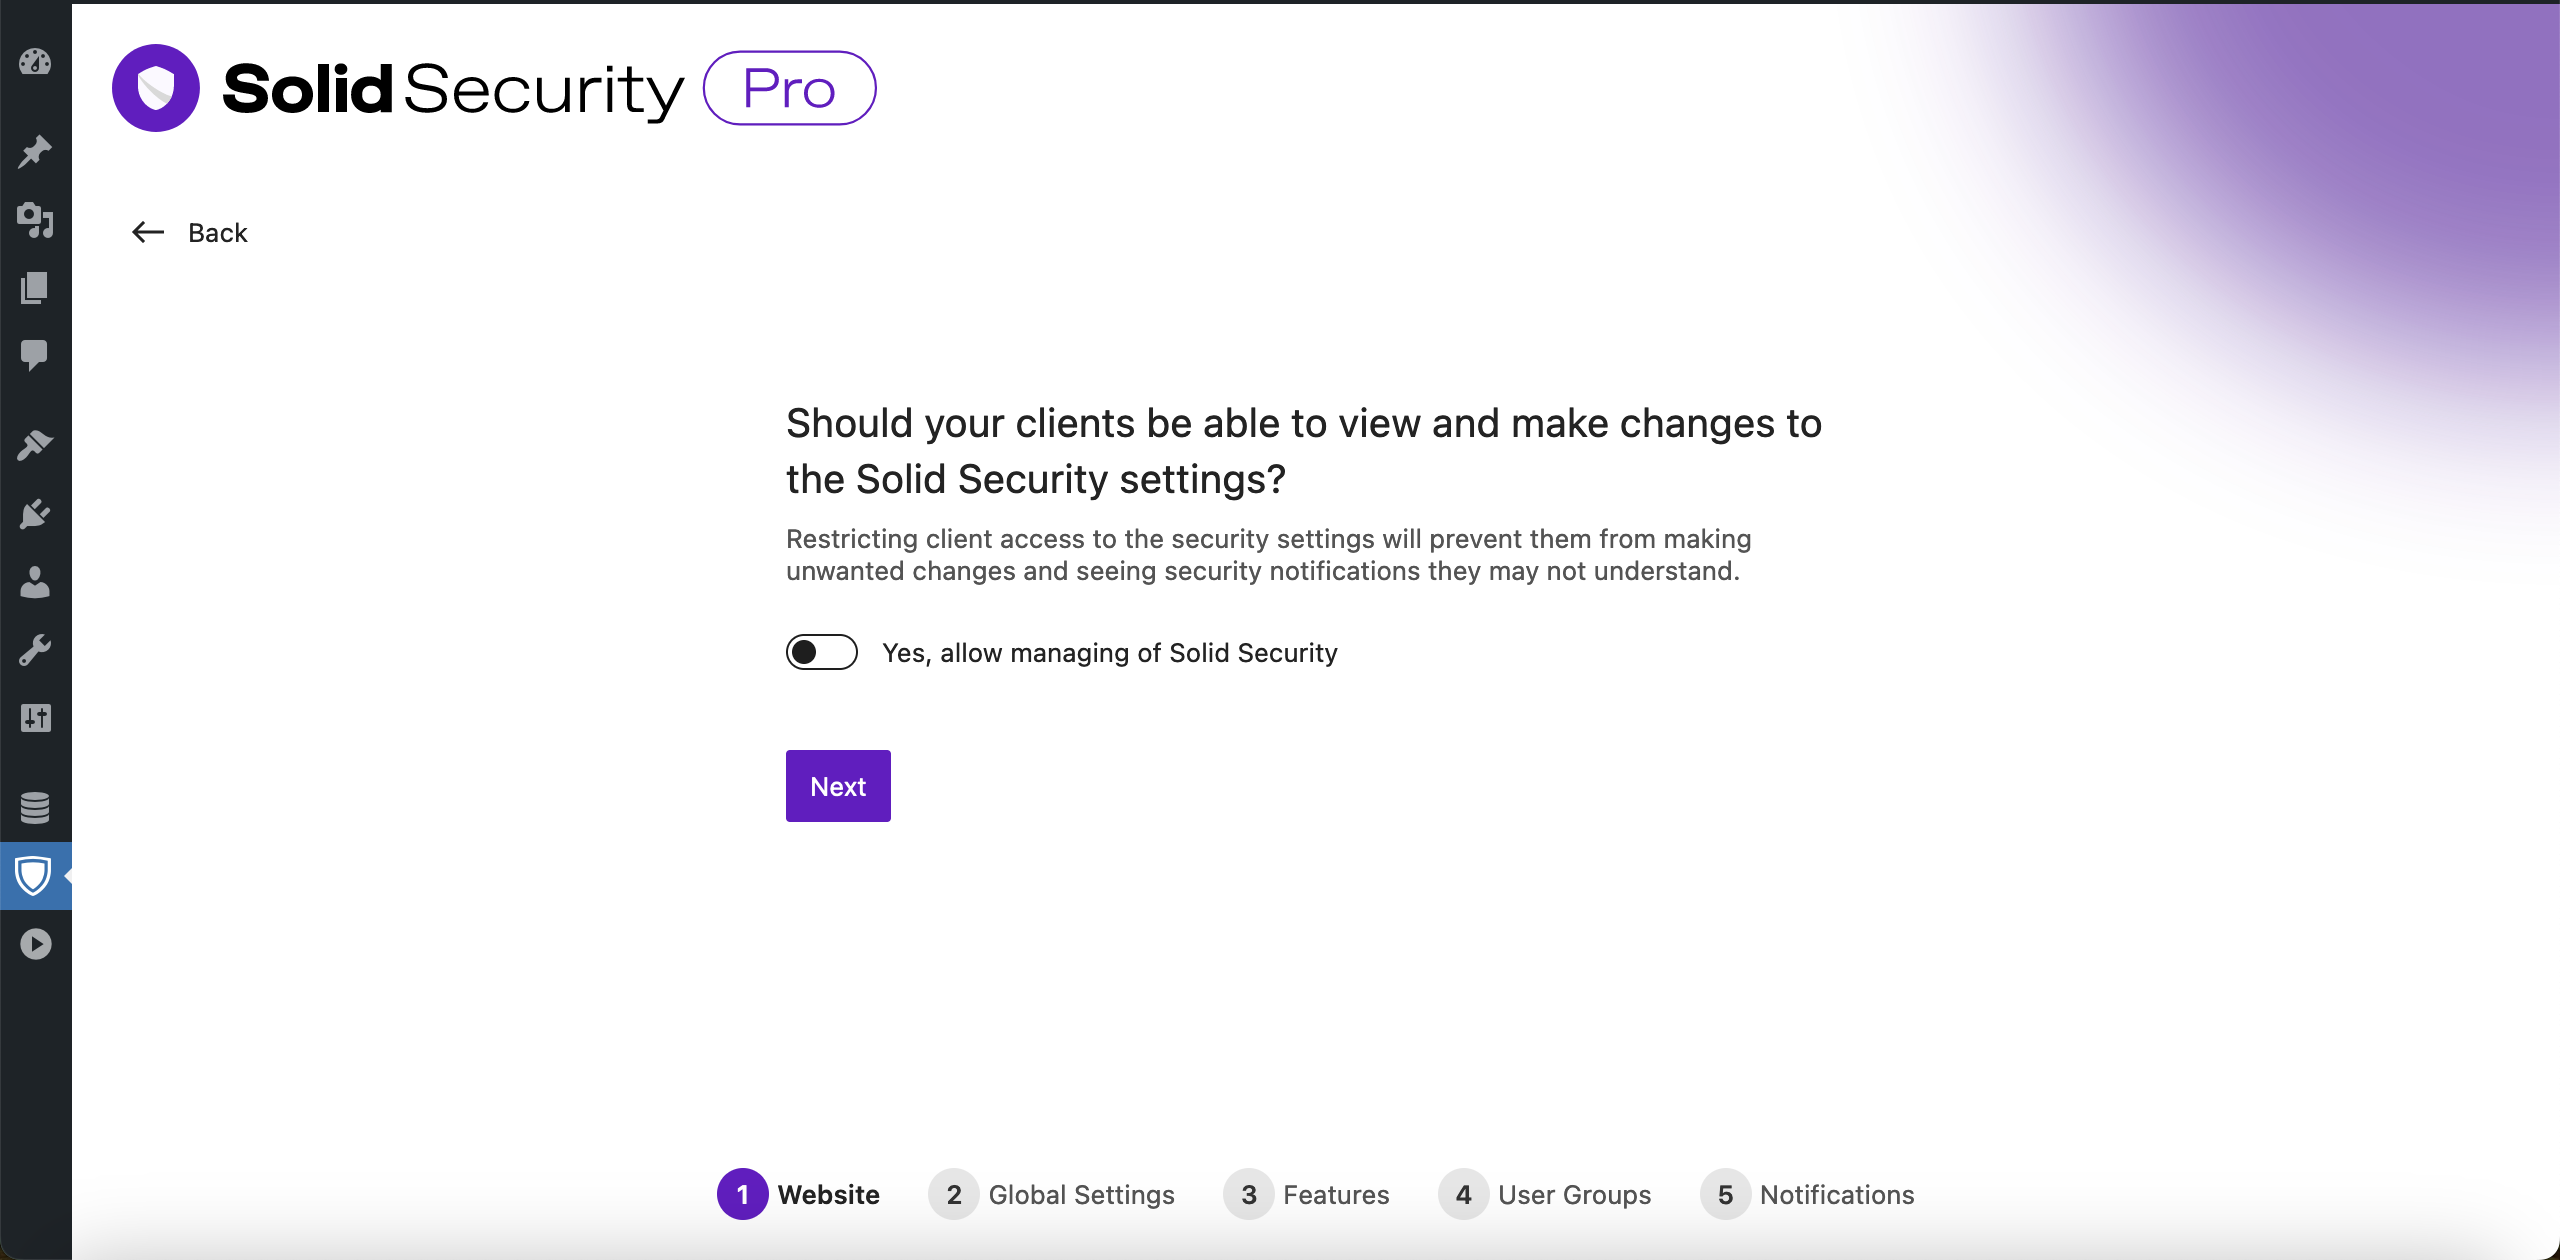
There are times when your clients will need to have Administrator access on a site that you manage for them. All Administrator users have access to the Solid Security Pro settings by default. However, restricting your client’s access to the security settings may be in everyone’s best interest.
We have heard stories of clients changing security settings without knowing what they are changing. Or, a simple lockout notification — a sign that security is working — caused unnecessary concern because the client thought it meant they had been hacked.
Limiting access to the security settings can save you and your clients a lot of headaches.
Configuring Security For Customers
During onboarding, you will be asked to select the WordPress user roles assigned to your customers. Depending on the complexity of your site, you may have multiple user roles for your different types of customers.
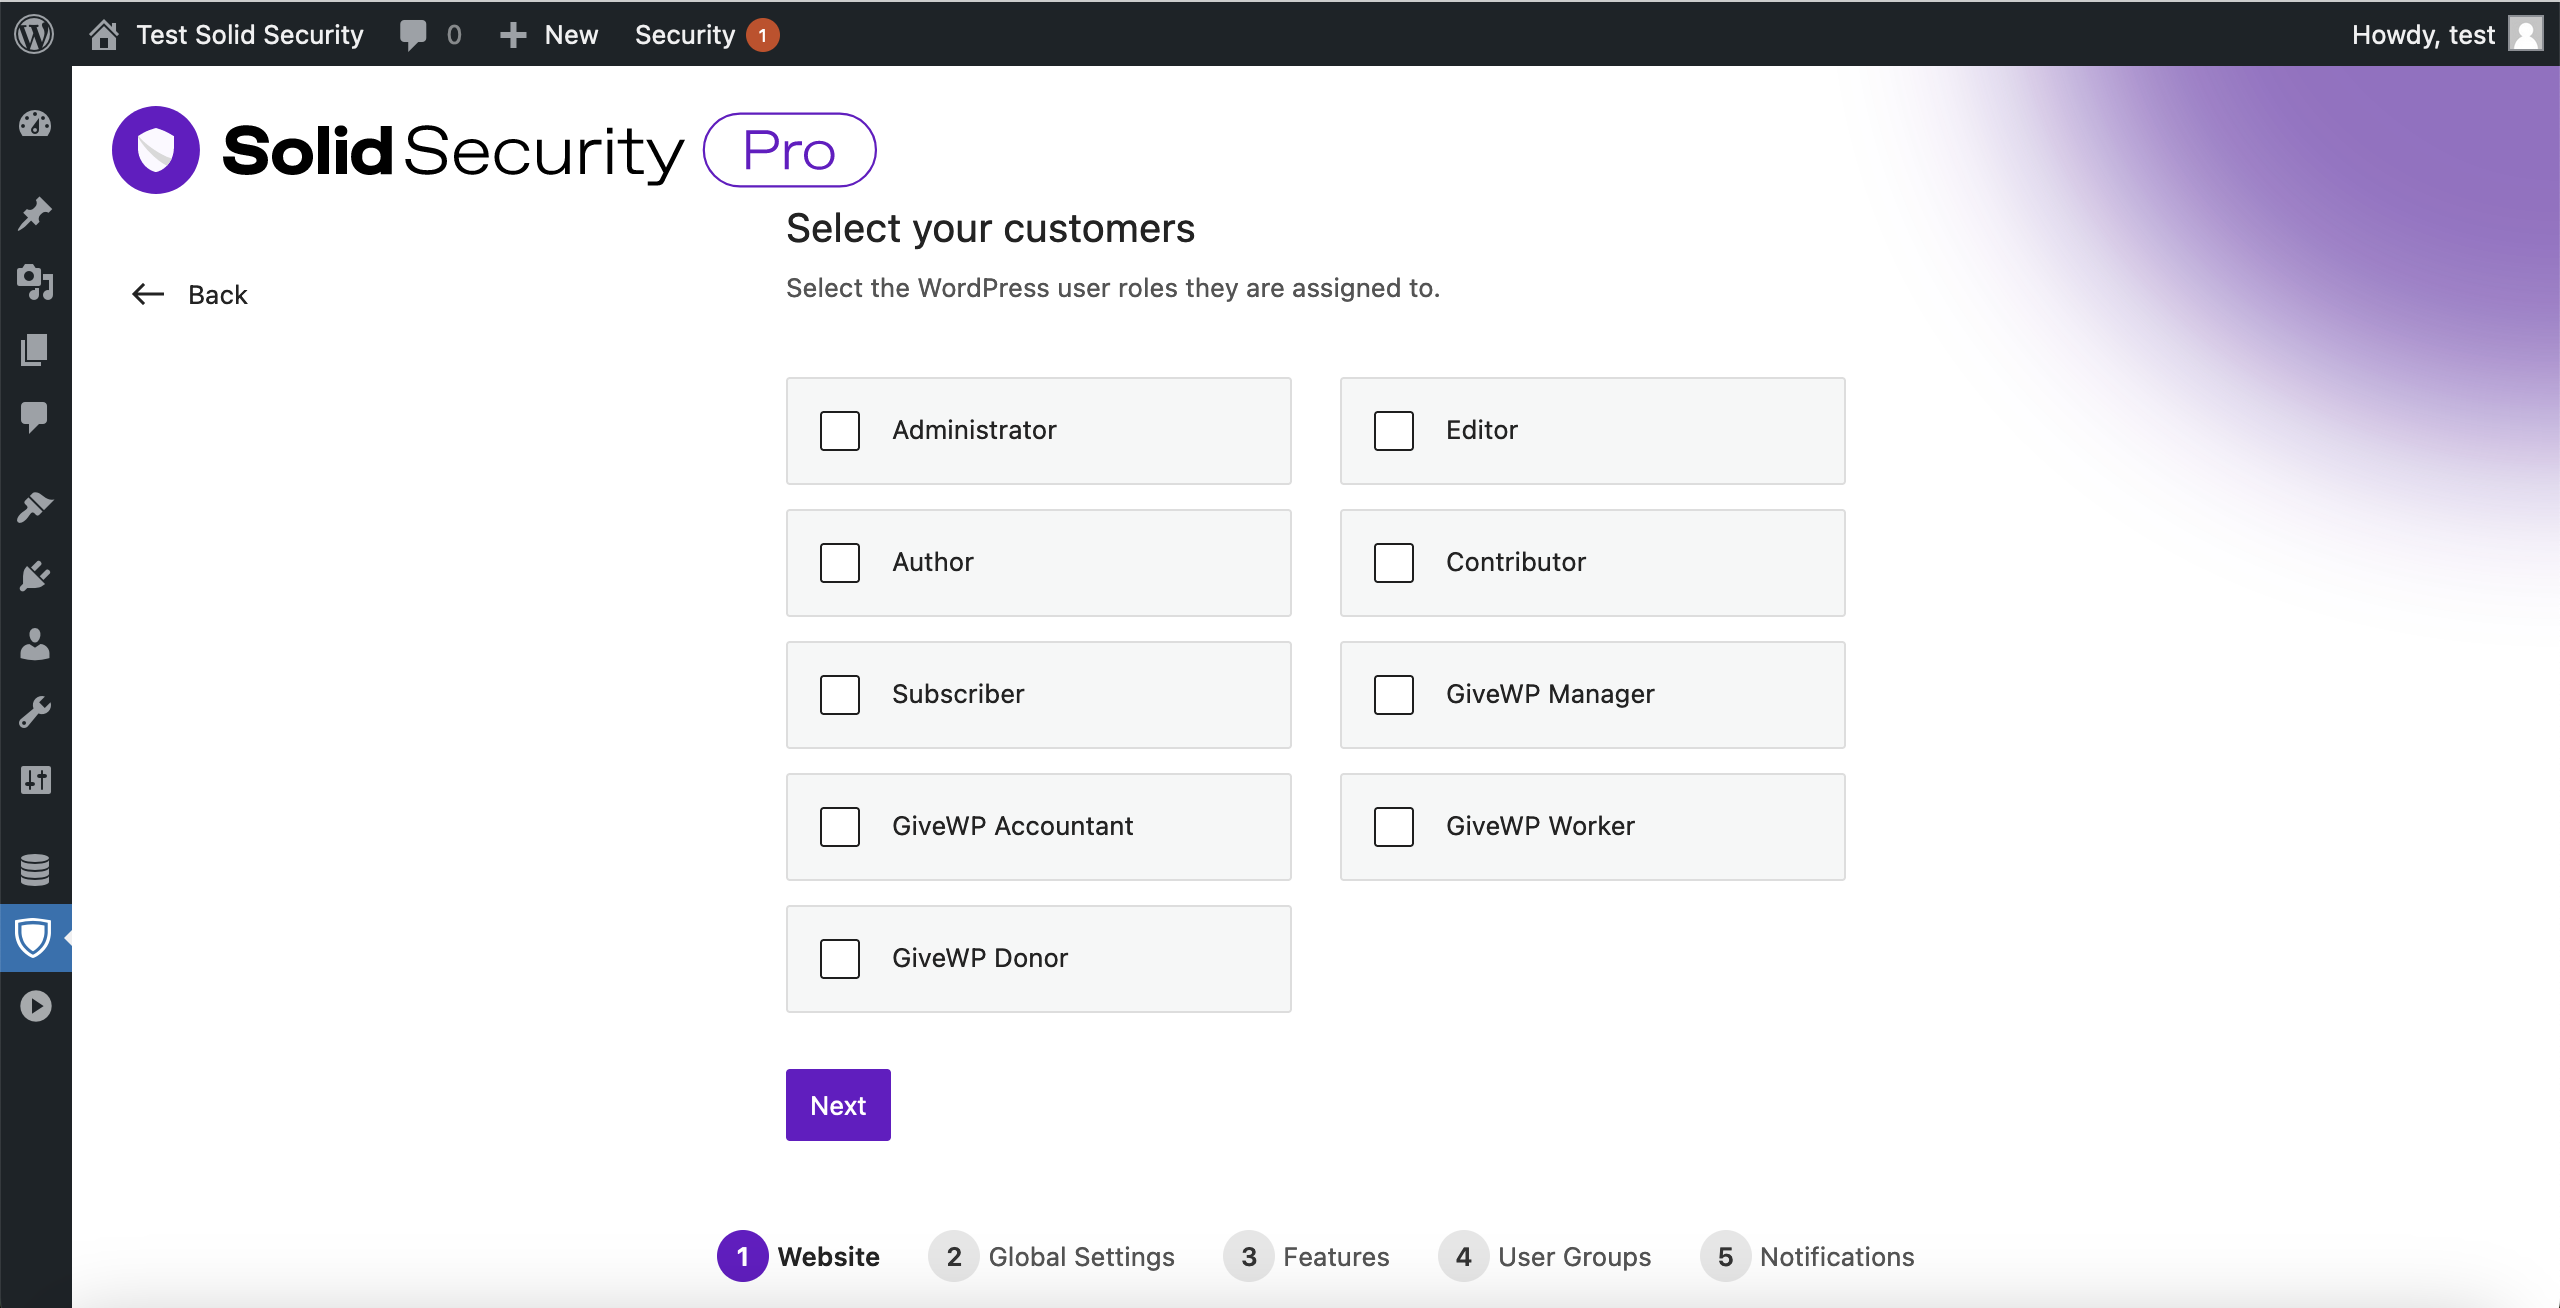
Solid Security Pro will create a Customer security group that will include all your customers. You probably don’t want to apply the same level of security to your site Administrators and Customers. Having a Customer security group allows you only to enable the settings that make sense for this type of user.
After selecting your customers, you will be asked two questions about the security features you want to enable for this group.
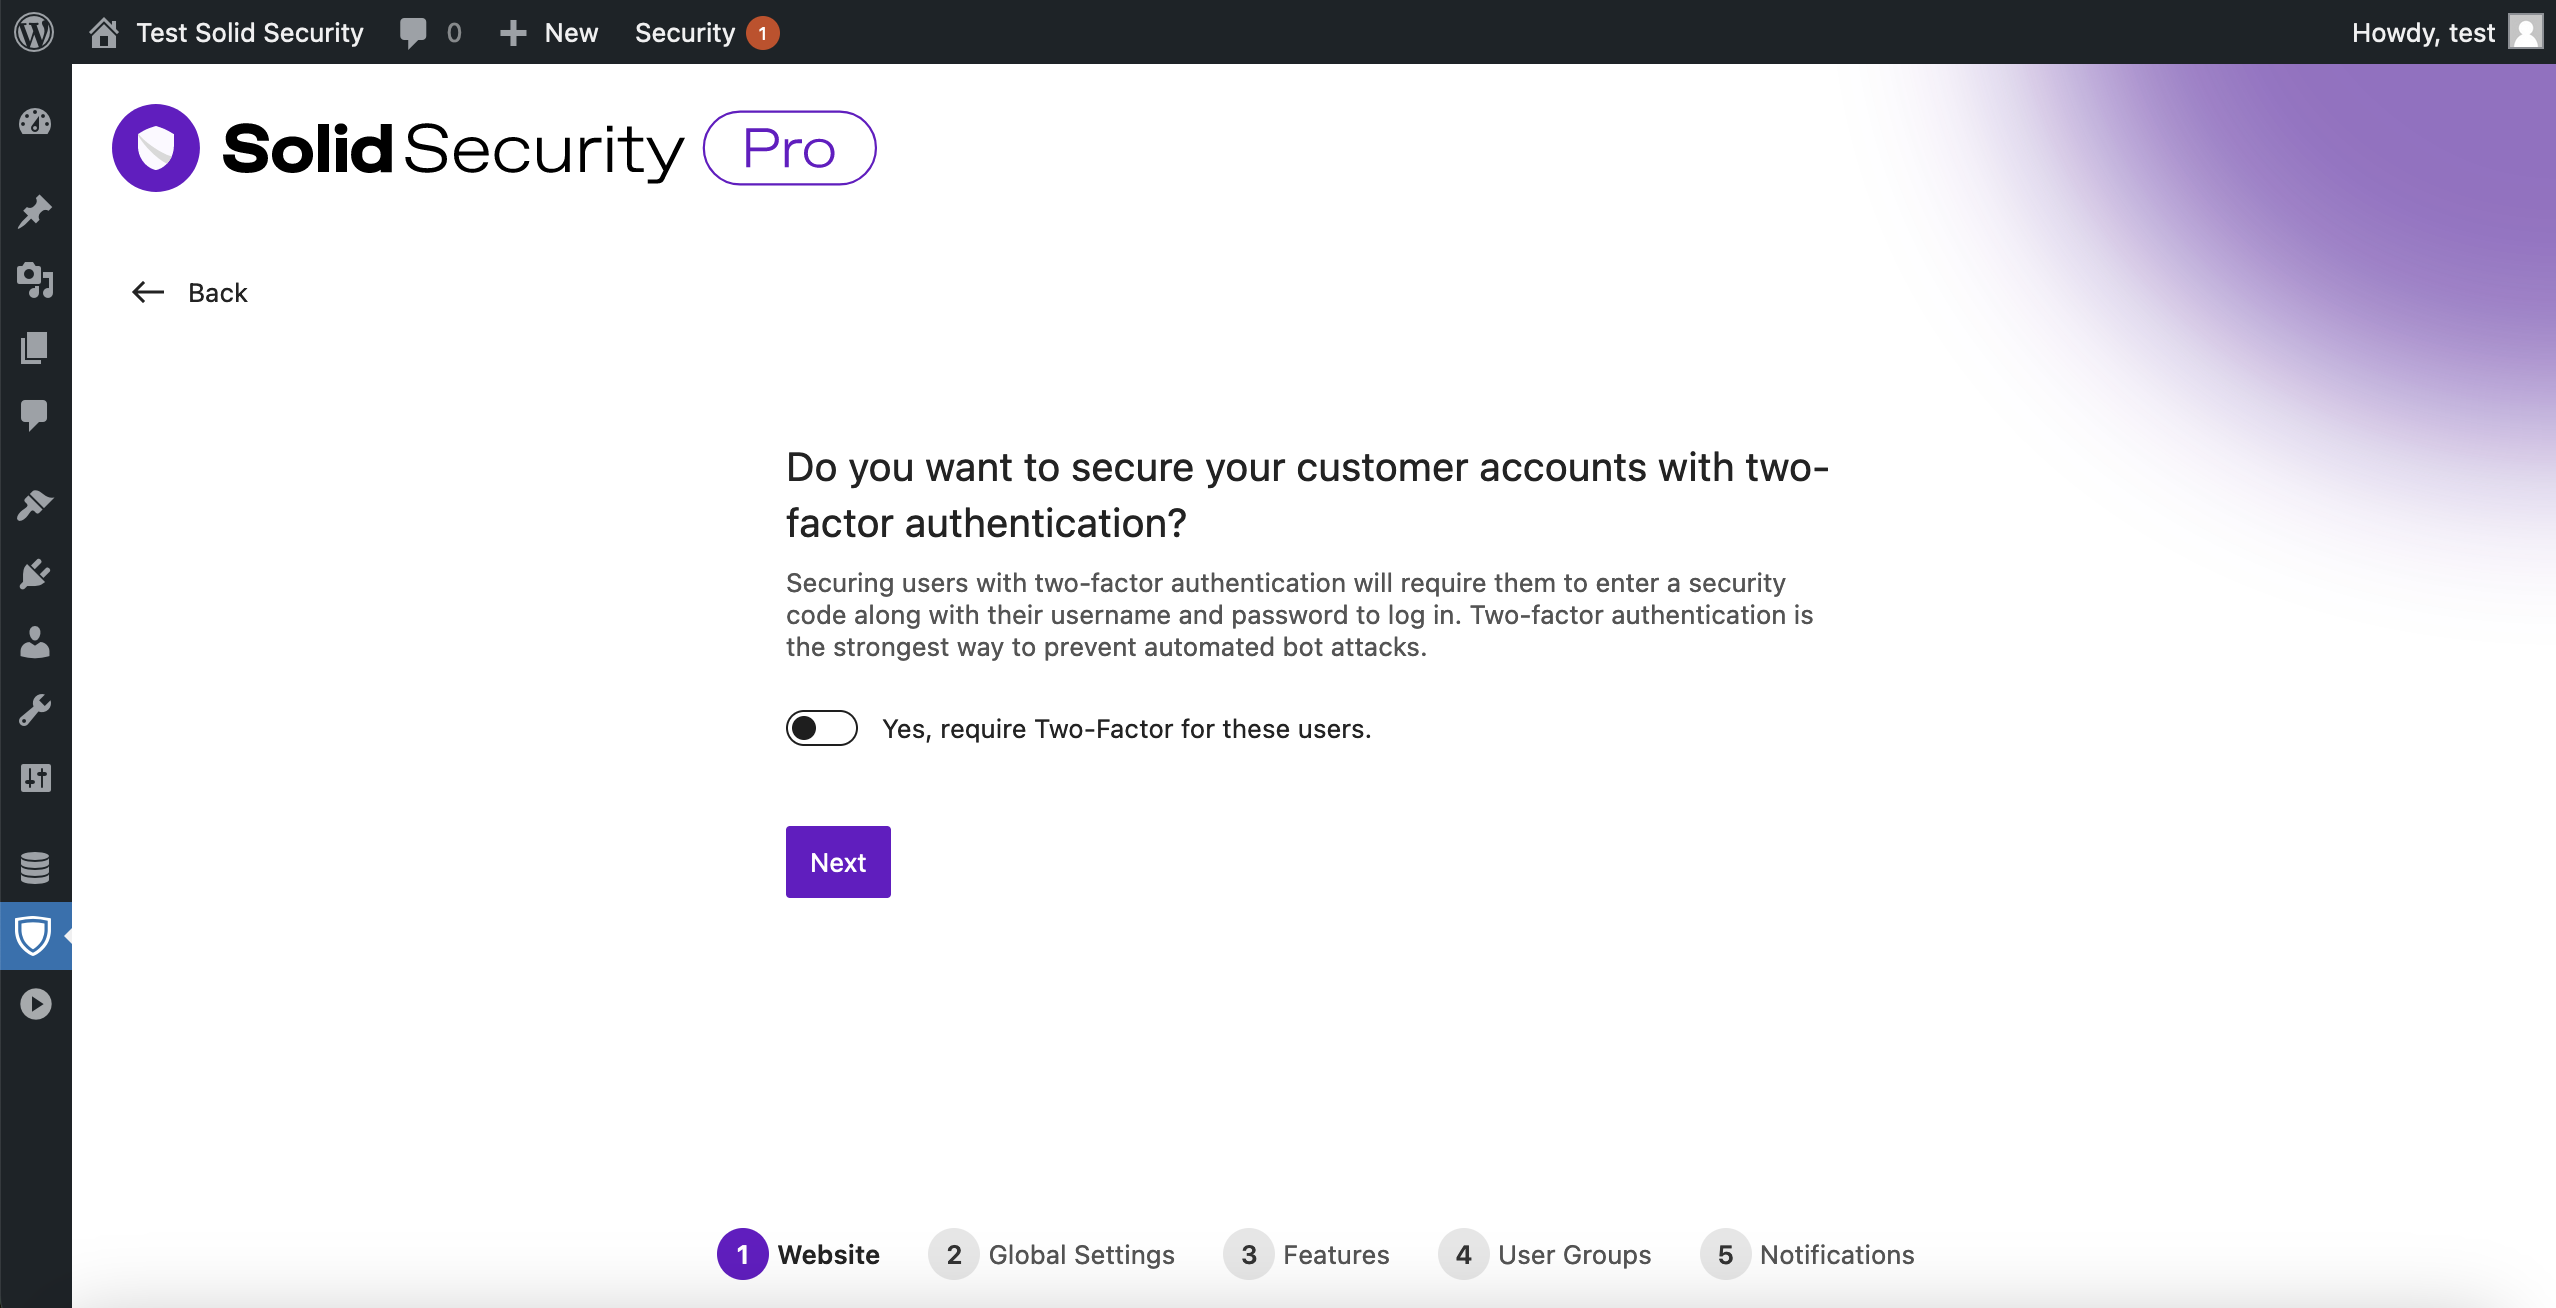
Question 1: Do you want to secure your customer accounts with two-factor authentication?
Toggle the Yes, require Two-Factor for these users option to force your customers to use two-factor authentication when logging in.
Question 2: Do you want to secure your customer accounts with a password policy?
Toggle the Yes; enforce a password policy for these users will require your customers to use a strong password that hasn’t appeared in a database dump monitored by have i been pwned.
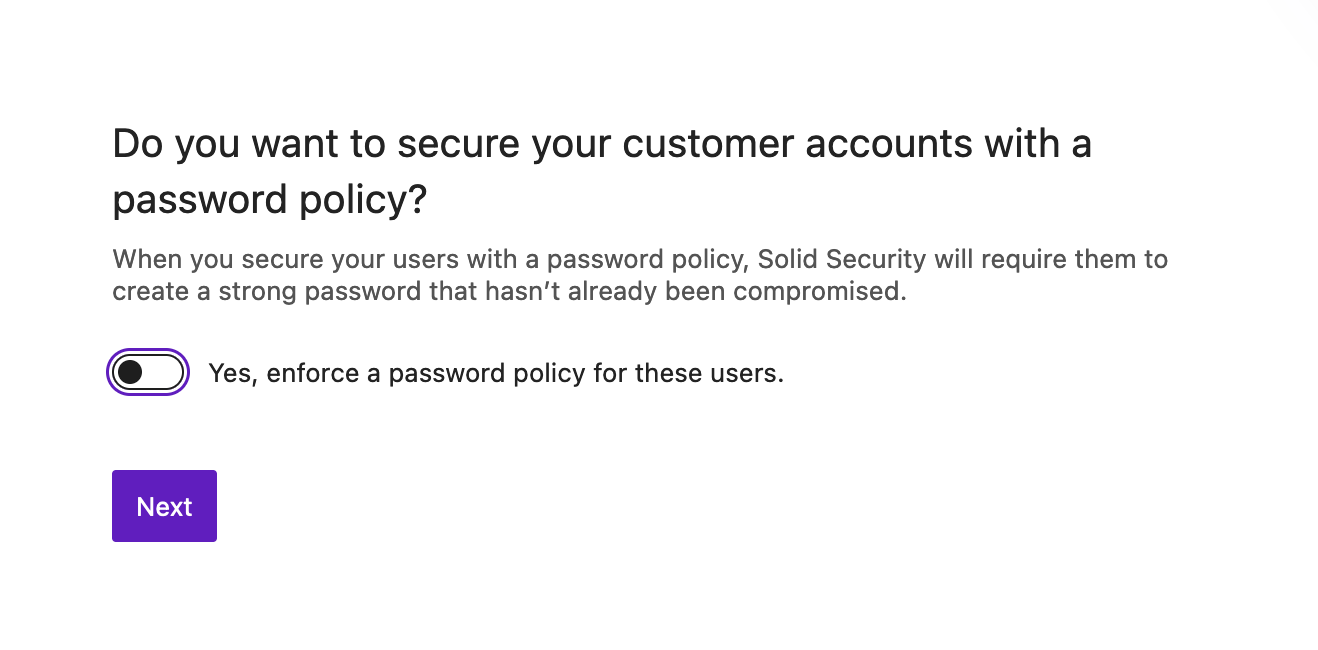
It is completely understandable and encouraged to make creating or logging into a customer account as easy as possible. However, your customers may not know that their password has been found in a data dump. You would be giving your customers a great service by alerting them that their password has been compromised. If they use that password everywhere, you could save them from major headaches.
Step 3 – Enable Important Security Features
In the onboarding flow, we highlight the most important security features you should enable. Let’s take a look at the recommended settings.
Login Security Settings

Login Security
- Two-Factor – Increase the security of your WordPress login page by requiring an extra form of identification to log in.
- Passwordless Login – Allow users to log in without entering a password.
- Trusted Devices – Remove privileges when someone logs in from an unidentified device.
Firewall
- Firewall Rules Engine – Protect your site with firewall rules.
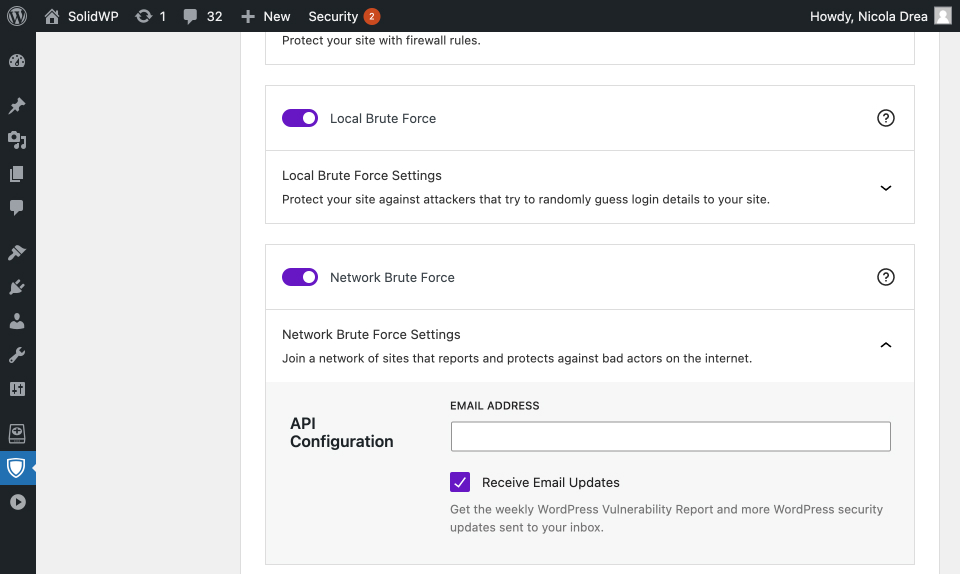
- Local Brute Force – Protect your site against attackers who try to break into user accounts.
- Network Brute Force – Join a network of sites that report and protect against bad actors.
- Magic Links – The Magic Links bypass lockout option allows you to log in while your username or IP is locked out.
- CAPTCHA – Protect your site from bots by verifying that the person submitting comments or logging in is human.
Site Check
- Site Scan Scheduling – Protect your site with automated site scans. When enabled, the site will be automatically scanned twice a day. If a problem is found, an email is sent to select users.
Step 4 – Set Up User Groups
You have two options when setting up User Groups, Default (the easy way) and Custom (the hard way).
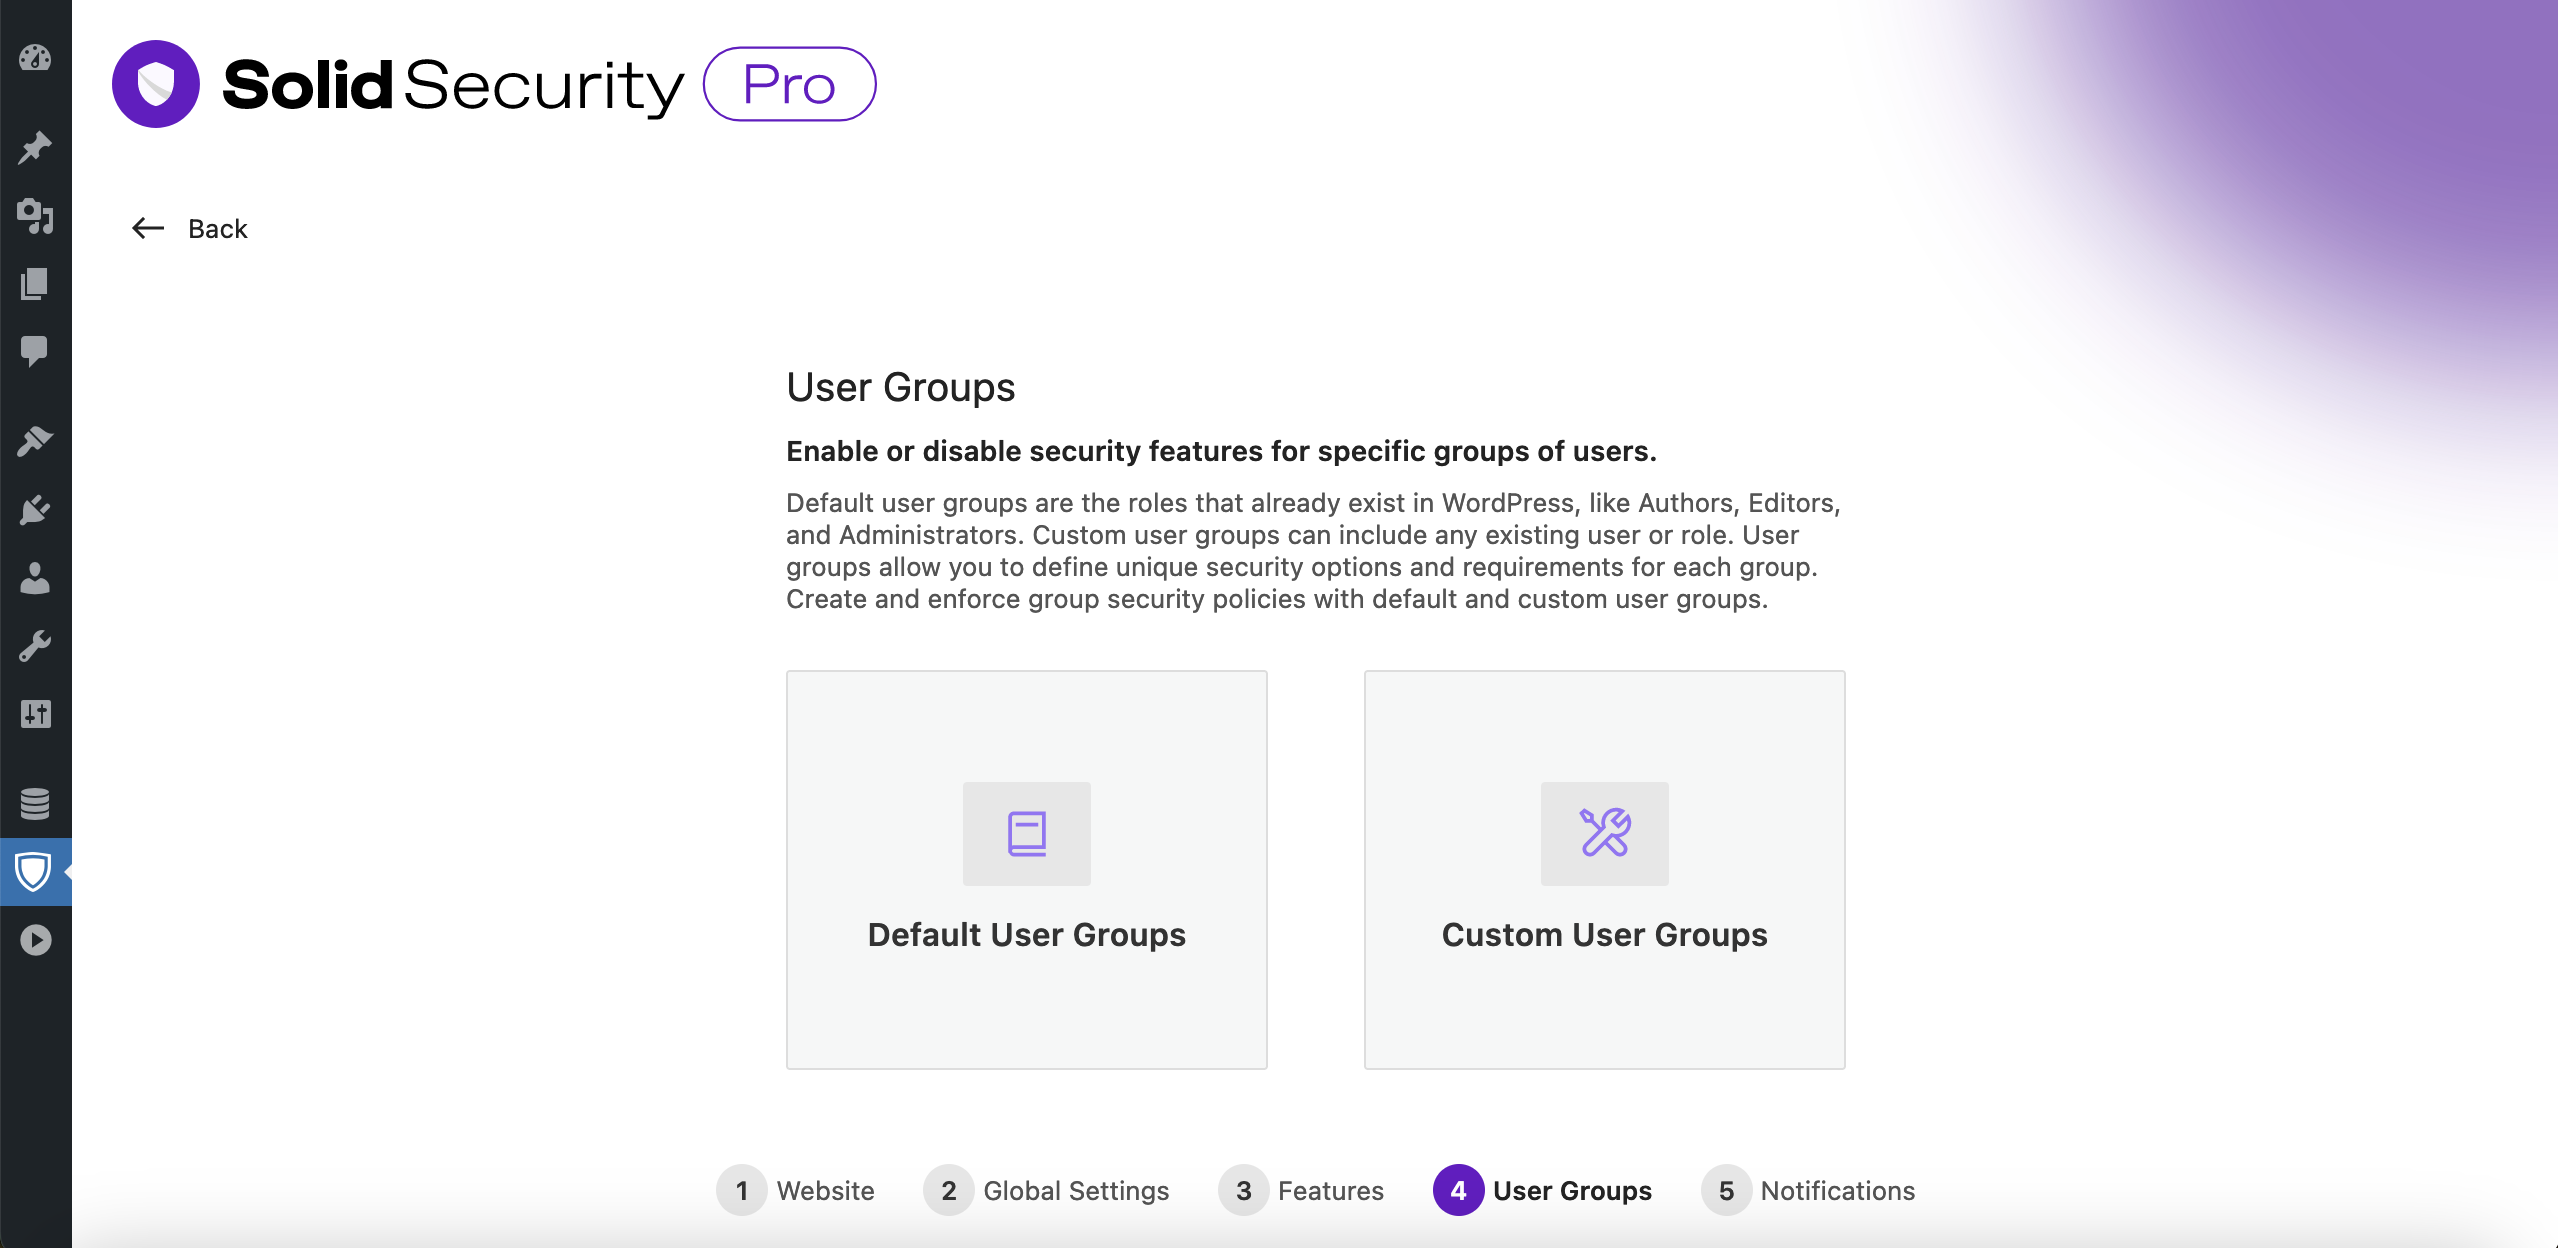
Default User Groups (Recommended)
Default User Groups are the simplest way to start using Solid Security Pro. Solid Security Pro will create the user groups for you and enable security settings for each group based on the Site Template you chose and your answers during onboarding.
We can see that our Clients, Security Managers, and Customer security groups were created.
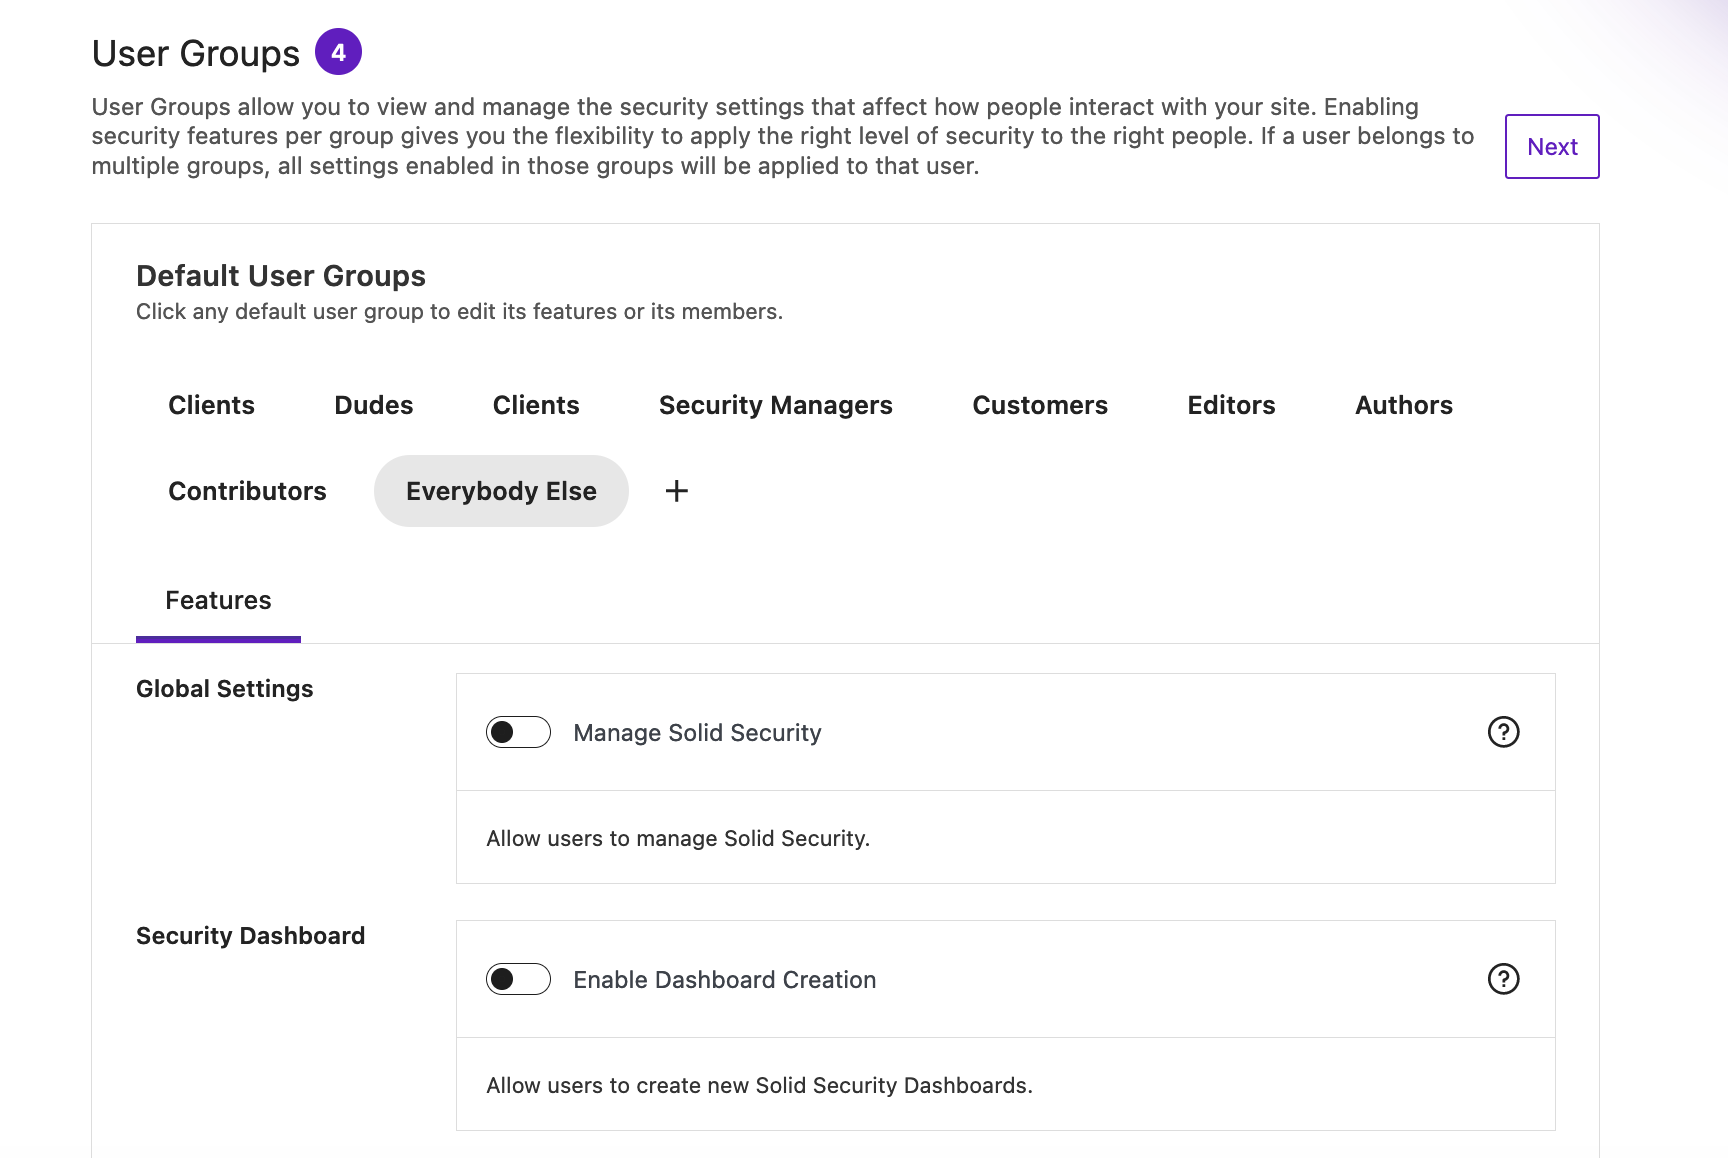
If we select the Customer User Group, we will find our previous decisions confirmed: Strong Passwords and Refused Compromised Passwords are enabled, but Require Two-Factor is not.
If we click the Edit Group tab, we can see that all the user roles we identified as our customers belong to the group.
Custom User Groups
Custom user groups give you more control over how groups are created and what security settings are applied to each group. However, you are required to build your user groups from scratch.
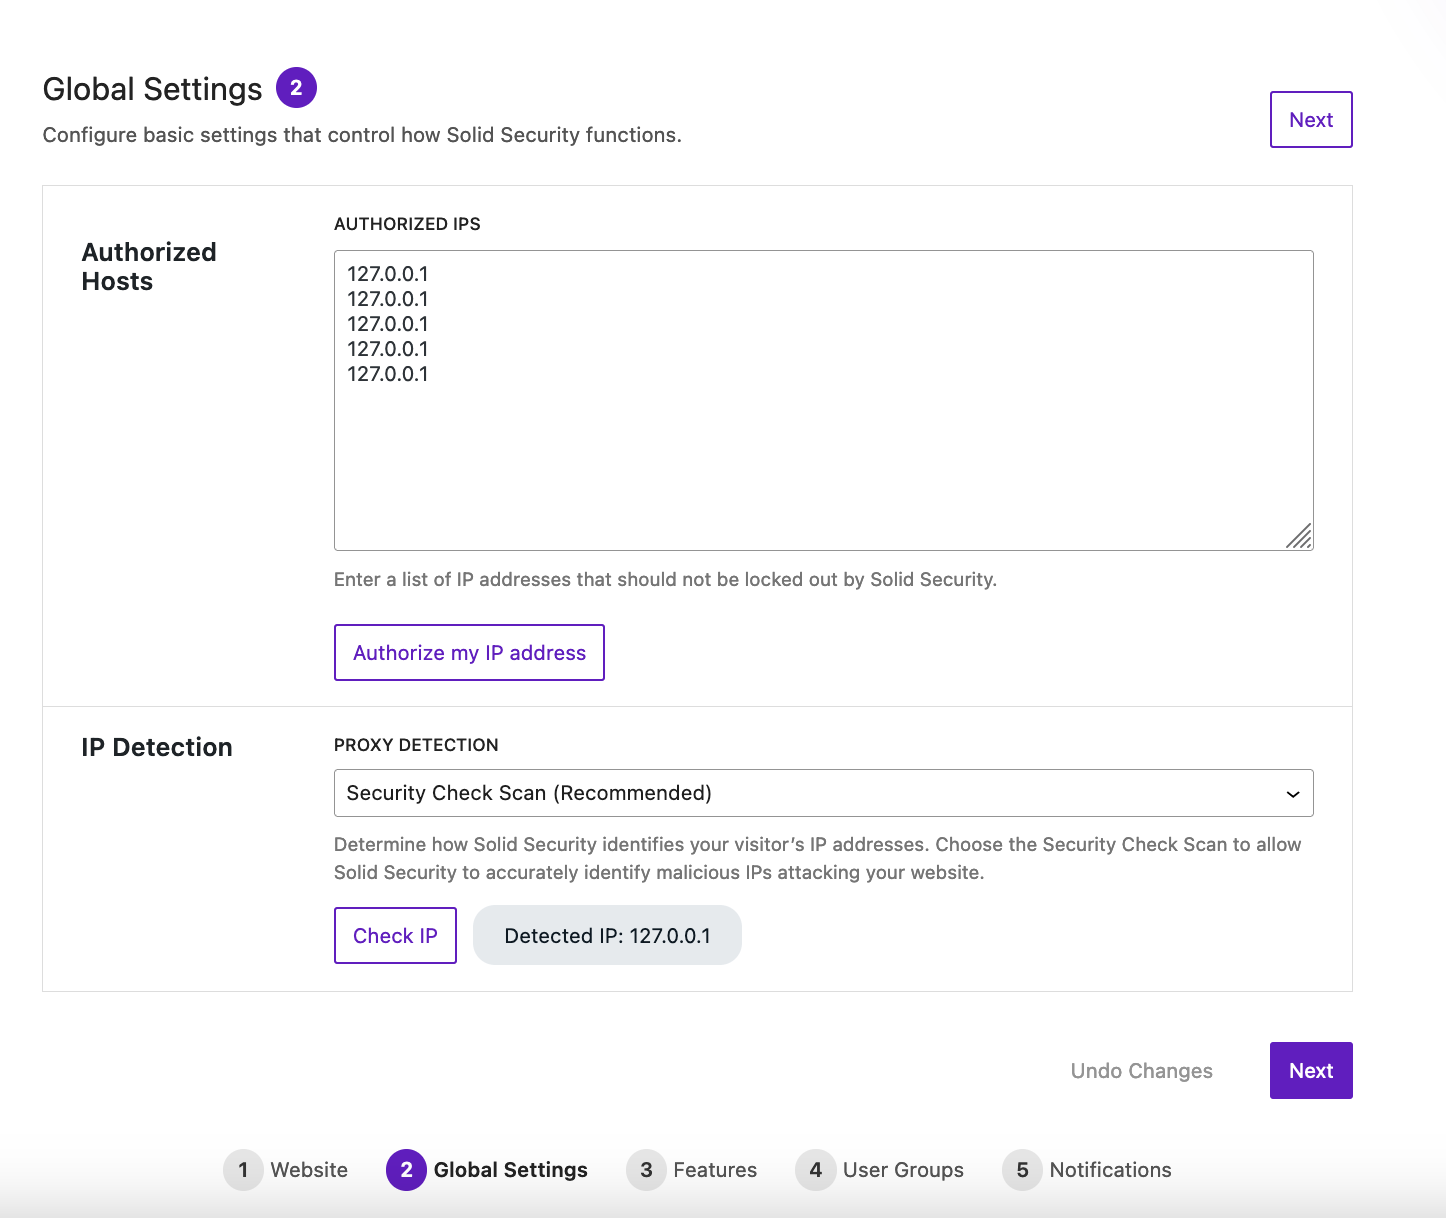
Step 5 – Configure Security Settings
Most Solid Security Pro settings only need to be enabled to start protecting your site. But some settings require a little extra configuration to start blocking bad guys.
Based on the Security Features you’ve enabled while setting up Solid Security Pro, we will show you the most important settings to configure.
Authorized Host List
Add your IP to the Authorized Host List to prevent yourself from getting locked out or banned.
Network Brute Force Protection
Enter your email address to receive your Network Brute Force Protection license.
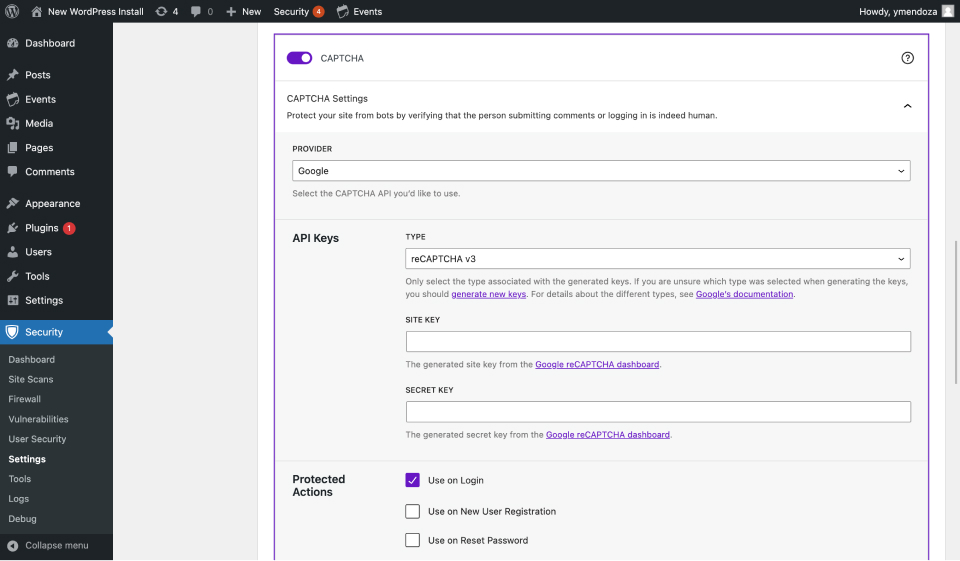
CAPTCHA
Generate new or enter your existing CAPTCHA keys to block bad bots.
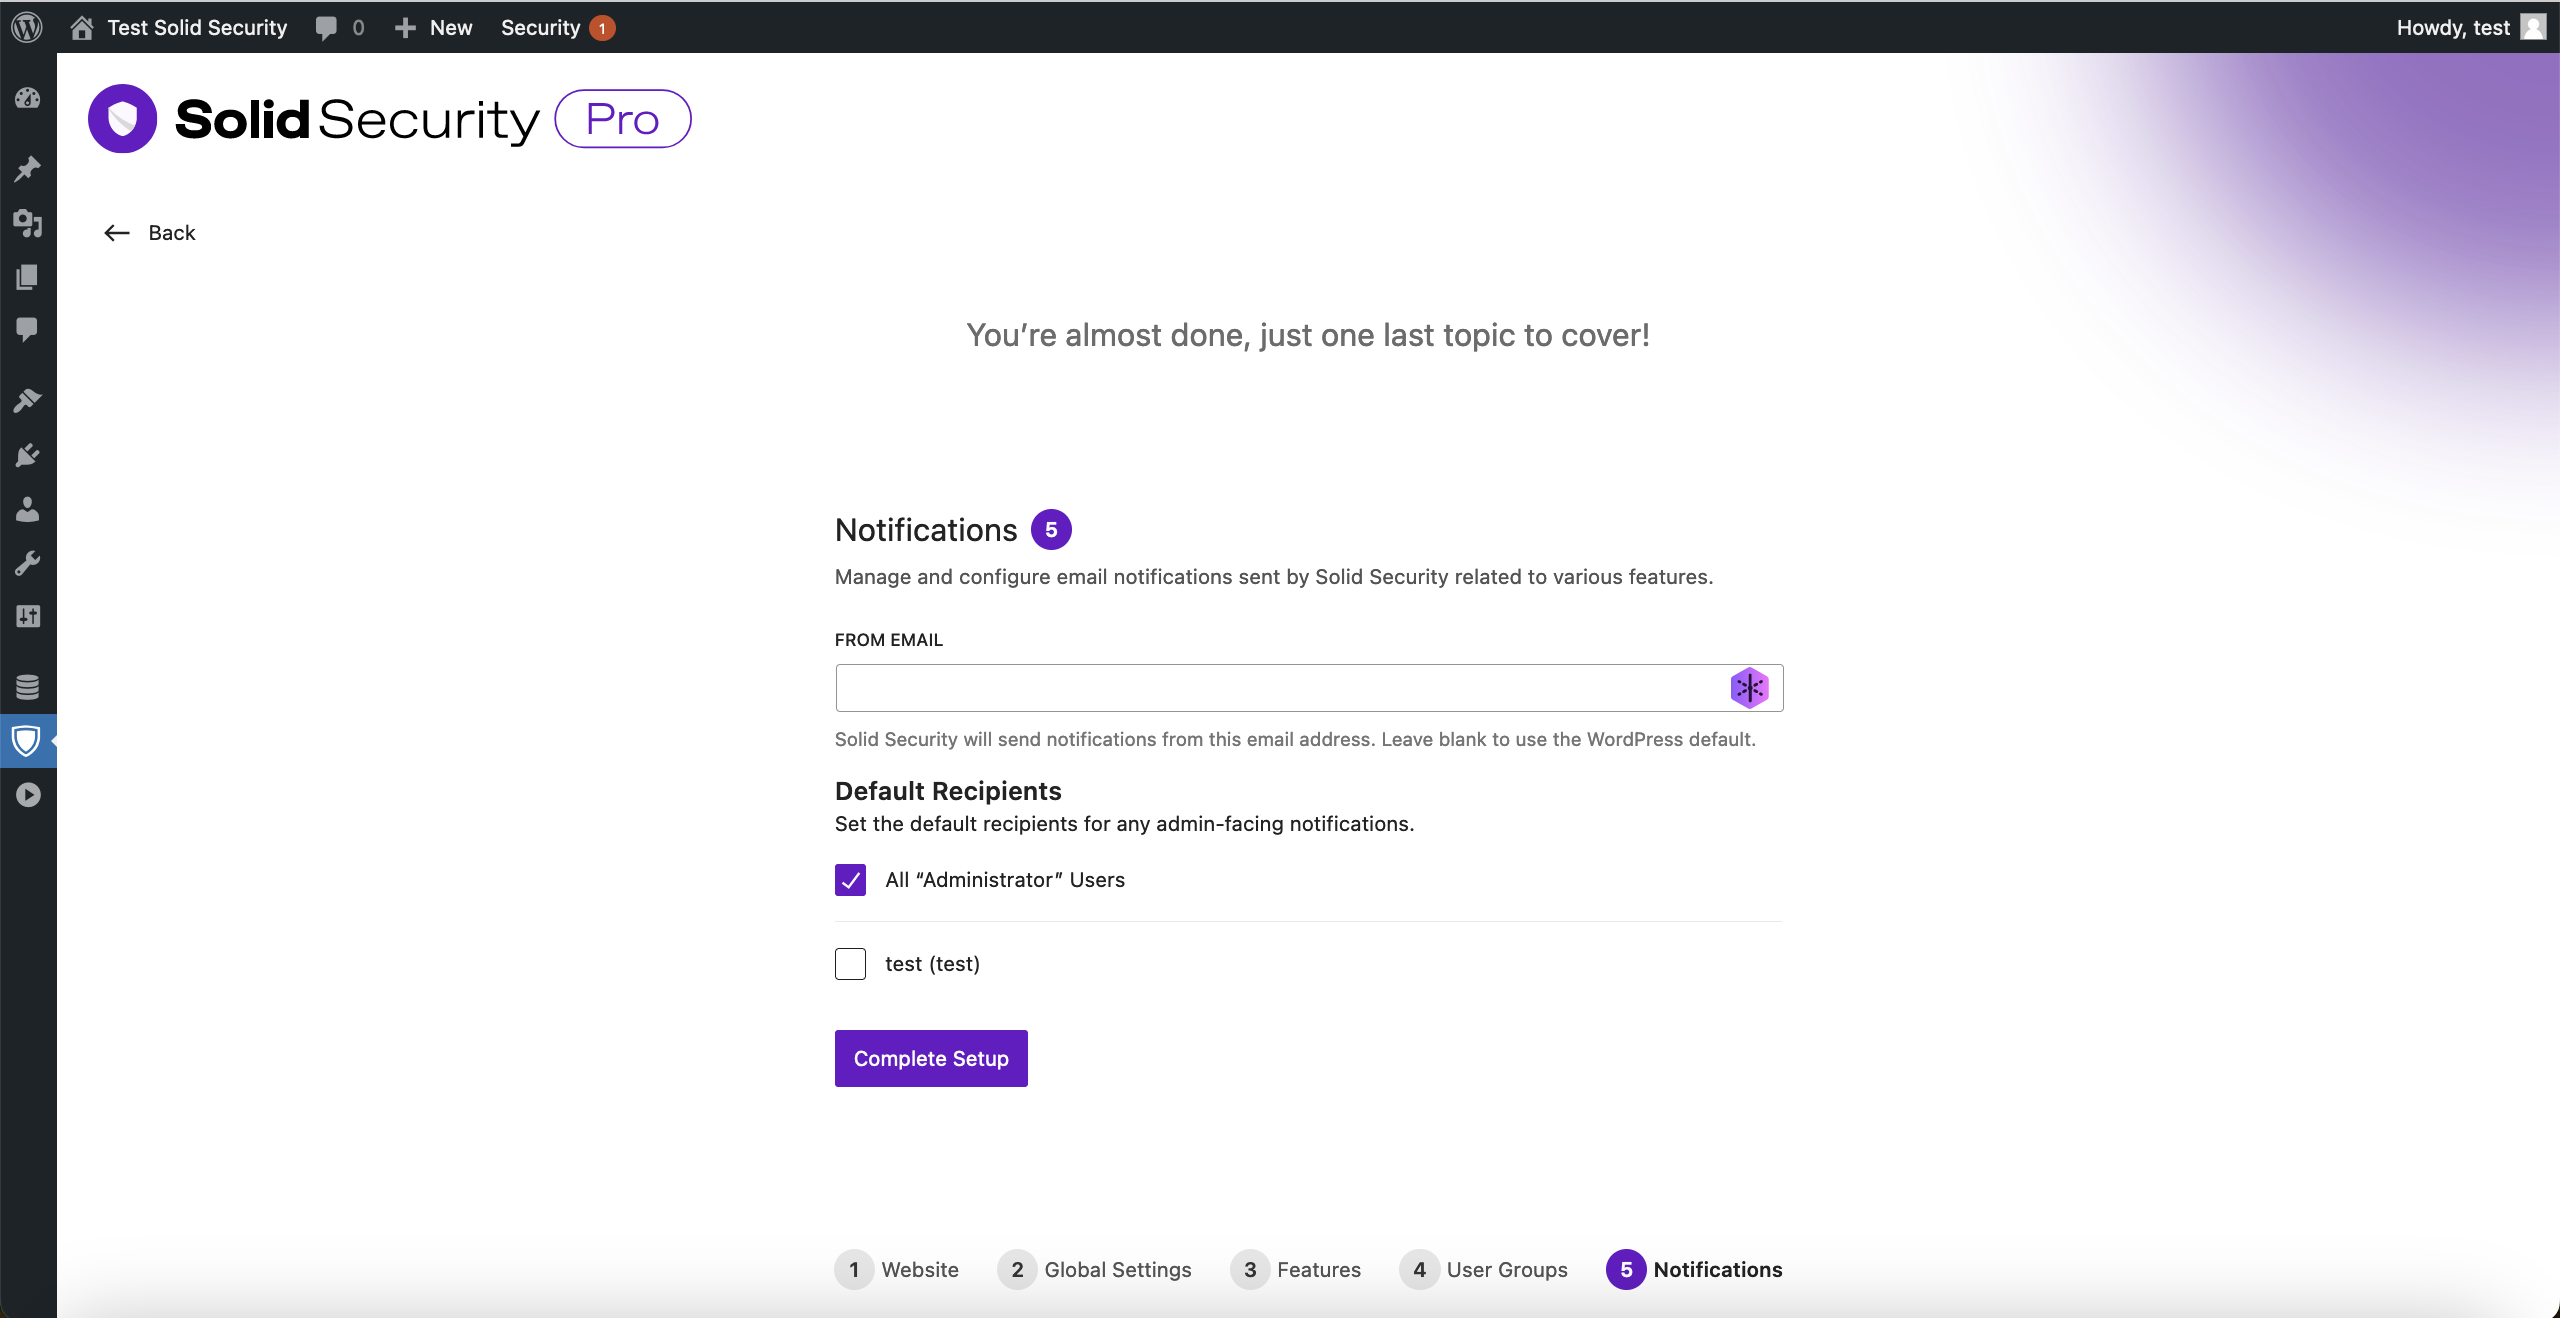
Step 6 – Set Default Email Recipients
By default, all site Administrators receive email notifications generated by Solid Security Pro. However, let’s make our user the default recipient to ensure our clients don’t receive any unwanted notifications.
Step 7 – Secure Your Site
The only thing left is to click the Complete Setup button to apply everything we have done.
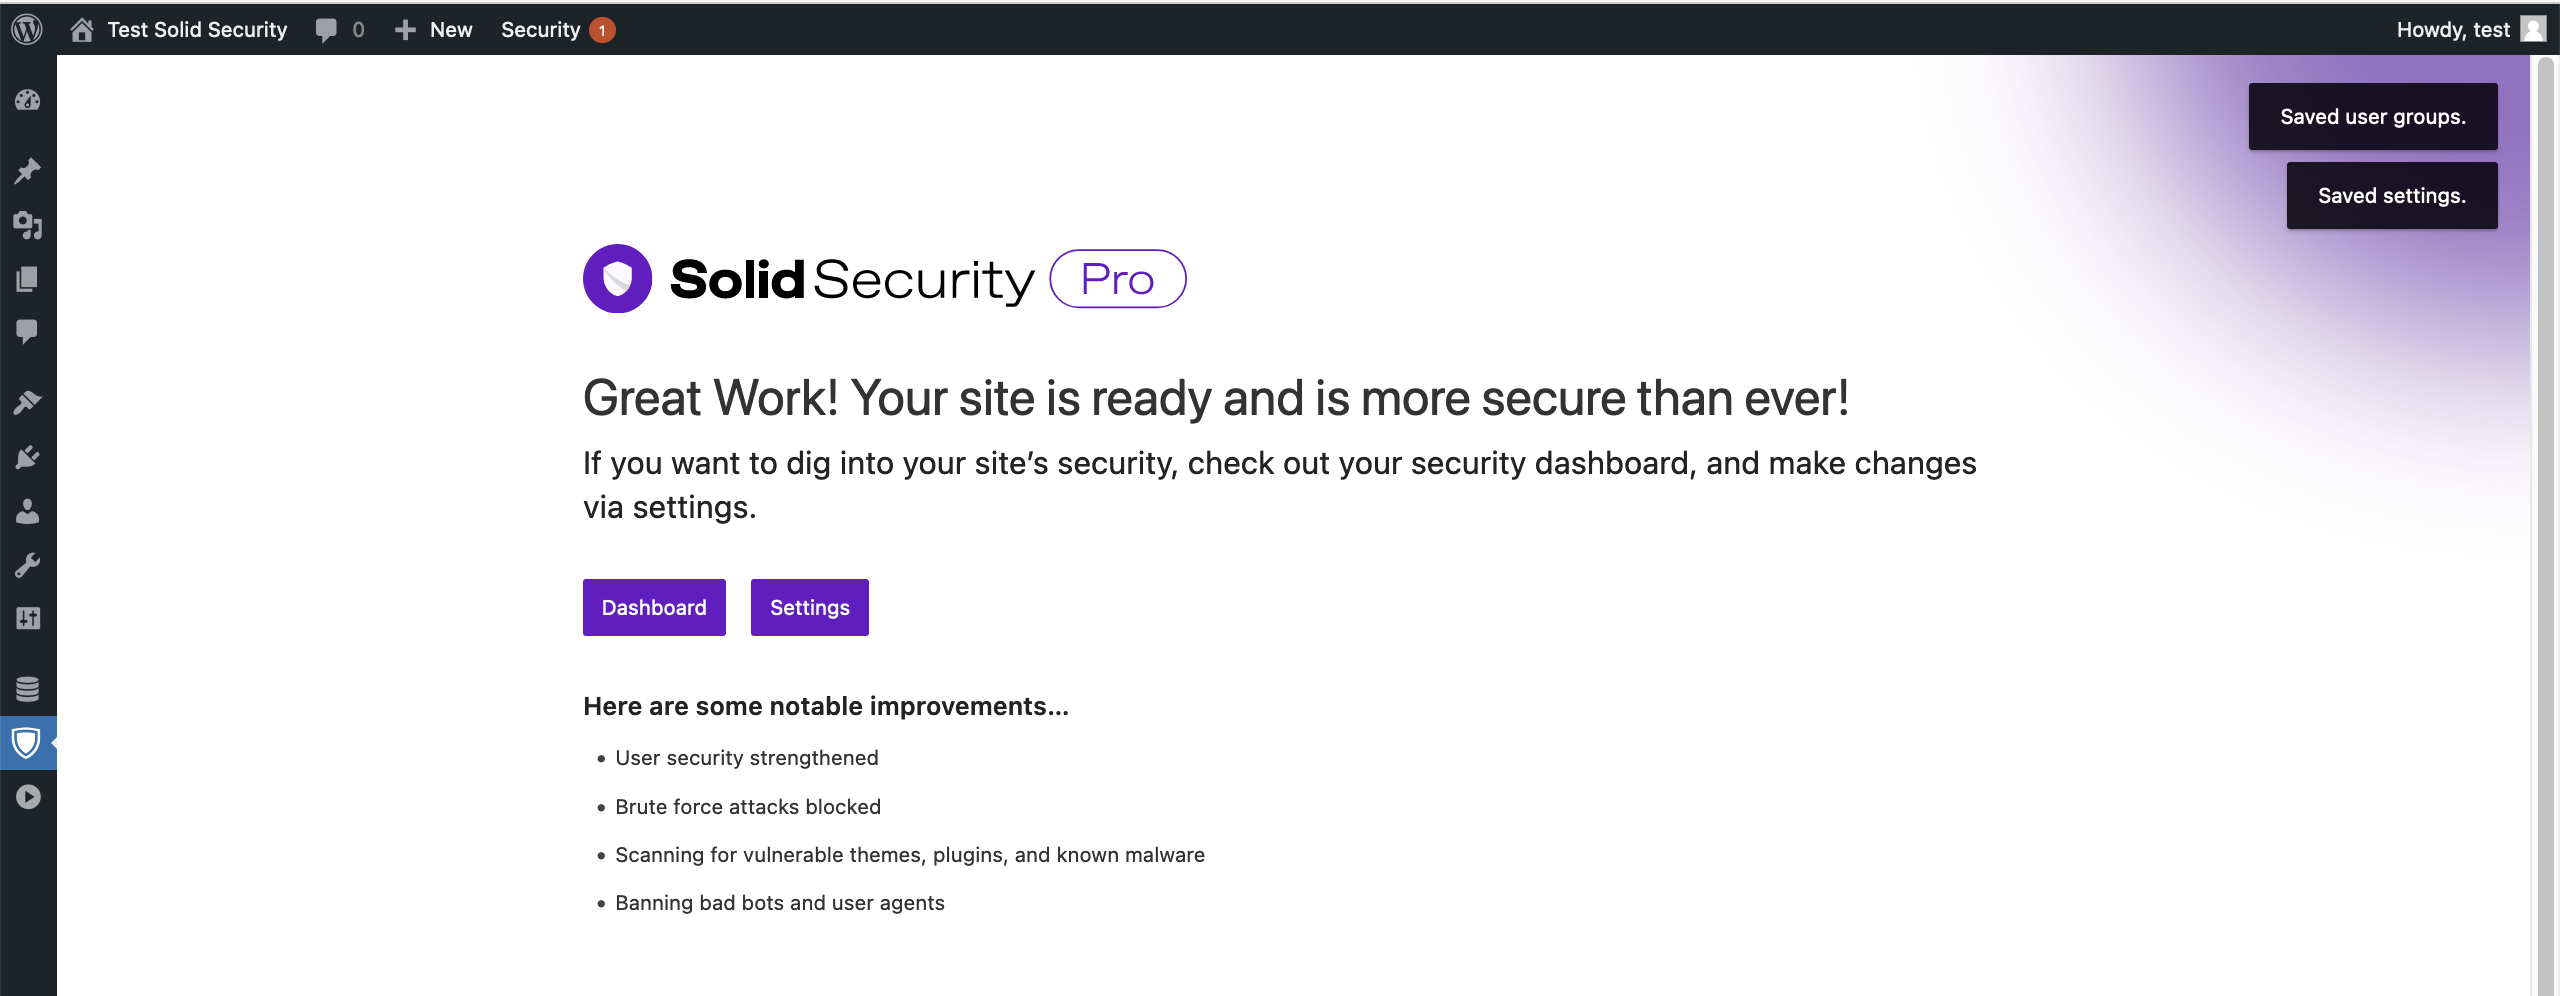
Bonus Step – Pat Yourself on the Back
Finally, pat yourself on the back for making your site more secure than ever!
Solid Security is part of Solid Suite — The best foundation for WordPress websites.
Every WordPress site needs security, backups, and management tools. That’s Solid Suite — an integrated bundle of three plugins: Solid Security, Solid Backups, and Solid Central. You also get access to Solid Academy’s learning resources for WordPress professionals. Build your next WordPress website on a solid foundation with Solid Suite!
Join us for the next Solid Academy Webinar!
Free weekly webinars that will help you master WordPress and increase your business's bottom line.
What is a WordPress Phishing Attack?
Learn how to identify and prevent phishing attacks on WordPress websites.
Kiki SheldonWebsite Protection: 5 Ways to Keep Your Website Safe
Robust website protection is the shield that stands between your business and relentless cyber attacks. Prioritizing website protection enables businesses to fortify defenses to safeguard their online presence and preserve the trust of their customers in the face of ever-evolving cybersecurity threats.
Kiki Sheldon23 Ideas To Grow Your WordPress Business in 2023
WordPress is the most popular website-building platform worldwide, trusted by numerous brands. WordPress enables you to build a user-friendly and highly reliable site, together with tools and plugins to enhance your marketing and work like a lead magnet. All these features make WordPress the platform chosen by more than 43% of businesses globally.
SolidWP Editorial TeamSign up now — Get SolidWP updates and valuable content straight to your inbox
Sign up
Get started with confidence — risk free, guaranteed

