The Complete Guide to BackupBuddy’s Remote Destinations
Your WordPress backup strategy isn't complete without a secure, off-site place to store your backup files. In the BackupBuddy plugin, these are called Remote Destinations, and you have several options for where to send your backups for safe keeping. Which Remote Destination should you choose?

Your WordPress backup strategy isn’t complete without a secure, off-site place to store your backup files. In the BackupBuddy plugin, these are called Remote Destinations, and you have several options for where to send your backups for safe keeping.
Which Remote Destination should you choose? There a few different things to take into consideration, so we hope to help you find the best solution out of the off-site storage options that BackupBuddy supports.
Remote Destination may bring to mind a lovely, tropical place, so here’s a nice island view to enjoy before we start talking about … website backups.

What is a Remote Destination?
A Remote Destination is a secure, off-site place to store your website’s backup files. A Remote Destination is usually cloud-based, meaning your files are housed on a network of remote servers in order to ensure data redundancy.
Data redundancy occurs when the same piece of data is stored in two or more separate places. Redundancy is especially important when it comes to storing backups (of your phone, digital photos, computer, and website) as you don’t want to ever risk losing your backup files. That’s where Remote Destinations come into the picture.
The Problem with Local Backups & Storing Backups On Your Website
A local backup is a backup file that is stored on the same server as your website.
- Since a local backup is stored on your site, it doesn’t offer protection against a crashed server or a broken site.
- There’s a good chance that if your website gets damaged, your local backups will be also damaged.
- If your site gets hacked and you lose access to your website, you also lose access to your local backup files.
With all of these things in consideration, the best place to store your backup files is in a secure, off-site remote destination. Thankfully, BackupBuddy makes it easy to send your backup files off-site automatically with WordPress backup schedules.
Remote Destination Options in BackupBuddy
When you make a manual backup with BackupBuddy, the backup is stored locally on your website, in a directory or folder on your server. That’s why it’s so important to have a Remote Destination set up so BackupBuddy can send your backup files off-site and not store them locally.
To get started setting yours up, visit the BackupBuddy > Destinations page in your WordPress admin dashboard.
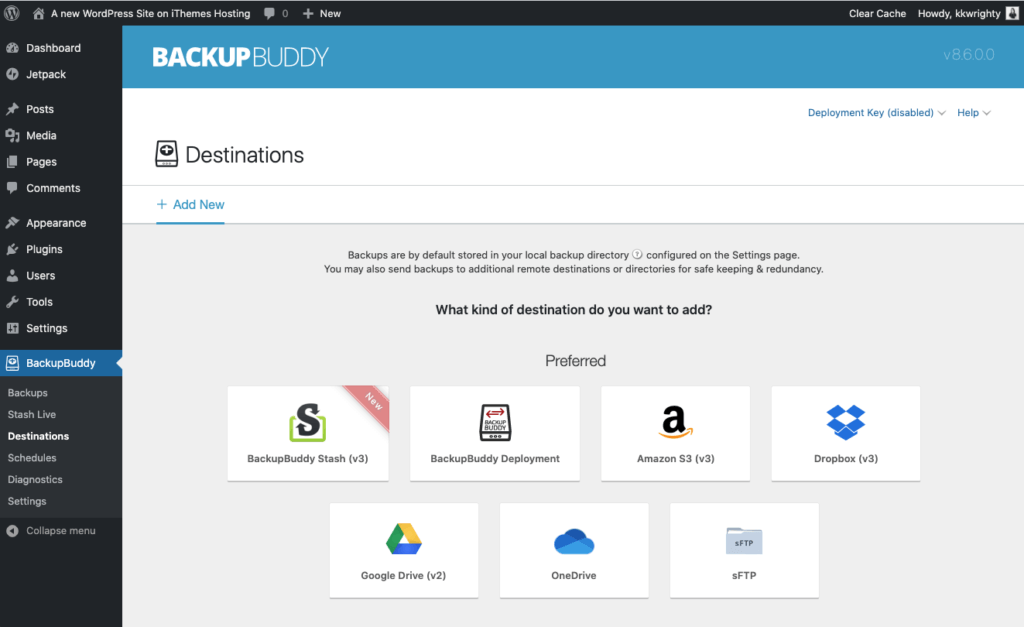
BackupBuddy offers these Remote Destination options:
- BackupBuddy Stash Our Personal fave!
- Amazon S3
- Dropbox
- Google Drive
- OneDrive
- sFTP / FTP
BackupBuddy Stash
BackupBuddy Stash is our recommended remote destination for your backups. Why? We built BackupBuddy Stash because we know how important it is to have a safe and reliable remote destination for your backups.
Here are a few reasons to love BackupBuddy Stash:
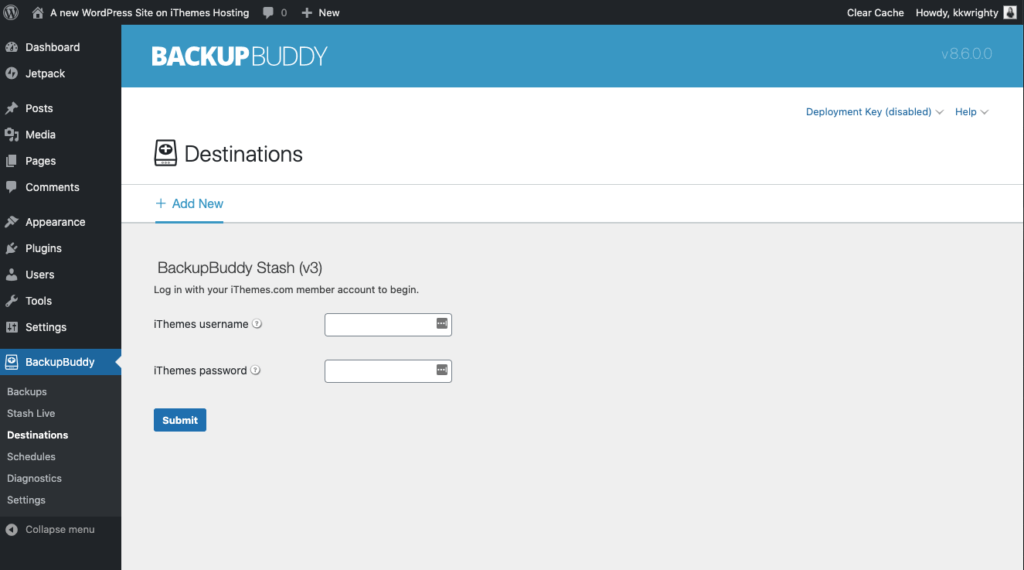
- No complicated setup – Just enter your iThemes account login and Stash away! BackupBuddy Stash is also incredibly easy to configure as a remote destination in BackupBuddy, since all you need is your customer login and password to activate.
- Encrypted storage + high redundancy – Store your backups in the BackupBuddy cloud safely with high redundancy and encrypted storage.
- BackupBuddy Stash supports multipart file uploads so large files can be transferred in smaller pieces if needed rather than all at once.
- Easily migrate/restore files from Stash – When restoring or migrating a site, ImportBuddy allows you to use your Stash or Stash Live files to complete the restoration or migration.
- Stash is integrated with iThemes Sync, so you can manage multiple sites from one dashboard, further streamlining your WordPress admin workflow.
- Best of all, it’s FREE! All BackupBuddy customers with an active BackupBuddy subscription enjoy a base level of free storage included at no additional charge.
From the Remote Destinations page, click the +Add New button to add your Stash destination. All you need to set up BackupBuddy Stash is the same iThemes username and password you used to purchase BackupBuddy.
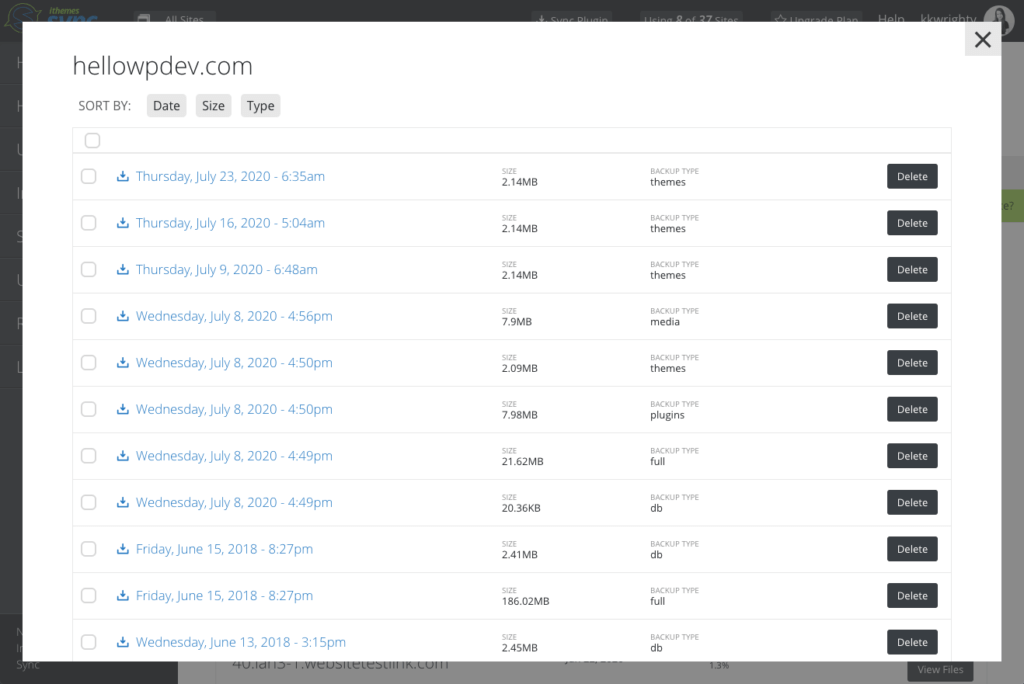
Once you complete setup for the destination, you’ll be able to view files you’ve sent to Stash from the Destinations page by clicking the My Stash tab.
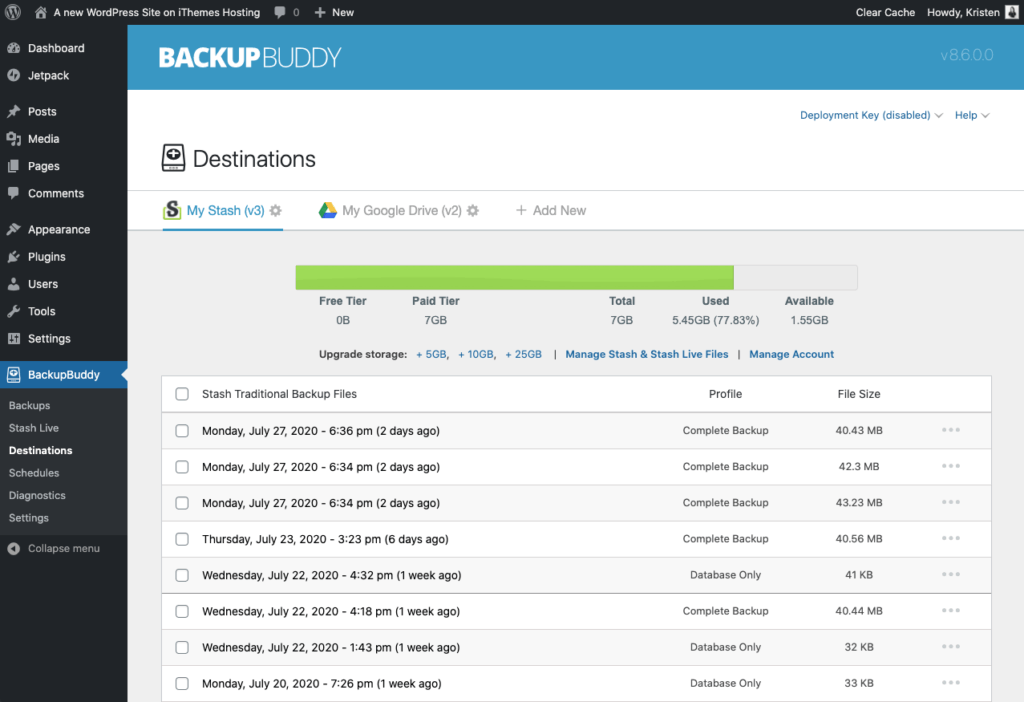
You’ll be able to see how much space your backup files are taking and how much space you have available. You can also Download and Copy to Local any of the files that you’ve sent to your Stash.
Stash files can also be managed from the iThemes Sync dashboard for all your websites. Sync is so helpful if you have BackupBuddy installed on several different websites that you manage because it’s great to see all your backup files in one place.
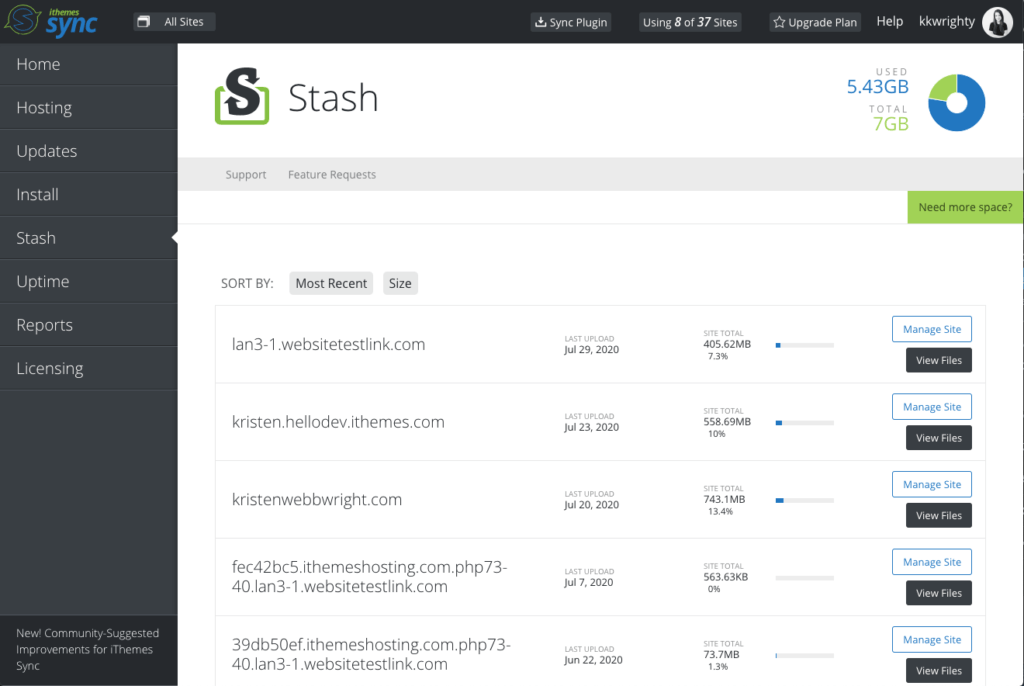
Just click the View Files button to download or delete the files in your Stash.
Amazon S3
Amazon Simple Storage Service (Amazon S3) is a well-known cloud storage provider. This destination is known to be reliable and works well with BackupBuddy.
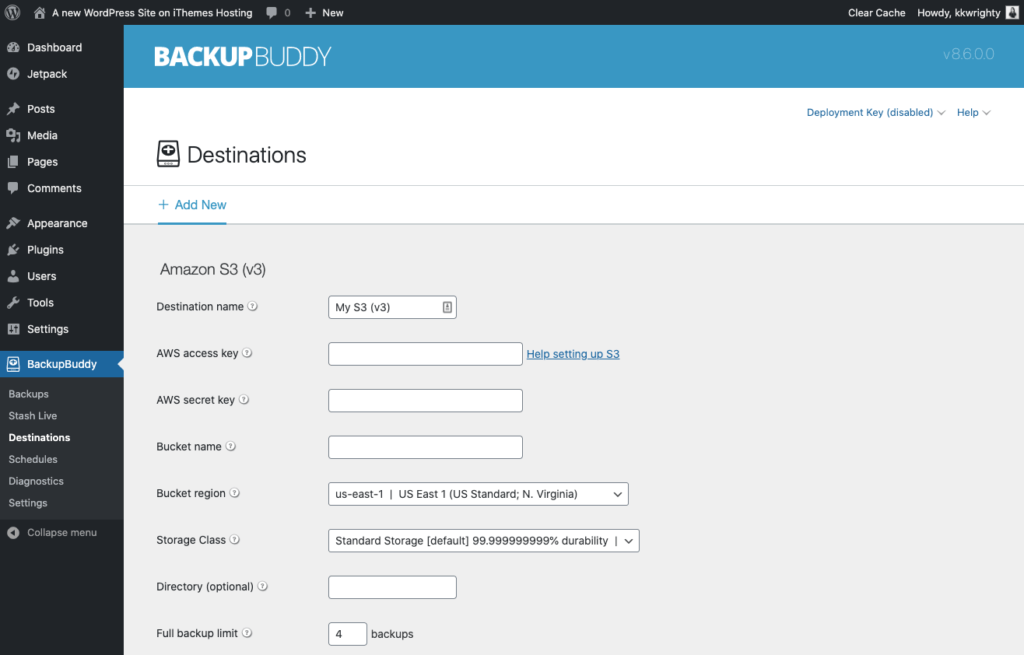
In order to set up Amazon S3, you’ll need:
- AWS access key
- AWS secret key
- Bucket name
- Bucket region
- Storage class
- Directory (optional)
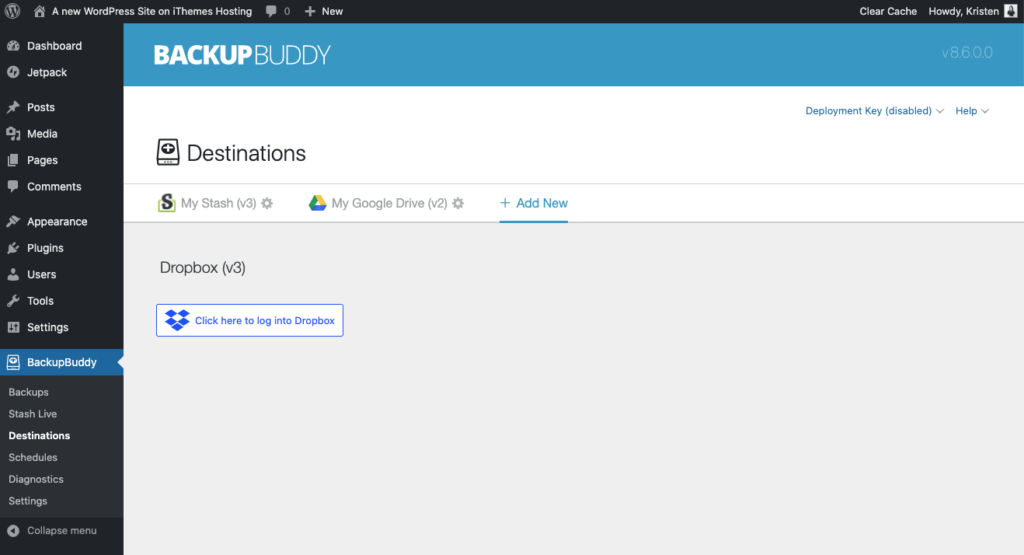
Dropbox
BackupBuddy includes support for WordPress backup to Dropbox, so you know your WordPress backup files are stored safely off-site in your Dropbox account. With BackupBuddy, you can set up backup schedules to automatically send your WordPress backup files to Dropbox after each completed backup.
All you’ll need to connect BackupBuddy Dropbox is to log into Dropbox and then Copy the code to your clipboard. Paste your code into the “Paste Your Code Here” box within BackupBuddy to complete setup.
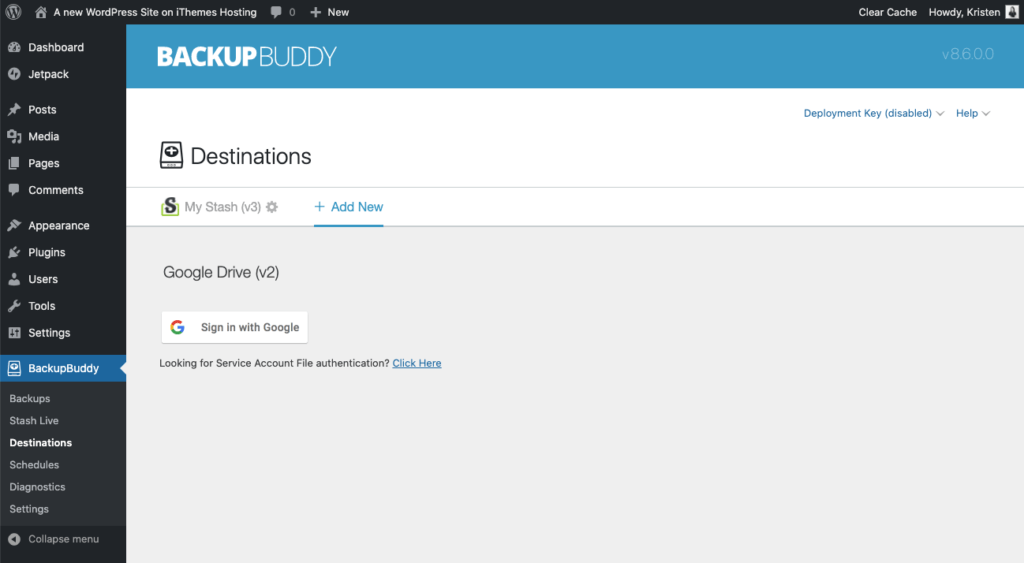
Google Drive
BackupBuddy includes Google Drive as a Remote Destination option for your WordPress backup storage.
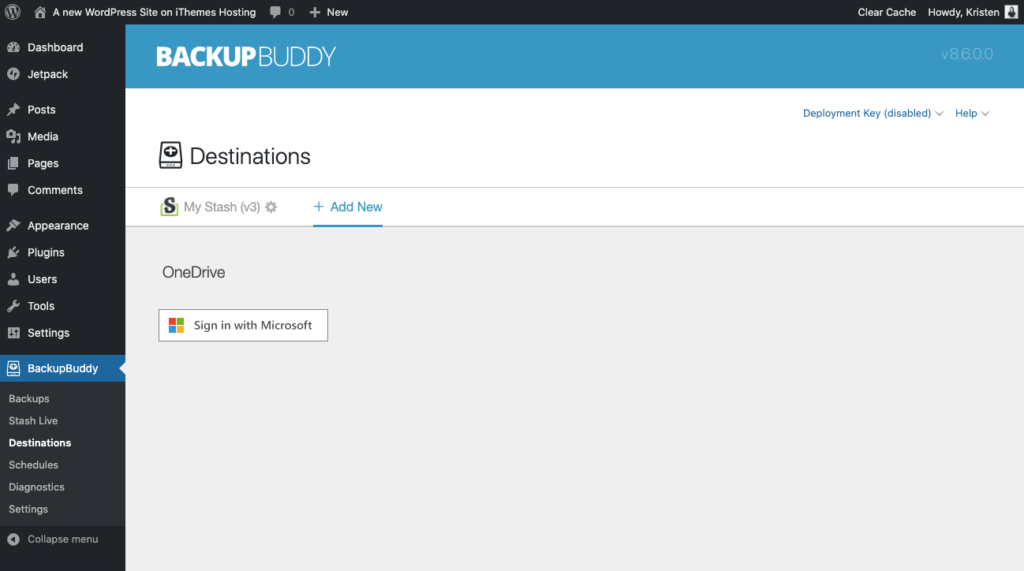
OneDrive
The newest Remote Destination in BackupBuddy is OneDrive. To begin using the OneDrive destination, first, make sure you have access to a Microsoft account. Click the button to log in to OneDrive. A window will appear asking you to log into your Microsoft account, simply enter the Microsoft credentials and you will be given an authentication code.
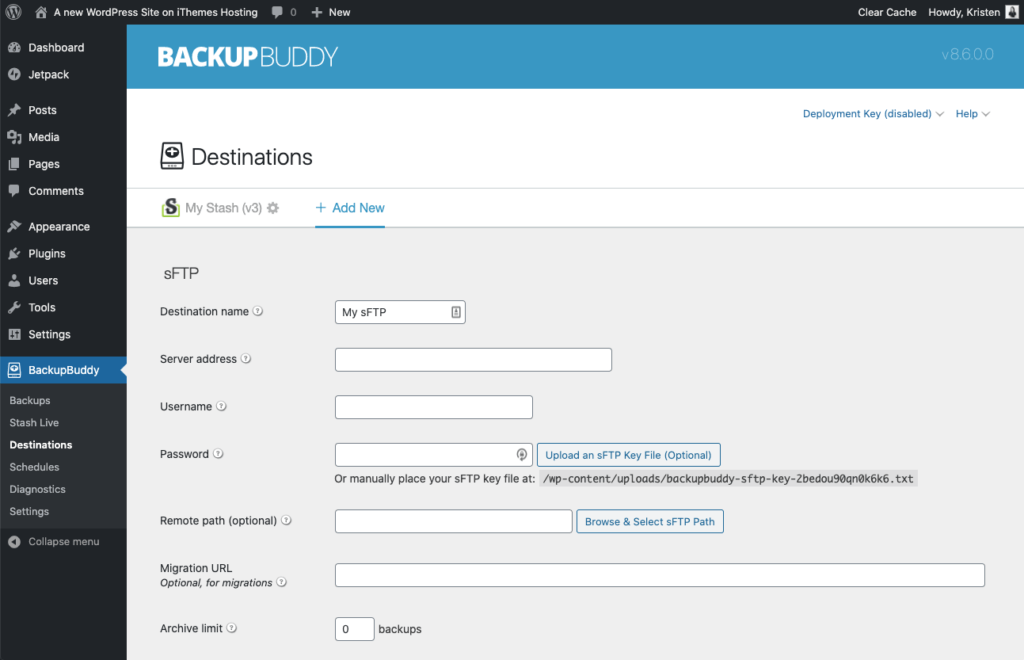
sFTP
BackupBuddy supports Secure File Transport Protocol (sFTP) as a Remote Destination. sFTP is the most common way of sending larger files between servers. Most web hosting accounts provide sFTP or FTP access.
All you’ll need to connect BackupBuddy Dropbox is to log into Dropbox and then Copy the code to your clipboard. Paste your code into the “Paste Your Code Here” box within BackupBuddy to complete setup.
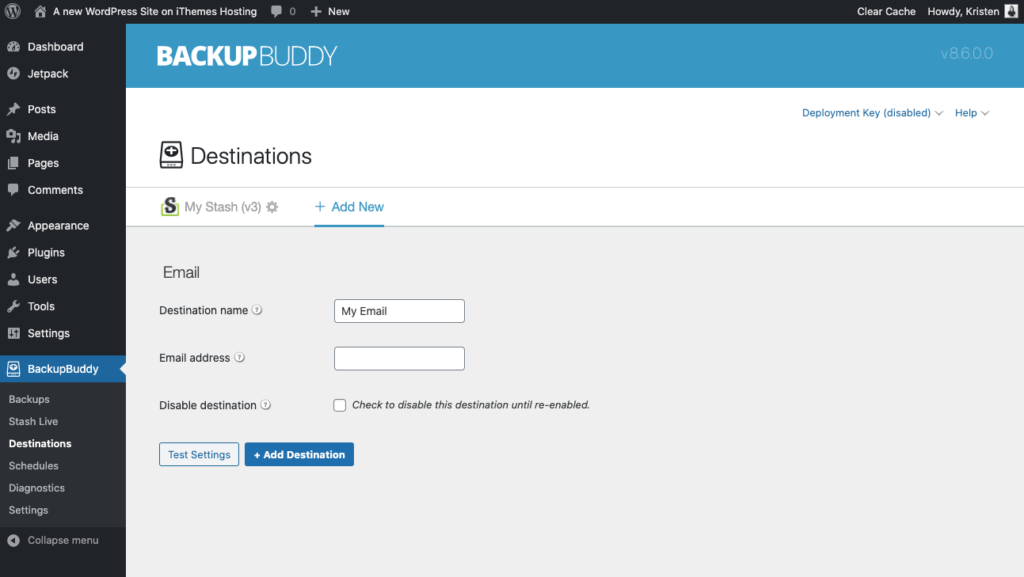
With the Email Remote Destination, you can send files as email attachments.
Consider setting up an additional Gmail account just for your backups. Most Database Only backups are 100-200KB in size, so they fit perfectly within Gmail’s current 25MB attachment limitations. Plus, with BackupBuddy’s file naming convention, finding backups for a specific domain is easy because attachment files are searchable.
Remote Destination Settings: Backup Limits
You’ll see a few common settings for each remote destination, all concerning the number of backups that will be stored in your destination. These settings are important as they relate to the amount of storage space you have available.
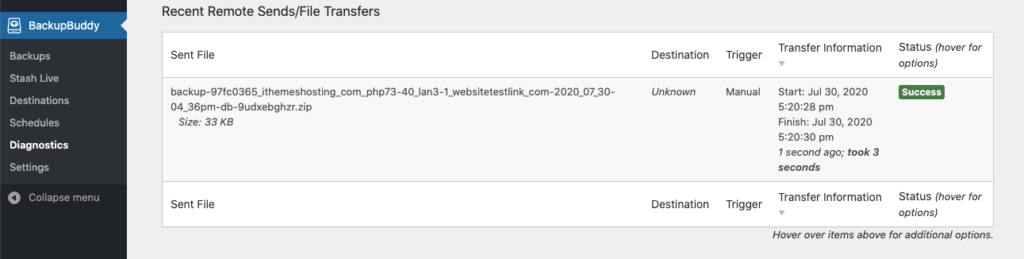
How to View Recently Sent Files & Send Logs
The Remote Destinations Recent Transfer Status allows you to view a list of backups recently sent to a remote destination. This list includes when the backup started, finished, how it was triggered, and a pass/fail status.
Navigate to the BackupBuddy > Diagnostics page in your WordPress admin menu. Head to the Recent Actions tab.
On this screen, you’ll be able to view the status of recently sent files.
Managing Backup Files In Your Remote Destinations
You can manage files in your remote destinations in two ways:
- From the BackupBuddy > Destinations page. Click on the Remote Destination tab of your choice once you have set it up to view files that are stored there. You can delete and copy to local from here as well.
- From your Remote Destination account. Login to your remote destination to view, download or delete files.
Using Backup Schedules + Remote Destinations
Finally, it’s important to combine backup schedules with Remote Destinations. Don’t have any schedules set up yet? Here’s 10 tips for WordPress backup schedules.
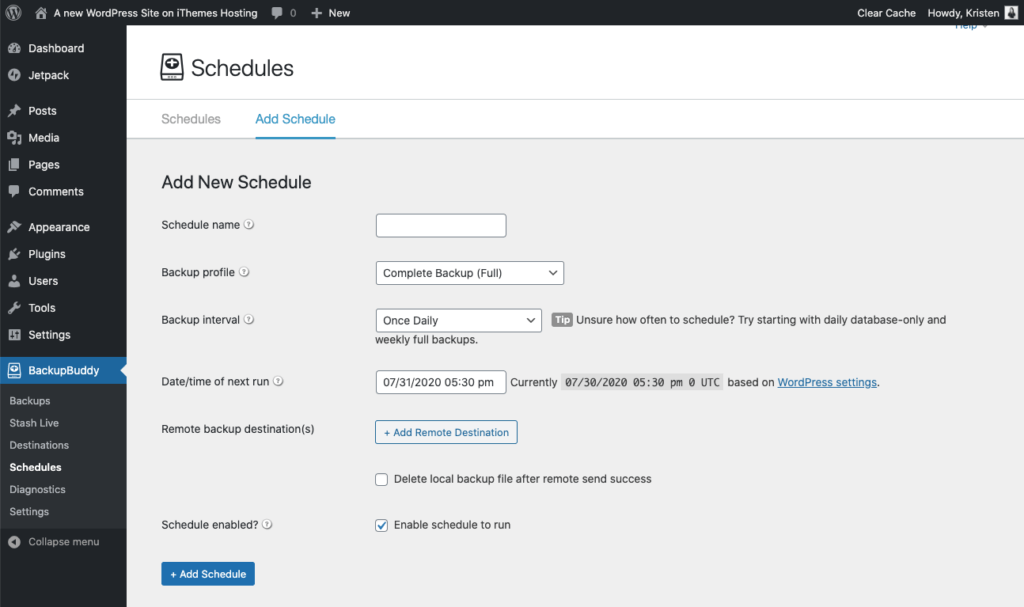
Once you have your backup schedules in place, BackupBuddy will automatically send them to your Remote Destination.
Ah … now back to island daydreams.
Learn More About Getting the Most Out of BackupBuddy, the 3-in-1 WordPress Backup Plugin
BackupBuddy, our WordPress backup plugin, can backup, restore and migrate your WordPress website to a new host or domain. You can then store you backups safely off-site with OneDrive, Dropbox and Google Drive integration, or use BackupBuddy Stash, our secure, remote backup storage destination (you get 1GB free with your BackupBuddy subscription!)
Get BackupBuddy now
Join us for the next Solid Academy Webinar!
Free weekly webinars that will help you master WordPress and increase your business's bottom line.
What is a WordPress Phishing Attack?
Learn how to identify and prevent phishing attacks on WordPress websites.
Kiki SheldonWebsite Protection: 5 Ways to Keep Your Website Safe
Robust website protection is the shield that stands between your business and relentless cyber attacks. Prioritizing website protection enables businesses to fortify defenses to safeguard their online presence and preserve the trust of their customers in the face of ever-evolving cybersecurity threats.
Kiki Sheldon23 Ideas To Grow Your WordPress Business in 2023
WordPress is the most popular website-building platform worldwide, trusted by numerous brands. WordPress enables you to build a user-friendly and highly reliable site, together with tools and plugins to enhance your marketing and work like a lead magnet. All these features make WordPress the platform chosen by more than 43% of businesses globally.
SolidWP Editorial TeamSign up now — Get SolidWP updates and valuable content straight to your inbox
Sign up
Get started with confidence — risk free, guaranteed

