How to Set Up WAMP for WordPress Development
Most WordPress developers use a "local development environment," a separate WordPress site which can be edited and tested without affecting the live site. In this post, we'll cover how to use WAMP for WordPress development. WAMP for WordPress Development: First Things First If you would want to edit your WordPress theme, there are a couple of options: You could go to the wp-dashboard, and find the editor in the Appearance tab (for themes).

WAMP for WordPress Development: First Things First
If you would want to edit your WordPress theme, there are a couple of options:- You could go to the wp-dashboard, and find the editor in the Appearance tab (for themes). The main issue with this approach is that you will be editing a “live” site. So there is no way to test anything, and in some cases, when your code isn’t correct, your site will break. And in some cases, you won’t be able to access the wp-dashboard to fix it. You need to access the files via FTP (or your hostings cpanel file manager) to correct the issue.
- You could edit files on your server via FTP. Again, you will be editing a live site, without testing your changes, which is never recommended.
- You could edit the files on your own computer, and upload it to your server. Again, the changes will be directly visible on your live site, without being tested.
What is WAMP?
WampServer is a Windows web development environment. It allows you to create web applications with Apache2, PHP and a MySQL database. Alongside, phpMyAdmin allows you to manage easily your databases.WAMP is an acronym for Windows Apache MySQL PHP. Apache, MySQL and PHP are required to run a mysql/php based web application (such as WordPress). By installing WAMP, your PC has the same capabilities as the server from your hosting provider, and you can run any php/mysql based application on your PC. Apache, the server software will be installed, as well as the MySQL database server and phpMyAdmin, a tool to manage databases, and the PHP programming language. So once installed, you can run WordPress on your own PC. You can in fact create as many databases and WordPress sites as you want. Note that you will only be able to host sites or run web applications on your own PC. These sites or applications can not be accessed online.
How To Download and Install WAMP
You can download WAMP via the WAMP site and select either the 32 or 64 bits version, depending on your PC’s processor. The current version of WAMP (Wampserver 3.0.6 64-bit x64 or 32-bit x86) contains:- Apache 2.4.23
- PHP 5.6.25 and 7.0.10
- MySQL 5.7.14
- PhpMyAdmin 4.6.4
- Adminer 4.2.5
- PhpSysInfo 3.2.5
WAMP Prerequisites
WAMP was coded using C++ and therefore relies on the presence of 2 Visual C++ runtime packages. So before installing WAMP you are prompted to install these.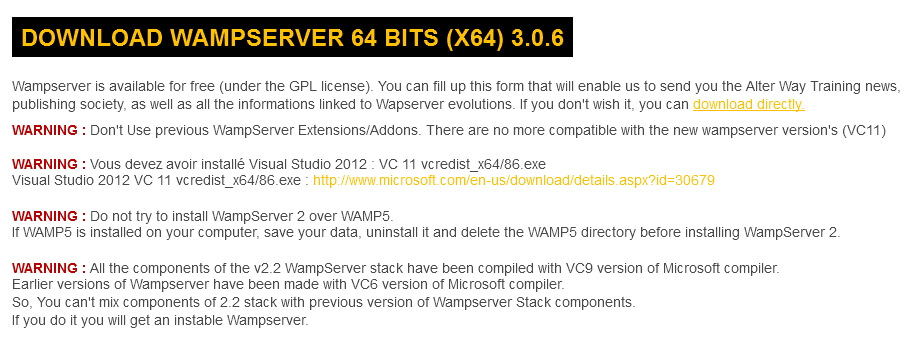 As the prompt is in French, here are the links to the 2 packages:
- Visual C++ Redistributable for Visual Studio 2012 Update 4 (choose x64 for 64-bit, and x86 for 32-bit)
- Visual C++ Redistributable for Visual Studio 2015 (choose x64 for 64-bit, and x86 for 32-bit)
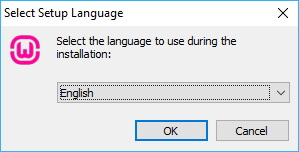 You can select the language for the install procedure.
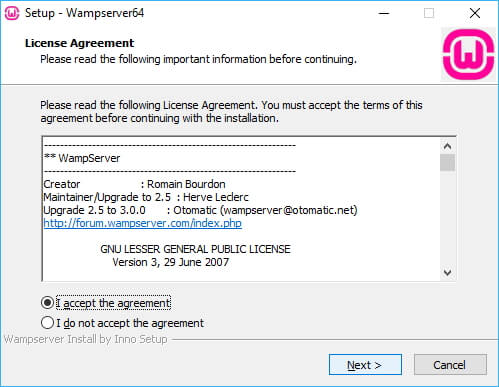 You have to accept the License agreement.
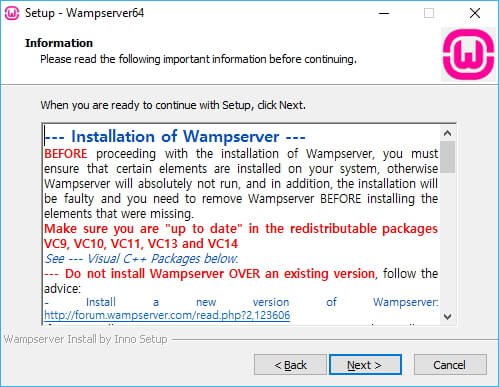 There is a warning related to the C++ runtime packages that we’ve just installed.
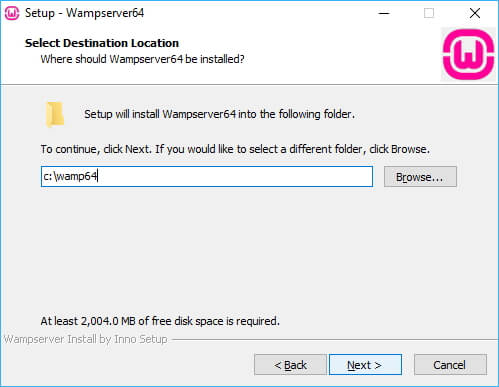 You can select where you want WAMP installed.
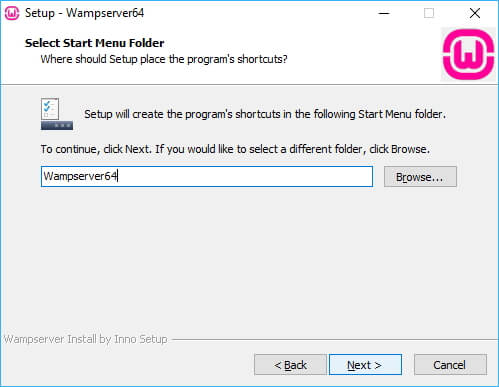 And the program group to create.
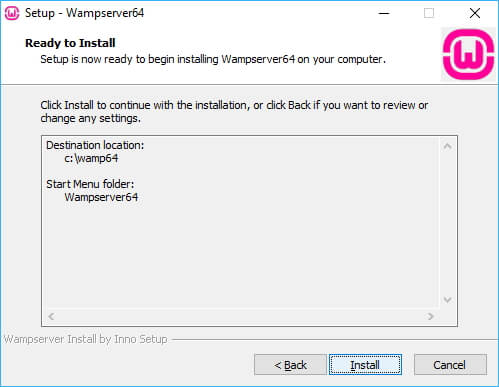 Once all the information is gathered, the installation of the software starts.
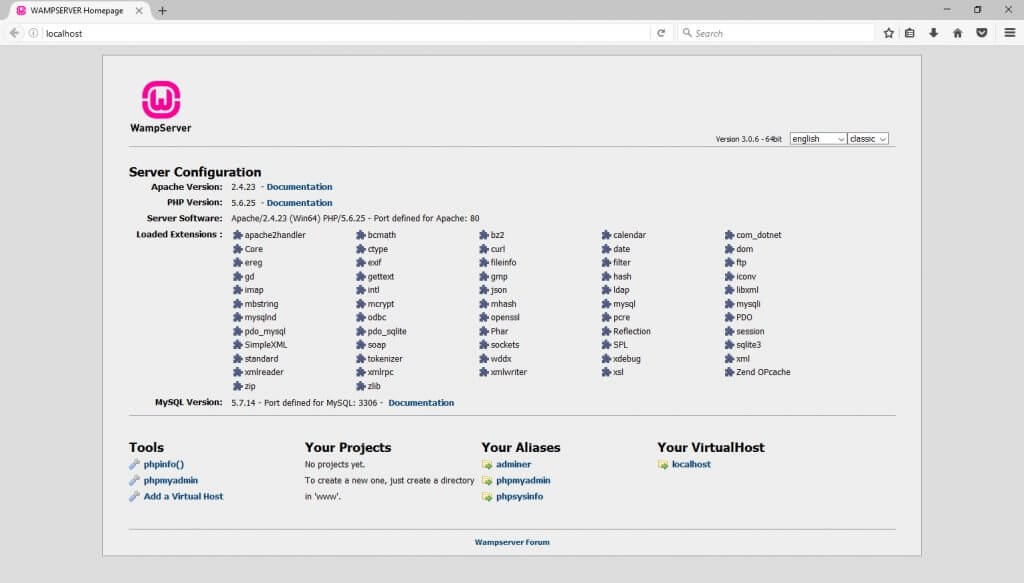
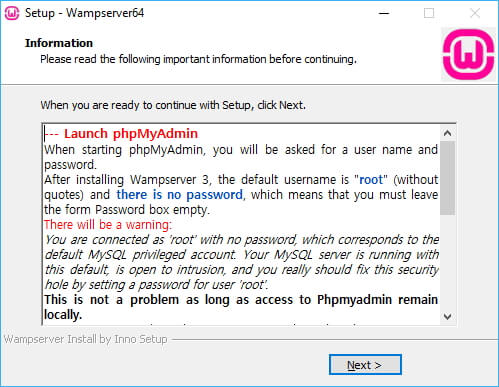 When done, you can access your localhost server environment. Take note of the default phpMyAdmin username and password. As long as you run this instance of WAMP on your own computer only, it is ok to keep the defaults (username “root”, and no password).
To test if WAMP is installed propely, navigate to your “server” at the address: http://localhost or the IP address 127.0.0.1. This will show the WAMP overview page, with information on the server, and links to various tools.
When done, you can access your localhost server environment. Take note of the default phpMyAdmin username and password. As long as you run this instance of WAMP on your own computer only, it is ok to keep the defaults (username “root”, and no password).
To test if WAMP is installed propely, navigate to your “server” at the address: http://localhost or the IP address 127.0.0.1. This will show the WAMP overview page, with information on the server, and links to various tools.
 If this page doesn’t show up properly, you need to make sure that the WAMP server is started. When WAMP is up and running, you should see a green icon in the Windows notification area.
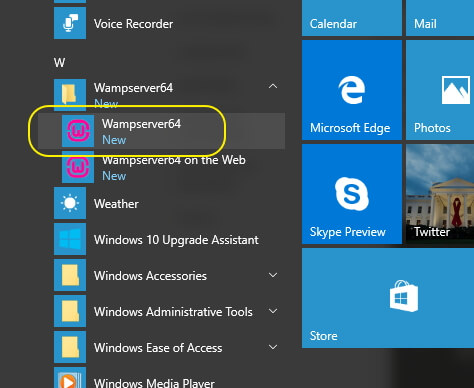
 You can start the WAMP server via the program menu:
 During server startup, you will see the WAMP icon coloured red, change to orange, then to green, meaning the server is started.
Configuring Your WAMP Server
Out of the box, the WAMP server, once started will work just fine for normal operations, such as running WordPress. You can however tune and tweak all PHP, mySQl and apache settings, should you wish to do so. And the current version of WAMP even allows you to select the PHP version, either version 5.6.25 or 7.0.10. You can access all configuration settings via the (green) WAMP icon in your windows notification area. Note that the icon has to be green, as that indicates that the server is properly started, and all services are running.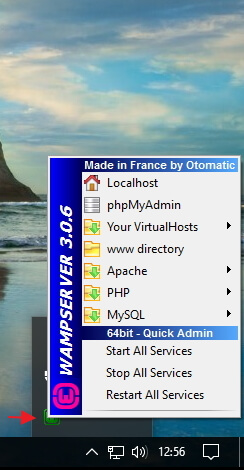 The WAMP settings and configuration window.
 The current version of WAMP ships with both versions 5.6.25 and 7.0.10. You can easily switch. Do note that you have to restart the server after switching the PHP version.
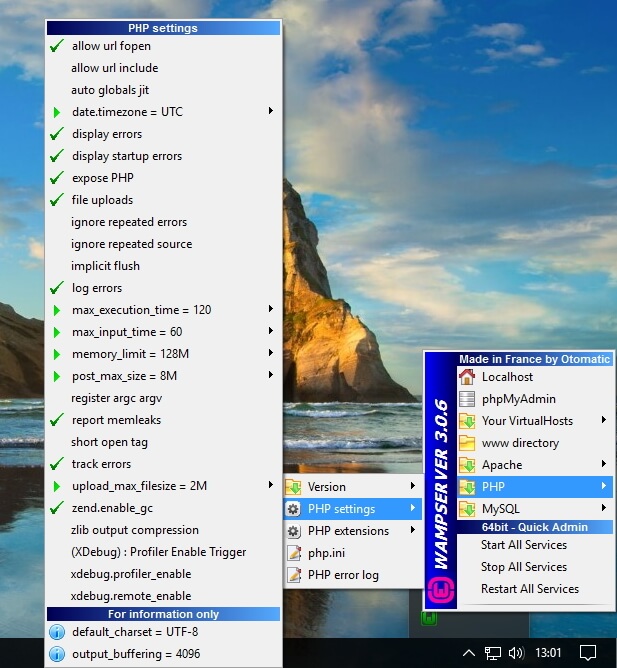 You can change and configure PHP, enable or disable modules. You can also edit the php.ini file directly.
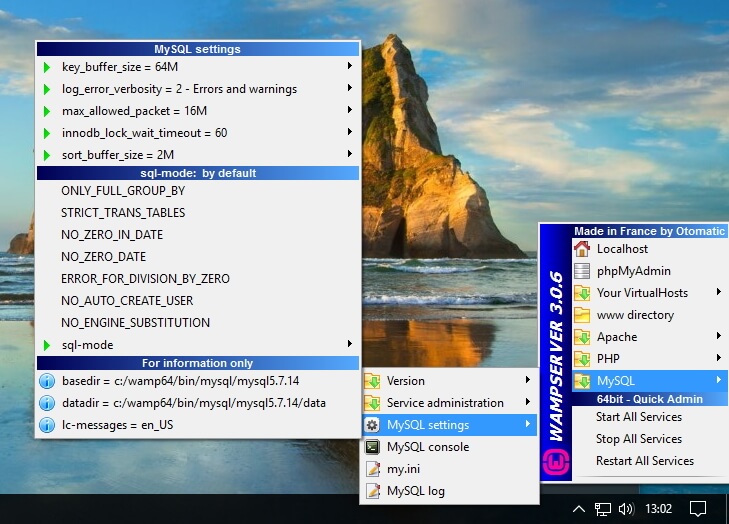 Likewise, you can change mySQL settings.
How to Use Your WAMP Server
Let’s just go ahead and install WordPress on your local server.Install WordPress
Download the latest version of WordPress. Unzip the WordPress files into the “c:/wamp64/www/” folder (assuming that you have used the WAMP installation defaults). In your browser, navigate to http://localhost/wordpress, the root of the new WordPress site and follow the onscreen instructions.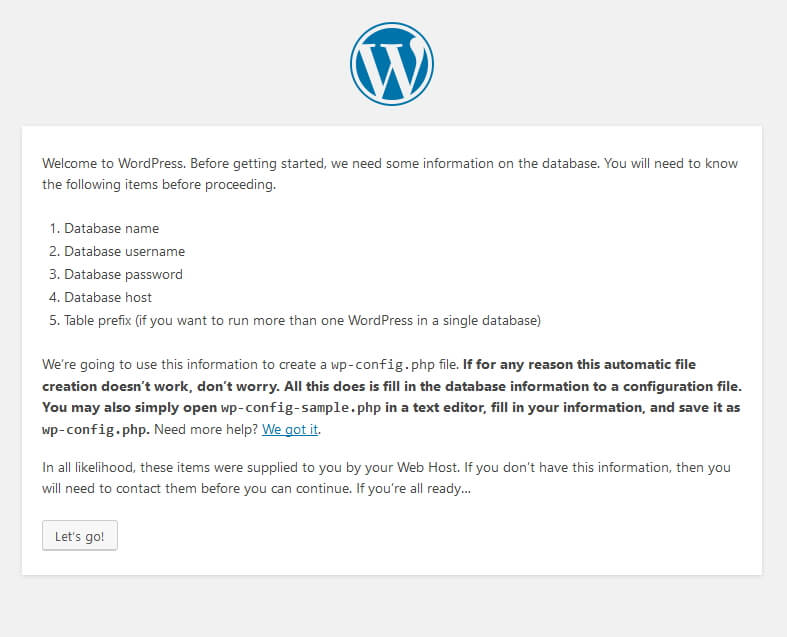 Make sure that you have the required information ready, you should have created a database.
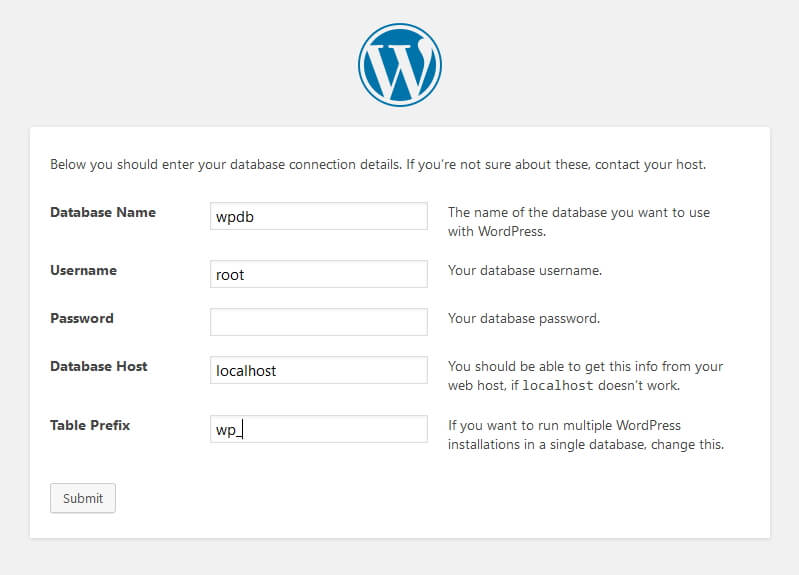 Add the database details, if you haven’t set a password for mySQL, the default database user is “root”, and no password.
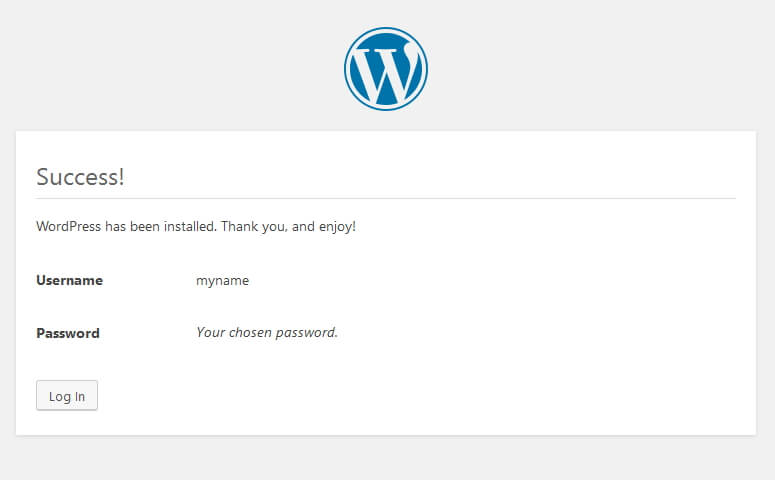
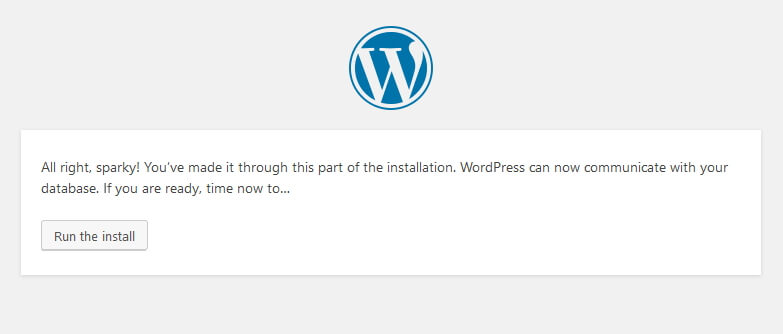 Click through the next steps.
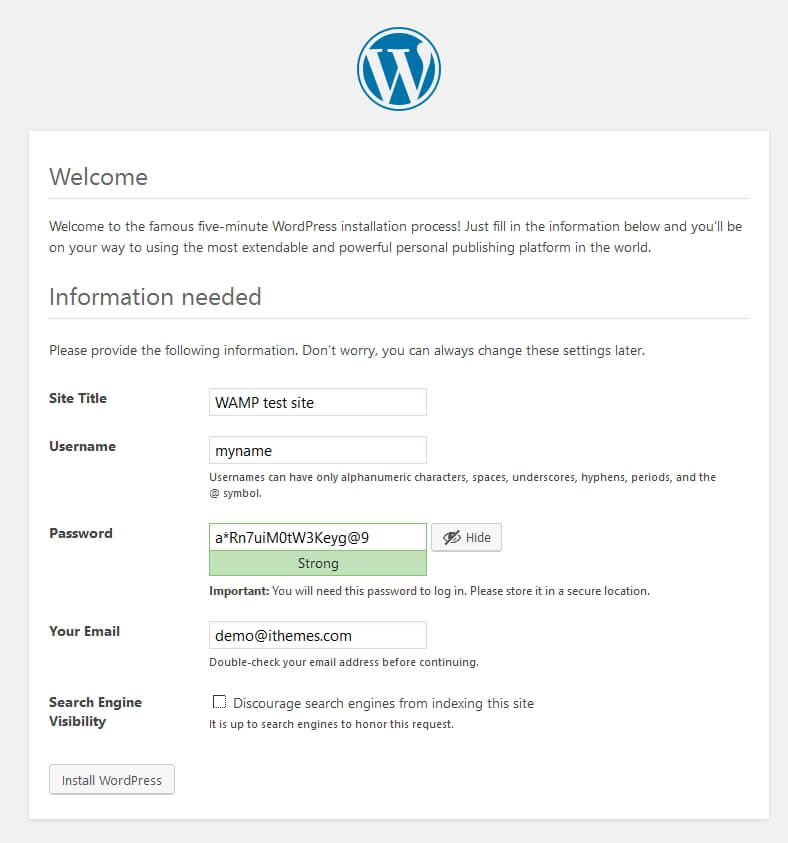 Add some site details and create your admin user, and you’re good to go.
Create a WordPress Database Manually
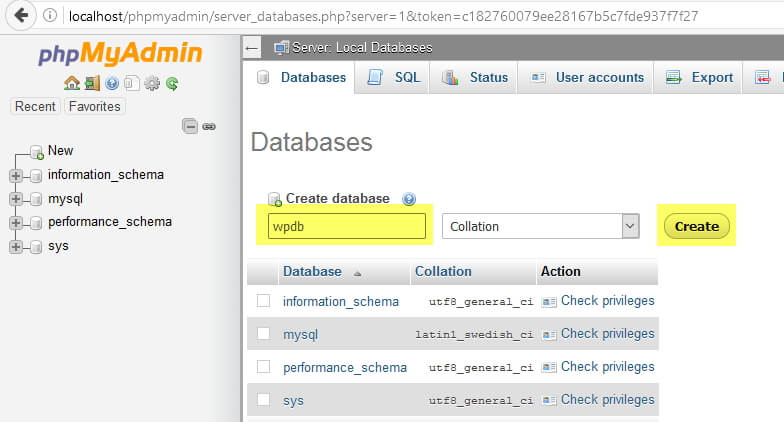
You can manually create a database for your WordPress site one using phpMyAdmin. From the WAMP start page (http://localhost) under “Tools”, start phpMyAdmin (or find the WAMP icon in the notification area, left click to open and select phpMyAdmin). First, login to phpMyAdmin.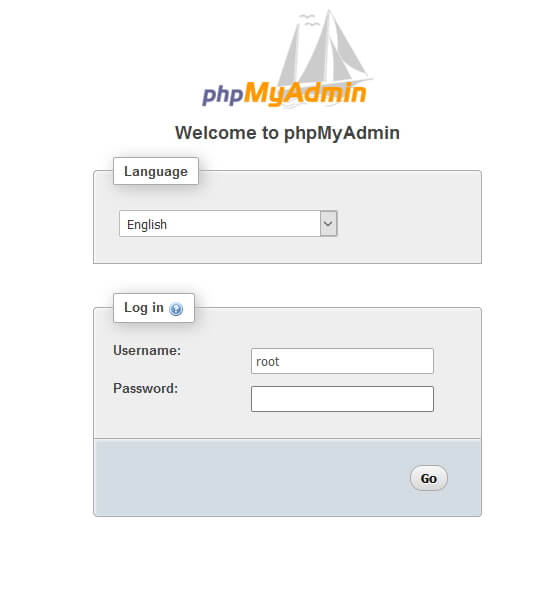 Click “New” to create a new database
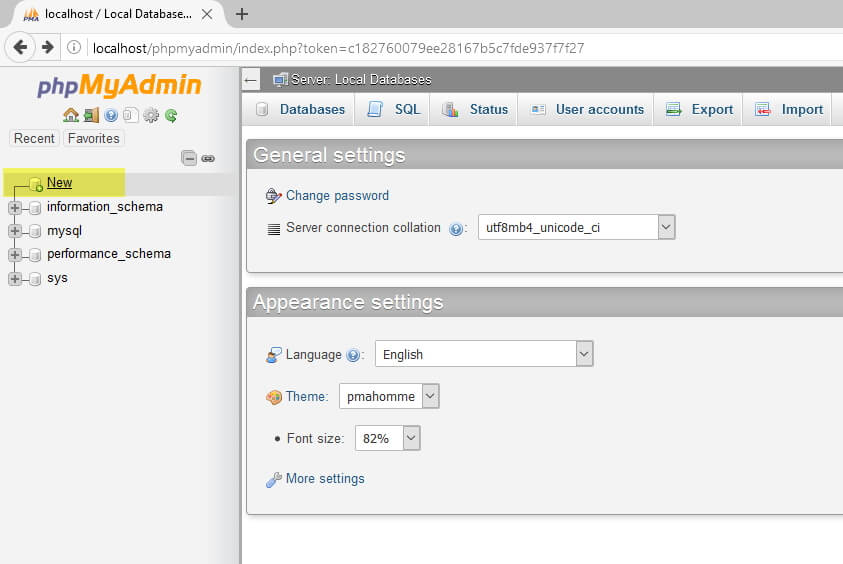 Enter the name for the database (e.g. “wpdb”) and click “create”
 Once the database has been created, you will be prompted to create a table, but you shouldn’t create any tables. WordPress will create the necessary tables during the install process.
Manually Create and Update the wp-config File
If for some reason the wp-config file could not be created by the WordPress install procedure, you can do so manually: Copy the wp-config-sample.php file to wp-config.php and update wp-config.php with the database credentials.// ** MySQL settings - You can get this info from your web host ** //
/** The name of the database for WordPress */
define('DB_NAME', 'wpdb');
/** MySQL database username */
define('DB_USER', 'root');
/** MySQL database password */
define('DB_PASSWORD', '');
/** MySQL hostname */
define('DB_HOST', 'localhost');
For more details on installing WordPress, refer to the WordPress Codex.
Advantages of Using a WordPress Localhost Server
Using a localhost server allows you to work “offline”, and without affecting a live WordPress site. Using a WordPress backup plugin such as BackupBuddy allows you to easily setup a test version of your live site. It will now be a lot easier to test changes, observe the effects of updating WordPress, updating a plugin, changing PHP versions. if anything breaks or fails, you avoid breaking your live site. And of course, you do not need an internet connection to access your localhost server, so you can develop and test anywhere you want.Join us for the next Solid Academy Webinar!
Free weekly webinars that will help you master WordPress and increase your business's bottom line.
What is a WordPress Phishing Attack?
Learn how to identify and prevent phishing attacks on WordPress websites.
Kiki SheldonWebsite Protection: 5 Ways to Keep Your Website Safe
Robust website protection is the shield that stands between your business and relentless cyber attacks. Prioritizing website protection enables businesses to fortify defenses to safeguard their online presence and preserve the trust of their customers in the face of ever-evolving cybersecurity threats.
Kiki Sheldon23 Ideas To Grow Your WordPress Business in 2023
WordPress is the most popular website-building platform worldwide, trusted by numerous brands. WordPress enables you to build a user-friendly and highly reliable site, together with tools and plugins to enhance your marketing and work like a lead magnet. All these features make WordPress the platform chosen by more than 43% of businesses globally.
SolidWP Editorial TeamSign up now — Get SolidWP updates and valuable content straight to your inbox
Sign up
Get started with confidence — risk free, guaranteed
