Getting the Most Out of BackupBuddy Stash & Stash Live
Solid Backups Stash and Stash Live add even more functionality to Solid Backups by adding secure, off-site storage for your backup files and snapshot capabilities. In this post, we show you how to get the most out of Stash and Stash Live. The Difference Between Stash and Stash Live You may be wondering about the differences between Stash and Stash live.

Solid Backups Stash and Stash Live add even more functionality to Solid Backups by adding secure, off-site storage for your backup files and snapshot capabilities. In this post, we show you how to get the most out of Stash and Stash Live.
The Difference Between Stash and Stash Live
You may be wondering about the differences between Stash and Stash live. Let’s break down a few of the differences:
Solid Backups Stash
- Solid Backups Stash is the secure, remote storage destination for your Solid Backups backups.
- Solid Backups, the plugin, runs a “traditional” backup and then zips up the backup on your website’s server
- Backups run when scheduled or manually initiated
- Solid Backups then sends a zipped backup to Solid Backups Stash server, using your allotted Solid Backups Stash storage space (free 1GB for all Solid Backups customers)
Stash Live
- Creates a “snapshot” of your site and a zipped backup on Stash Live Servers
- Great for websites that are large or have limited server resources (like if you’re on shared hosting). Stash Live was created to make it easier for sites to complete backups as the backup process is handled off of your website’s server.
When To Use Solid Backups Stash (Traditional Solid Backups Backups)
- You are not running an ecommerce site
- You post once a day or less
- Your server can handle zipping files*
*Many shared hosting servers have restrictions. Support can assist you with configuring Solid Backups to work with your hosting environment.
3 Steps Every Solid Backups User Should Take
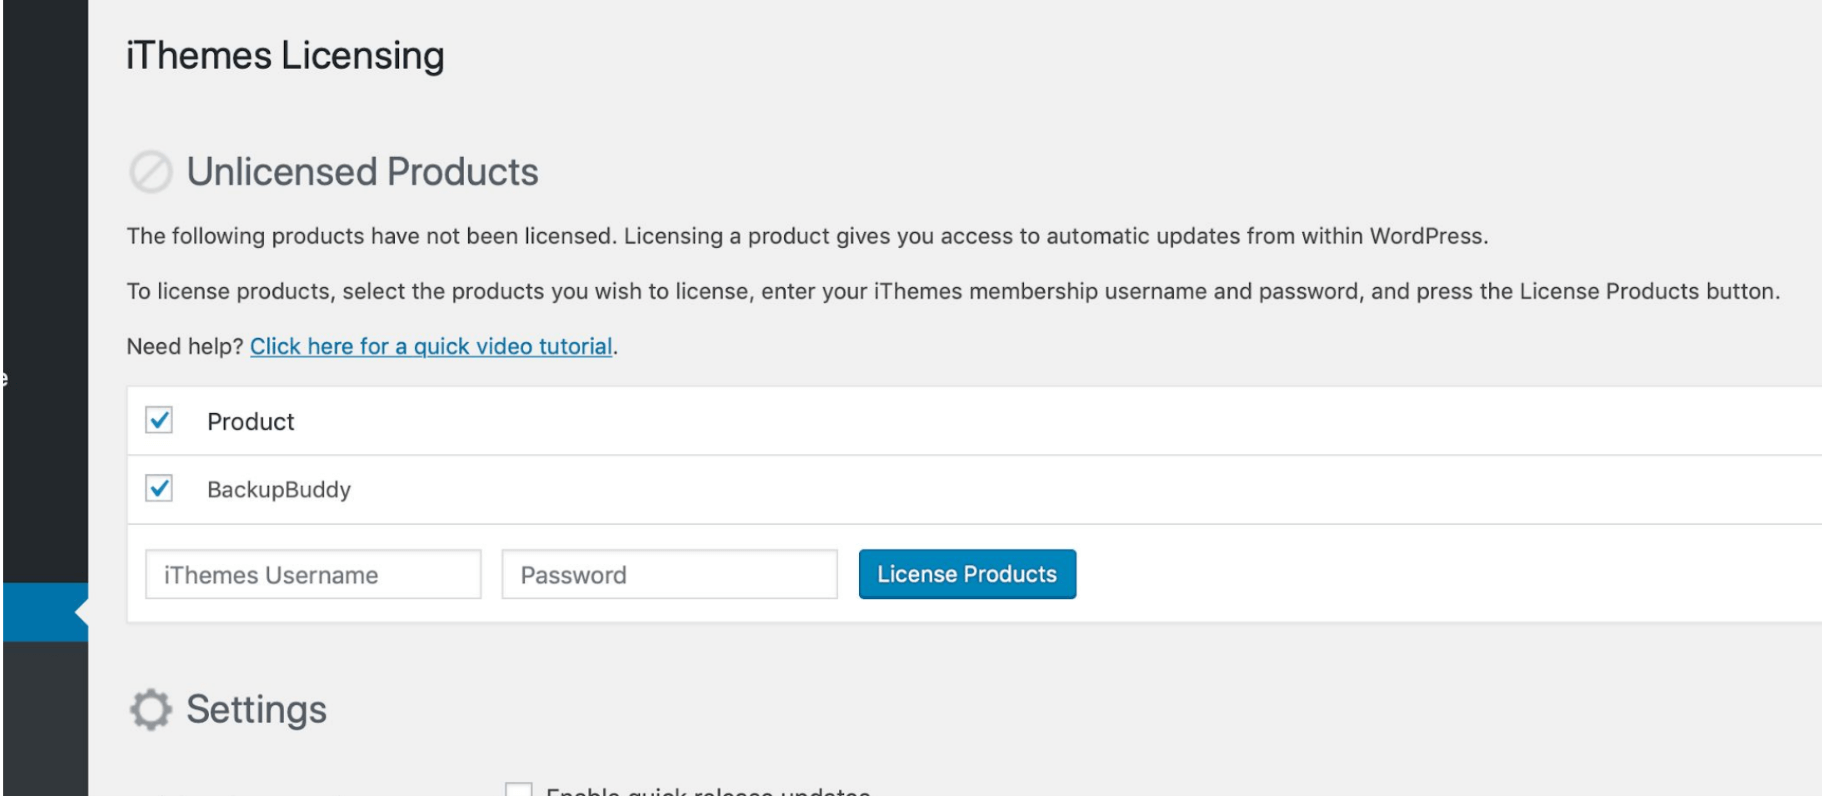
1. License Solid Backups
To license Solid Backups, log in to your WordPress admin dashboard. After installing and activating Solid Backups, navigate to Settings > Appearance > SolidWP Licensing. Select your SolidWP Product from the list, and then enter your SolidWP username and password, then click License Products.
2. Update Solid Backups
To update Solid Backups, log in to your WordPress admin dashboard and visit. Dashboard > Updates. If a new version of Solid Backups is available, click the update now link in to the version update notice.

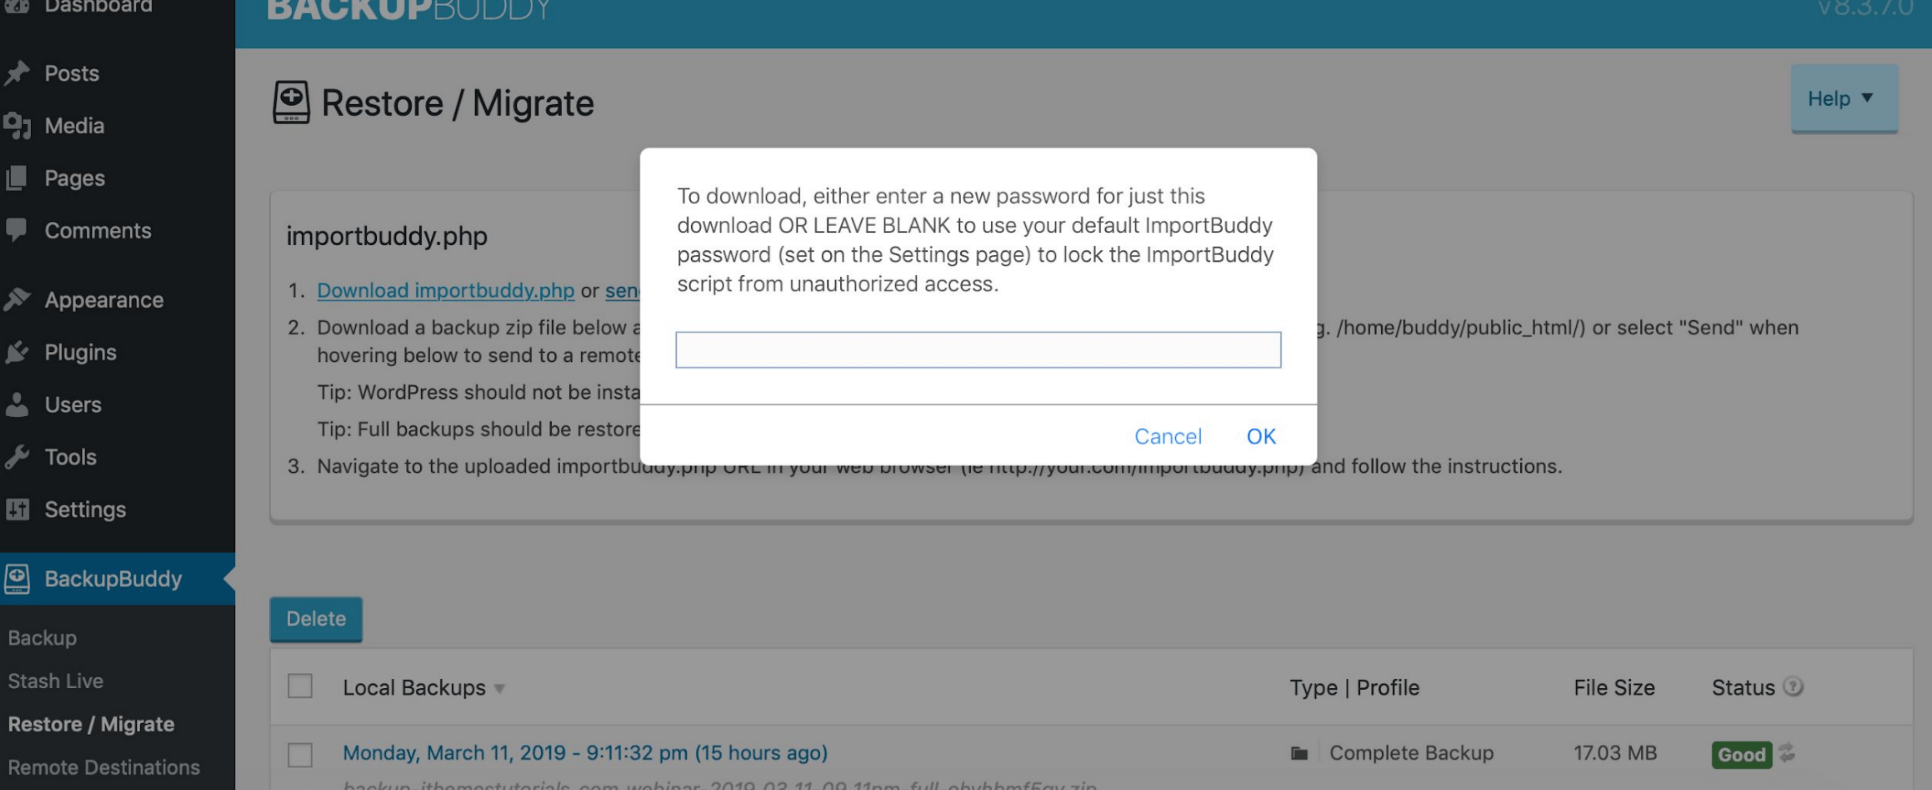
3. Download importbuddy.php
From your WordPress admin dashboard, visit Solid Backups’s Restore/Migrate page. Click Download importbuddy.php, enter a password, then click OK.
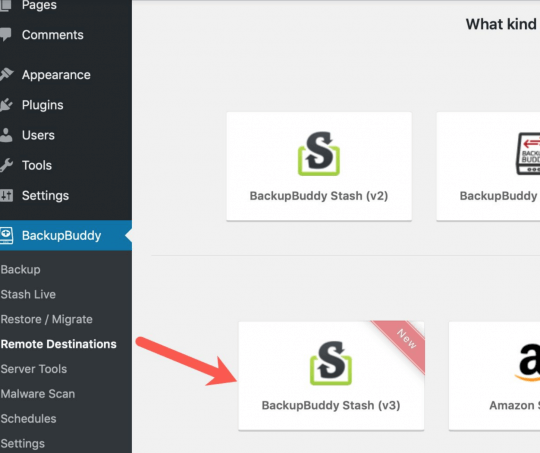
How to Set up Solid Backups Stash
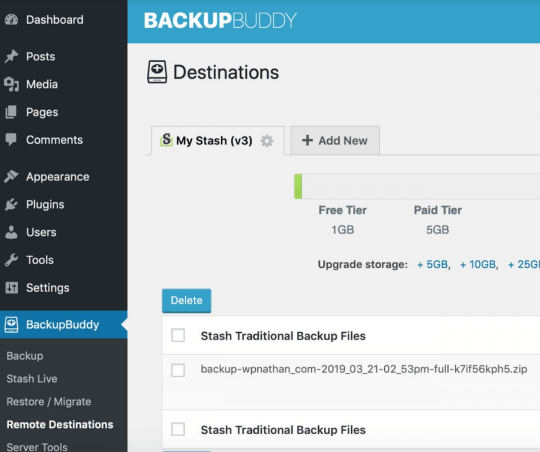
1. Go to Dashboard >Solid Backups > Remote Destinations. Select Solid Backups Stash (v3).
2. Enter your iThemes Username and click Submit.
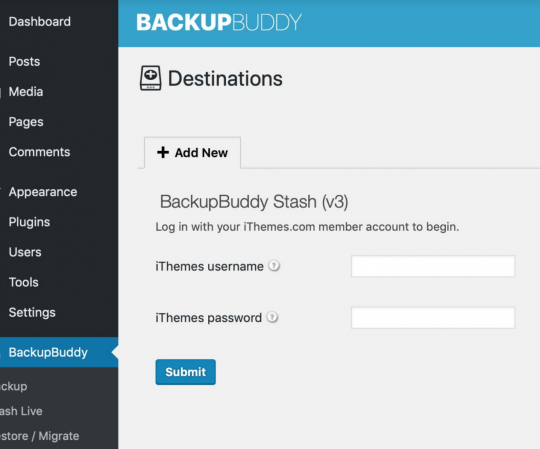
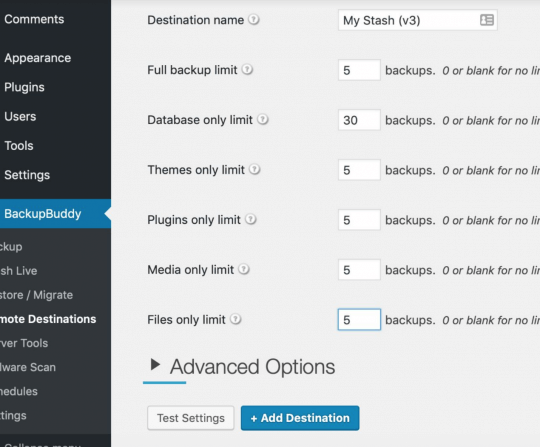
Enter a Destination Name. Select the number of backups you’d like to store, of each type. Click Add Destination.
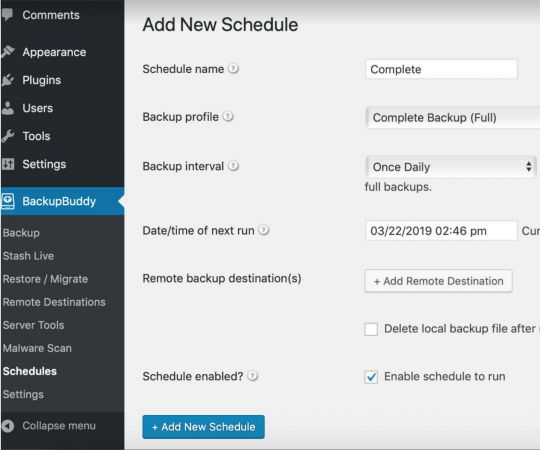
Go to Solid Backups > Schedules. Name your Schedule and select the Backup Profile. Click + Add New Destination +.
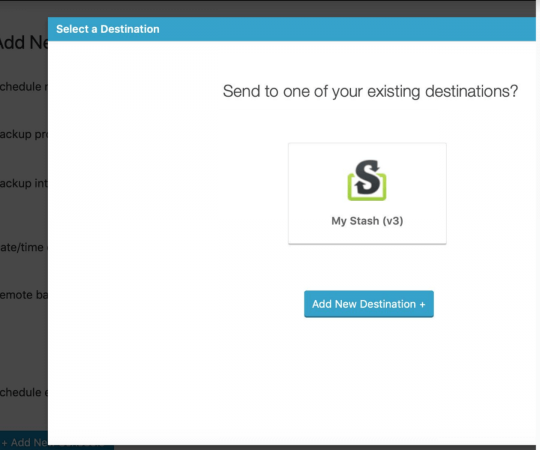
Select your Stash Destination. Click Add New Destination +.
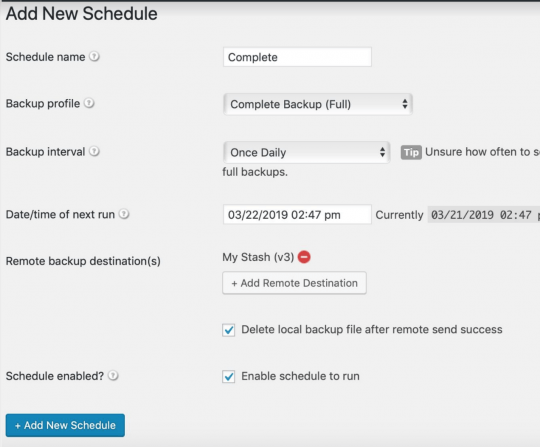
Check the box to delete local backup file (You’ll want to save server disk space!) Click + Add New Schedule.
Go to Solid Backups > Remote Destinations. You will see the backup has run and been successfully sent to Stash.
How to Set up Stash Live
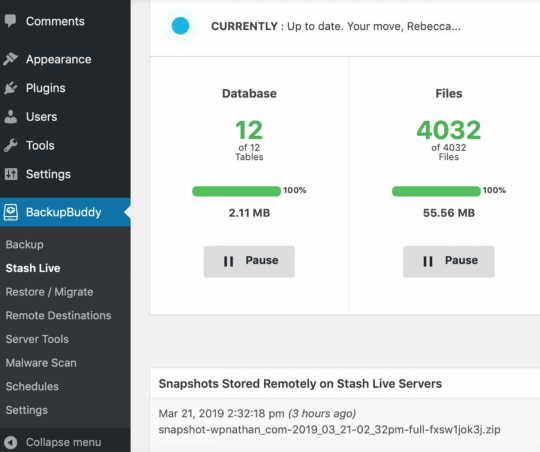
Go to Dashboard >Solid Backups > Stash Live.
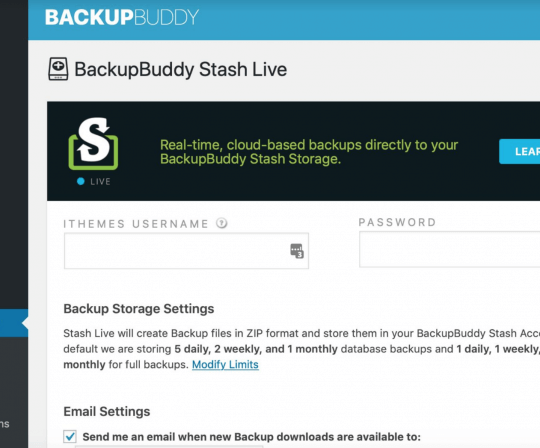
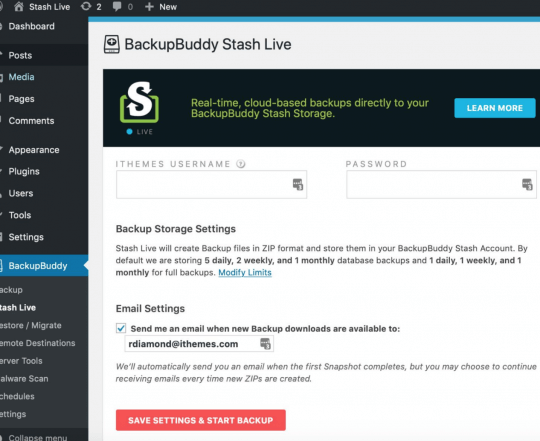
Enter your iThemes username and password. Click Save Settings and Start Backup.
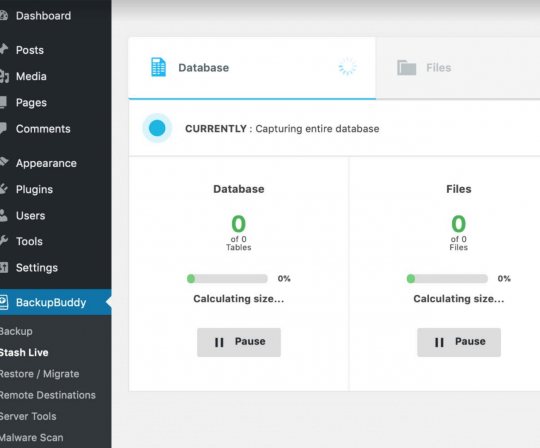
Your Stash Live Snapshot will begin.
Why? The extreme time difference is caused by the overhead needed for sending individual files. There is a great deal of overhead for each and every file transfer. Since we are sending thousands of files instead of a single file, it takes much longer. Each file sent may take 1 or 2 seconds even for the smallest of files. This adds up when multiplied by thousands of files. Stash Live uses Solid Backups’s Cron Kicker to keep the files moving along. Site activity or staying logged in on the Stash Live page will help guarantee that the Cron Kicker is moving the process along. Additionally, if no one is accessing the website and initiating crons, there’s no way for the Stash Live process to run itself. To combat this, we’ll periodically load your website when Stash Live is running to help keep the process going. However, this access is not made as often as it if you had the Stash Live page open.
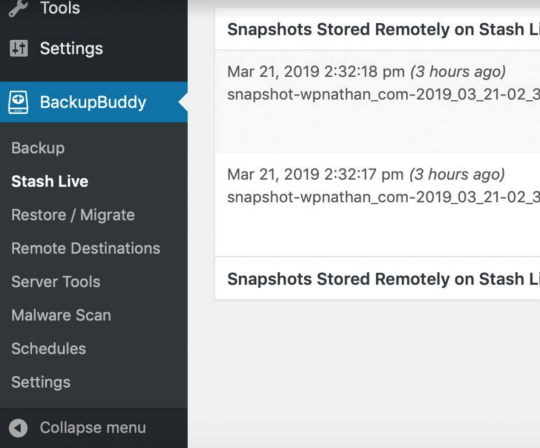
You can see available Snapshots in two places:
Solid Backups > Stash Live
And from your Central dashboard > Stash. (Login to the Central dashboard here.)
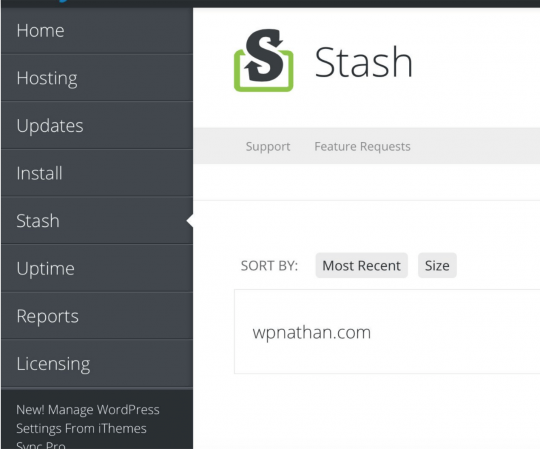
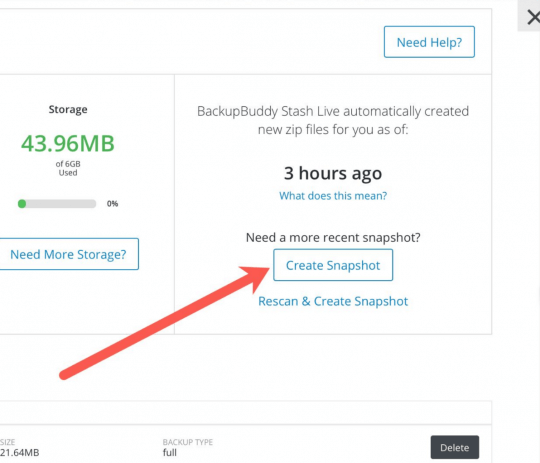
Click on View Files next to the site you need to manually create a Snapshot for.
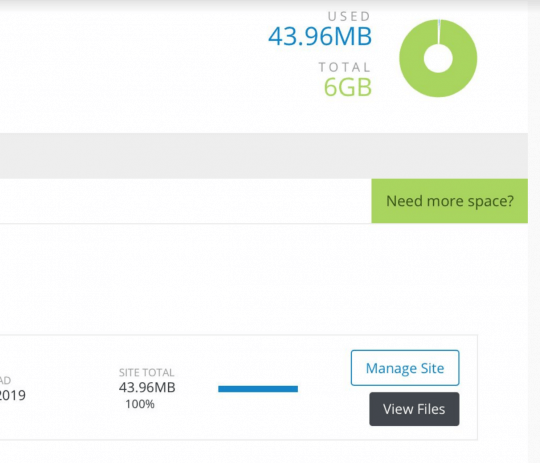
Click Create Snapshot. This will create a new Snapshot; you can also rescan the site and create a new Snapshot.
Download the Slides: Getting the Most Out of Solid Backups Stash & Stash Live
Get Release Notes for SolidWP products delivered right to your inbox.
Sign up
Join us for the next Solid Academy Webinar!
Free weekly webinars that will help you master WordPress and increase your business's bottom line.
What is a WordPress Phishing Attack?
Learn how to identify and prevent phishing attacks on WordPress websites.
Kiki SheldonWebsite Protection: 5 Ways to Keep Your Website Safe
Robust website protection is the shield that stands between your business and relentless cyber attacks. Prioritizing website protection enables businesses to fortify defenses to safeguard their online presence and preserve the trust of their customers in the face of ever-evolving cybersecurity threats.
Kiki Sheldon23 Ideas To Grow Your WordPress Business in 2023
WordPress is the most popular website-building platform worldwide, trusted by numerous brands. WordPress enables you to build a user-friendly and highly reliable site, together with tools and plugins to enhance your marketing and work like a lead magnet. All these features make WordPress the platform chosen by more than 43% of businesses globally.
SolidWP Editorial TeamSign up now — Get SolidWP updates and valuable content straight to your inbox
Sign up
Get started with confidence — risk free, guaranteed

