Adding Images in WordPress
Using a visual element like an image or photo is a great way to spruce up your post or page content.
Adding Images in WordPress
1. Determine where you’d like to insert your image in your post.
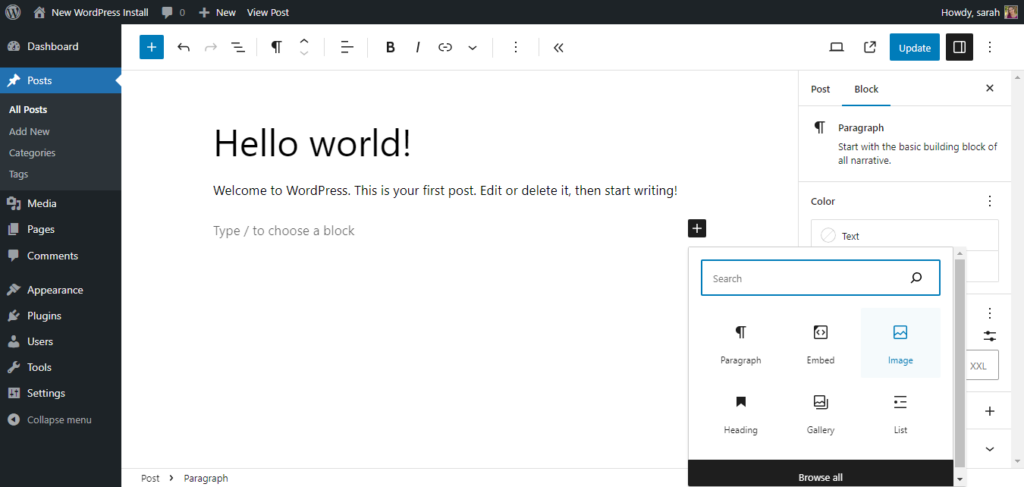
2. Click the + button to bring up an insert options box. Choose Image.
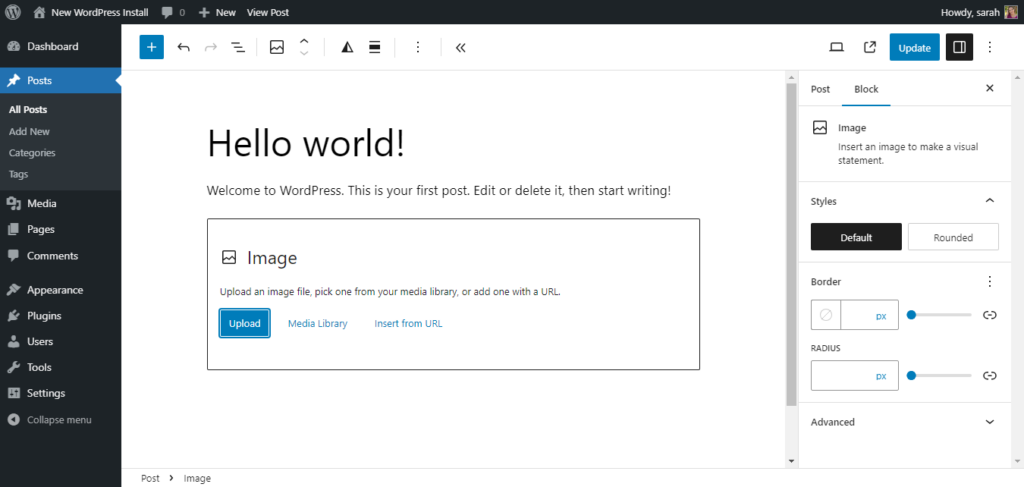
3. Your WordPress site uses a media library to store all of your media, like images and videos. From this box, you can choose to upload a new file, use an existing file from the media library, or insert from URL. To upload an image, click the Upload button. Find the image you’d like to use and click open.
4. Now that your image has been uploaded, you’ll see it has been added to the media library. On the right side of this box, you’ll see the attachment details for this page. Here, you can change the Alt Text, Title, Caption, and Description.
5. Make sure the image has a checkbox and click the Select button. Now, you’ll see your image has been added to your post. In the Post Toolbar, you can choose the alignment of the image (such as center, left, or right.)
6. If you click on this image and select Block (rather than Post,) you’ll see additional settings like Alternative Text, Aspect Ratio, and Resolution. If you click Advanced, you’ll see Title Attribute, HTML Anchor, and Additional CSS Class(es).
7. If you click the + button again, you’ll see the same insert options box. You’ll notice options to create a gallery. Once you have more images in your media library, you’ll be able to add an entire gallery of images to the post.
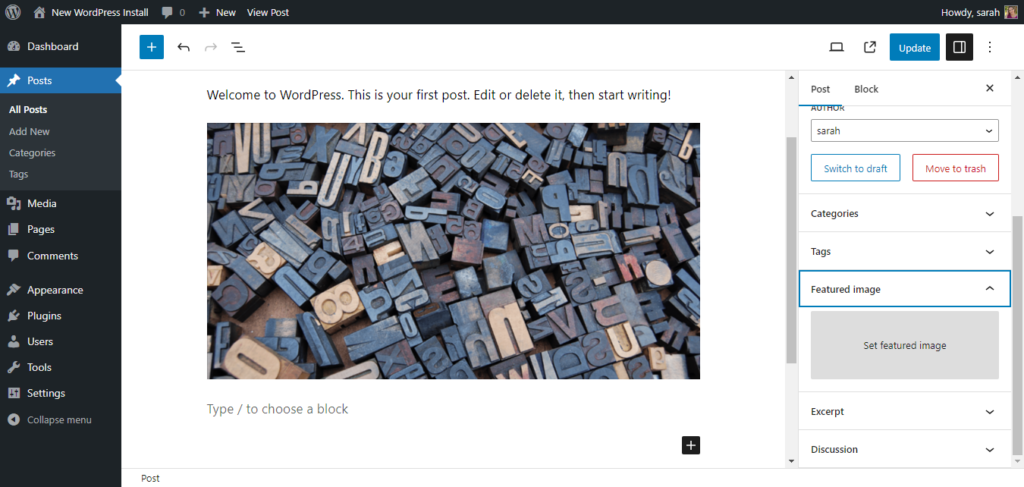
8. To set a feature image for your post, choose Post then scroll down to Featured image. Click the Set featured image box. Next, choose the image you want as your featured image for your post.
Return back to the post editor. Now, you can preview the post and see that your image has been added.
